GitLab EE 17 Docker 安装破解教程
通过 GitLab 官方提供的文档我们可以很轻松的通过 Docker 安装 GitLab。
本篇文章向你讲述如何通过源代码⽅式在 Debian 12 上编译安装 GitLab 并激活企业版功能。
说明
本篇文章的所有命令都是默认你在 root 权限下执行的,如果你没有使用 root 请根据情况适当在命令前加上 sudo。
本文中所有的涉及破解,激活的相关内容都是出于研究和学习的目的。请勿用于商业用途!如有需要请购买正版!
非常建议你在一个可以正常访问 Google 的机器上安装 GitLab 和 Docker。
准备环境
- 安装 Debian 12
这步我就不用说了吧 - 安装 Docker
wget -O- https://raw.githubusercontent.com/docker/docker-install/master/install.sh | sh如果您在中国大陆可以在执行前加上这句来使用国内镜像加速安装。
export DOWNLOAD_URL="https://mirrors.bfsu.edu.cn/docker-ce"- 更改 SSH 端口
因为 GitLab 需要使用 22 端口所以我们需要修改服务器的 SSH 端口。(推荐这样做因为不需要在通过 ssh 克隆仓库的时候加上端口号)
编辑 /etc/ssh/sshd_config 将 Port 22 改为 Port 2222 保存然后执行 systemctl restart ssh
验证一下你是否可以通过新的端口连接服务器。
开始安装
- 创建存放 GitLab 数据的文件夹
给配置文件,日志,数据库它们找个位置放起来。可以放在很多地方,例如用户根目录或者是系统根目录。
1.创建目录
mkdir -p /opt/gitlab如果您使用 root 以外的用户运行 Docker,请向用户授予目录的适当权限。
2.配置一个新的环境变量 $GITLAB_HOME,和您创建的目录路径一致
export GITLAB_HOME=/opt/gitlab或者,您可以将 GITLAB_HOME 环境变量附加到 shell 的配置文件中,以便将其应用于所有将来的终端会话。
对于 bash 它的配置文件在 ~/.bash_profile ,zsh 的在 ~/.zshrc。
GitLab 容器数据文件夹和主机文件夹的映射关系:
| 本地路径 | 容器内路径 | 用途 |
|---|---|---|
$GITLAB_HOME/data | /var/opt/gitlab | 存储应用数据 |
$GITLAB_HOME/logs | /var/log/gitlab | 存储日志 |
$GITLAB_HOME/config | /etc/gitlab | 存储GitLab配置文件 |
- 创建 Docker Compose 文件
创建一个 docker-compose.yml 文件,例如:
version: '3.6'
services:
  gitlab:
    image: gitlab/gitlab-ee
    container_name: gitlab
    restart: always
    hostname: 'gitlab.example.com'
    environment:
      GITLAB_OMNIBUS_CONFIG: |
        # 在这块写其他 gitlab.rb 配置,记得更改默认的 external_url
        external_url 'https://gitlab.example.com'
    ports:
      - '80:80'
      - '443:443'
      - '22:22'
    volumes:
      - '$GITLAB_HOME/config:/etc/gitlab'
      - '$GITLAB_HOME/logs:/var/log/gitlab'
      - '$GITLAB_HOME/data:/var/opt/gitlab'
    shm_size: '256m'
然后执行
docker compose up -d或者你还可以使用 Docker Engine 来运行 GitLab 不过这两者是一样的。这里就不再赘述了。
执行
docker exec -it gitlab grep 'Password:' /etc/gitlab/initial_root_password获得安装时生成的 root 密码。
之后访问你设置的 external_url 就可以访问 GitLab 了!

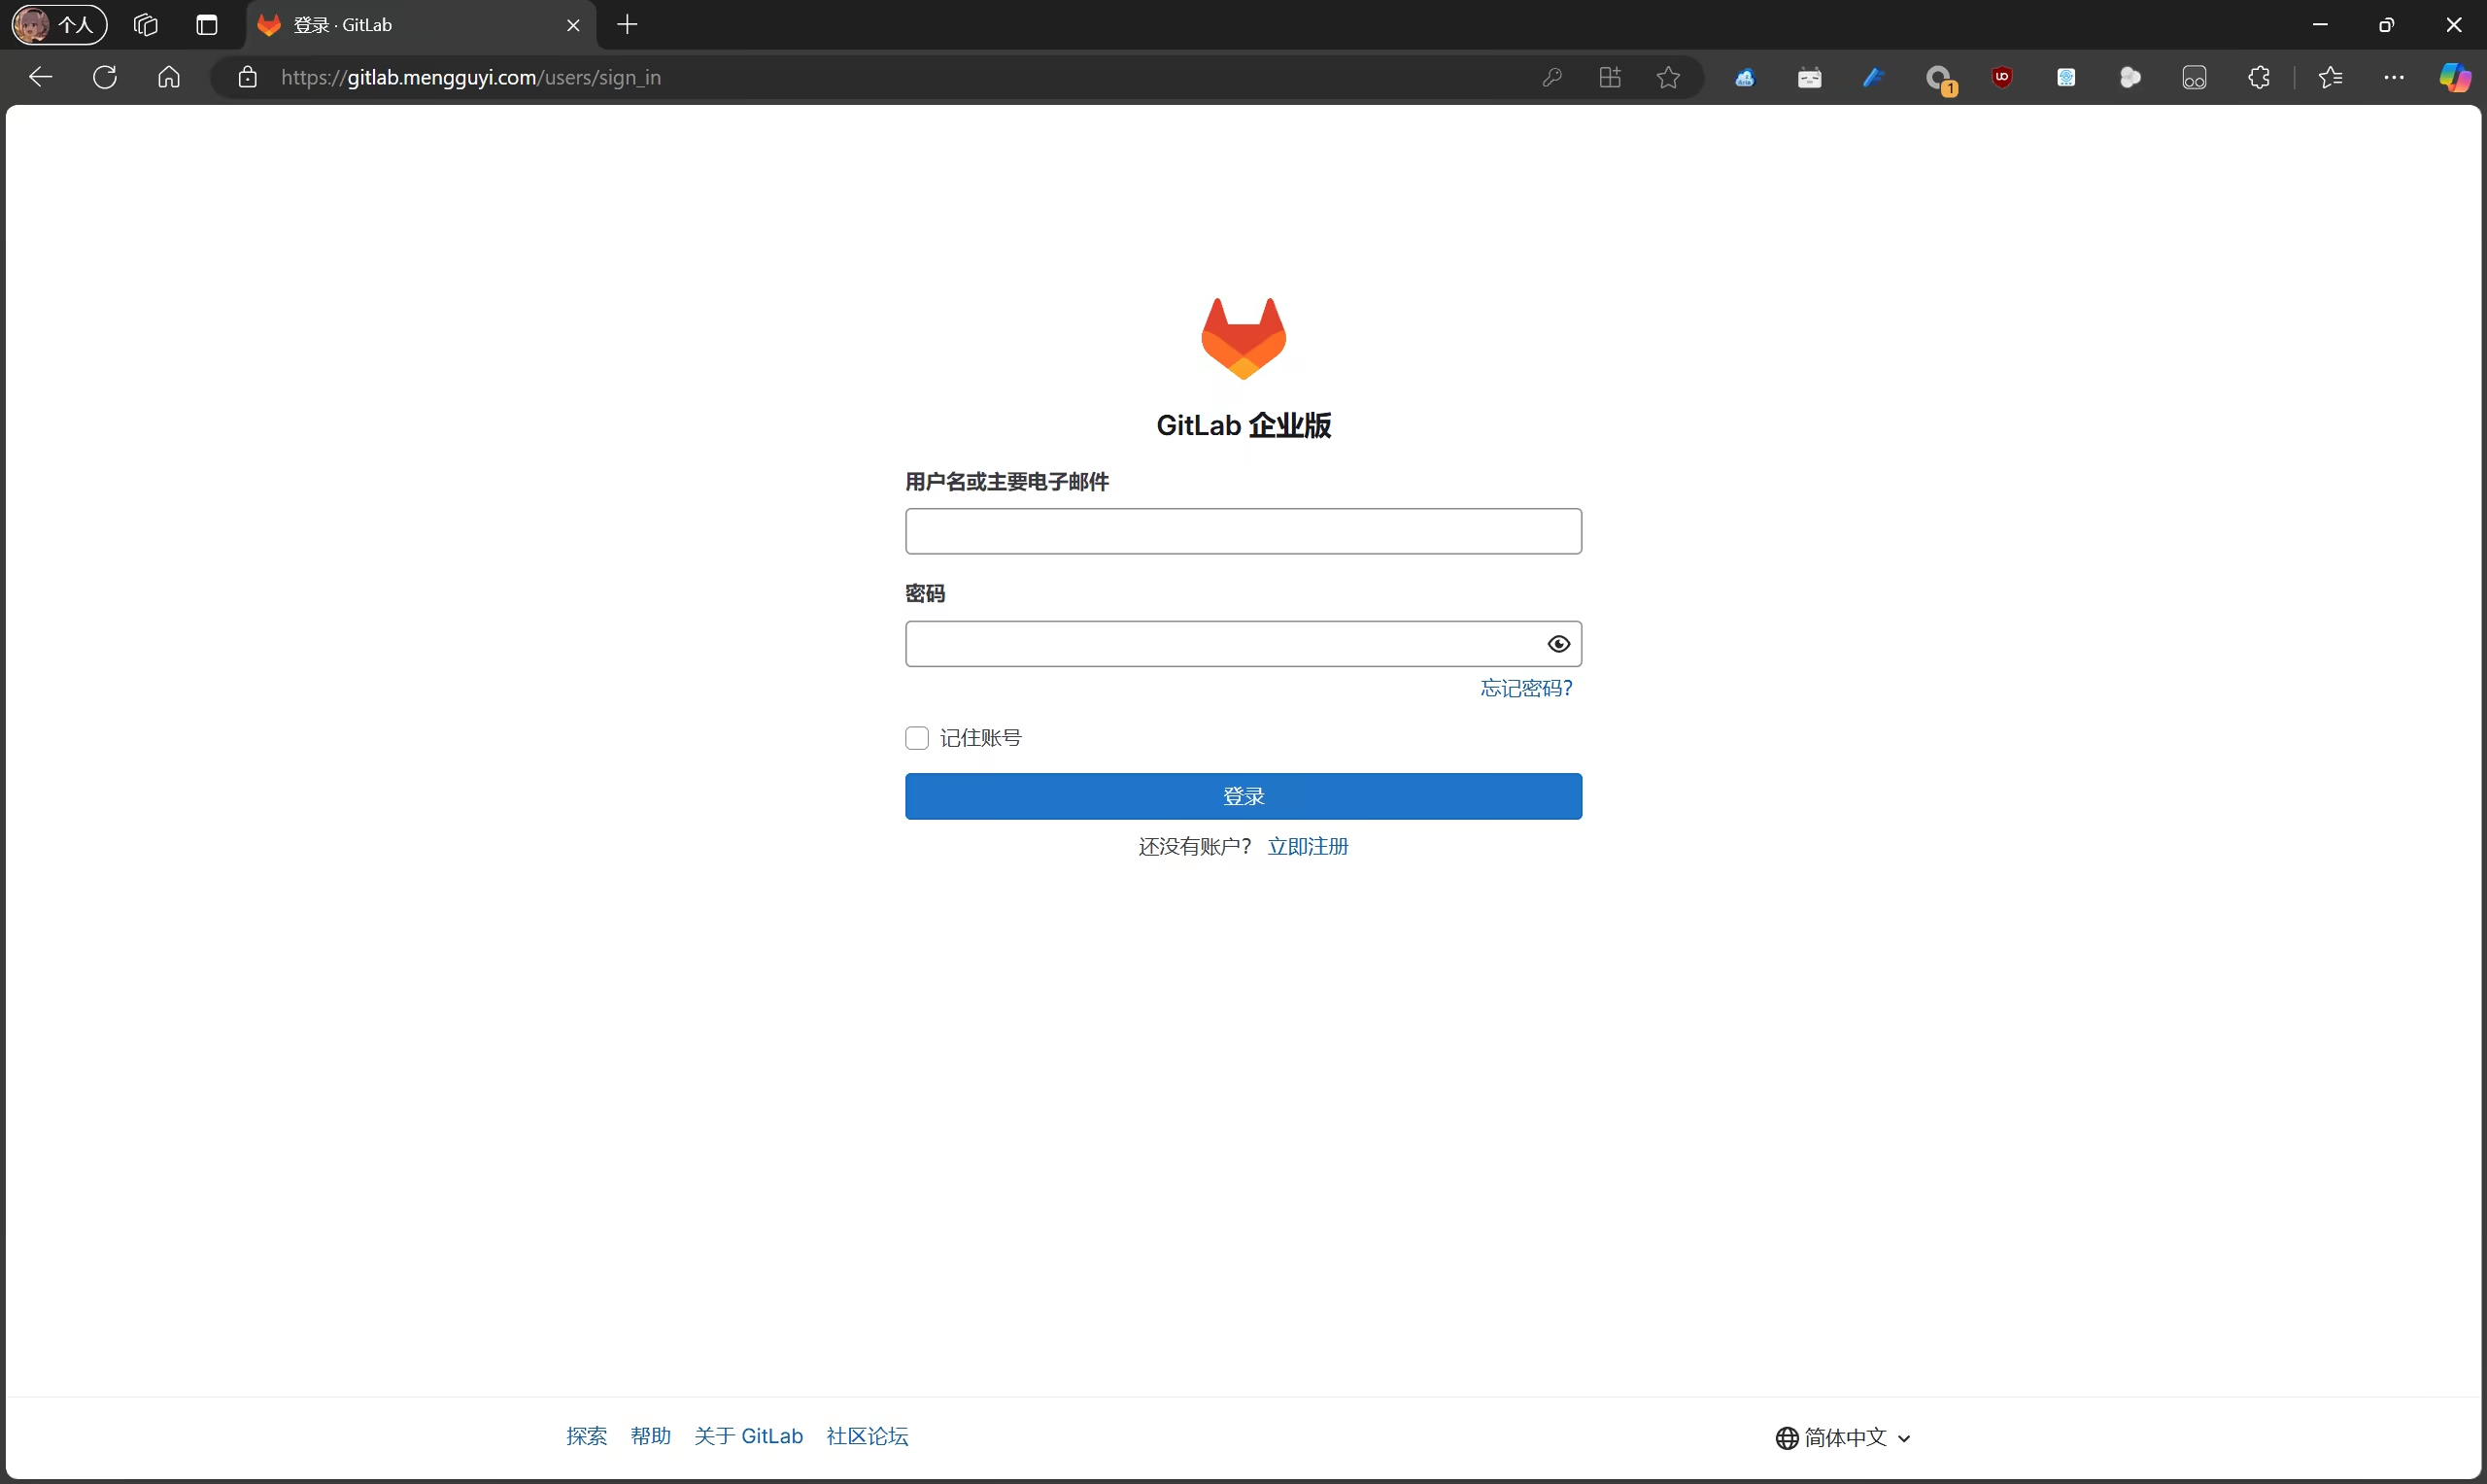
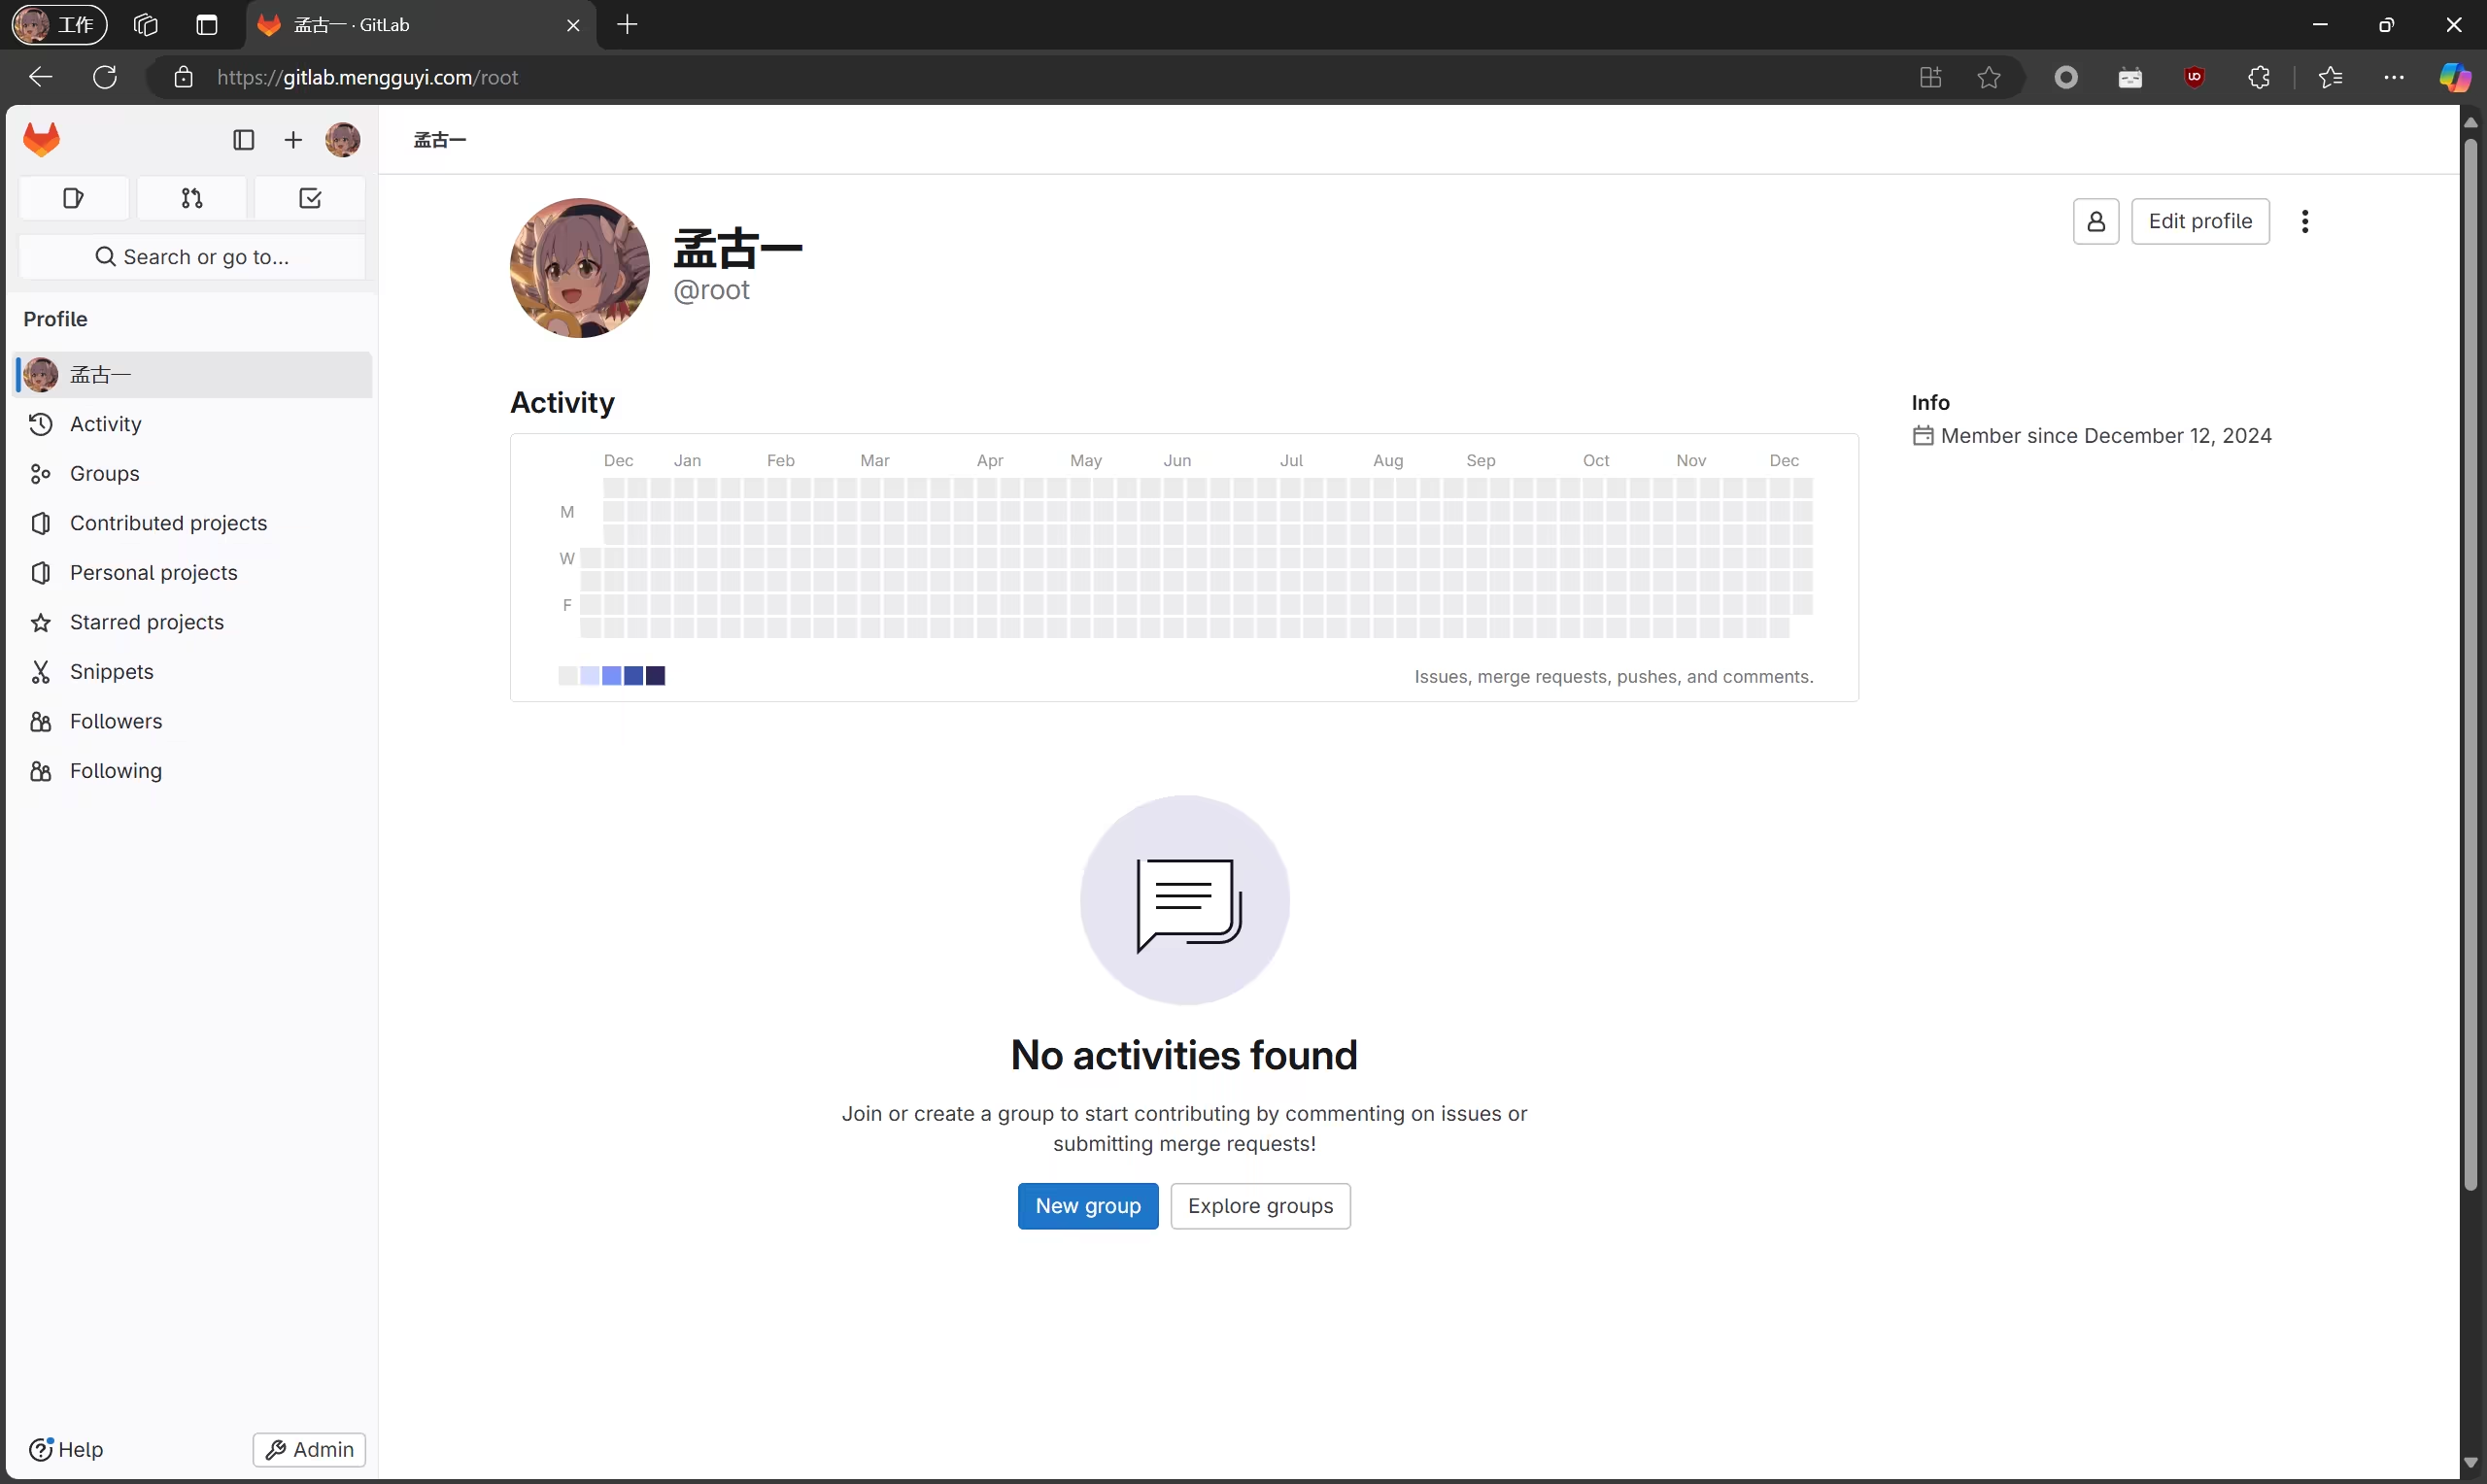
输入用户名 root 和你获得的 root 密码点击登录进入 GitLab。
破解 GitLab
- 使用 GitLab-License-Generator 生成许可证
由于 GitLab-License-Generator 被 DMCA takedown 了,所以我们需要手动运行它:
apt install ruby-full
gem install bundler
gem install gitlab-license
git clone https://github.com/Lakr233/GitLab-License-Generator.git
cd GitLab-License-Generator
然后编辑 src/scan.features.rb 粘贴以下内容:
#!/usr/bin/env ruby
# encoding: utf-8

require 'json'
require 'optparse'

OptionParser.new do |opts|
    opts.banner = "Usage: scan.features.rb [options]"

    opts.on("-s", "--src-dir PATH", "Specify gitlab source dir (required if --features-file is ommited)") do |v|
        GITLAB_FEATURES_FILE="#{File.expand_path(v)}/ee/app/models/gitlab_subscriptions/features.rb"
    end

    opts.on("-f", "--features-file PATH", "Specify gitlab features path (required if --src-dir is ommited)") do |v|
        GITLAB_FEATURES_FILE = File.expand_path(v)
    end

    opts.on("-o", "--output PATH", "Output to json file (required)") do |v|
        EXPORT_JSON_FILE = File.expand_path(v)
    end

    opts.on("-h", "--help", "Prints this help") do
        puts opts
        exit
    end
end
.parse!
if GITLAB_FEATURES_FILE.nil? || EXPORT_JSON_FILE.nil?
    puts "[!] missing required options"
    puts "[!] use -h for help"
    exit 1
end
puts "Reading features from #{GITLAB_FEATURES_FILE}"

def ignore_exception
    begin
      yield
    rescue Exception
    end
end

puts "[*] loading features.rb..."
ignore_exception do
    require_relative "#{GITLAB_FEATURES_FILE}"
end

ALL_FEATURES = []
GitlabSubscriptions::Features.constants.each do |const_name|
    puts "[*] gathering features from #{const_name}"
    if const_name.to_s.include? 'FEATURE'
        ALL_FEATURES.concat(GitlabSubscriptions::Features.const_get(const_name))
    else
        puts "[?] unrecognized constant #{const_name}"
    end
end

ALL_FEATURES.uniq!
ALL_FEATURES.sort_by! { |feature| feature }

puts "[*] total features: #{ALL_FEATURES.size}"

puts "[*] writing to #{EXPORT_JSON_FILE}"
File.write(EXPORT_JSON_FILE, JSON.pretty_generate(ALL_FEATURES))

puts "[*] done"
生成许可证(按需求修改LICENSE变量):
chmod +x src/scan.features.rb
LICENSE_NAME="Tim Cook"
LICENSE_COMPANY="Apple Computer, Inc."
LICENSE_EMAIL="[email protected]"
LICENSE_PLAN="ultimate"
LICENSE_USER_COUNT="2147483647"
LICENSE_EXPIRE_YEAR="2500"
./make.sh
生成的许可证在 build 文件夹下。
要使用的文件有 public.key 和 result.gitlab-license。
我们要使用生成的 public.key 替换 GitLab 的 .license_encryption_key.pub。
docker exec -it gitlab bash
rm /opt/gitlab/embedded/service/gitlab-rails/.license_encryption_key.pub

# 执行完下面这行将 public.key 的内容粘贴进去按一下回车就将内容写入 .license_encryption_key.pub 了。按 control + c 退出即可
cat > /opt/gitlab/embedded/service/gitlab-rails/.license_encryption_key.pub

gitlab-ctl reconfigure
gitlab-ctl restart
将 result.gitlab-license 的内容粘贴至
https://你的GitLab域名/admin/application_settings/general 点击 Add License 选择 Enter license key 粘贴你 result.gitlab-license 里的内容。
选择接受 TOS 点击 Add license。
这时候 GitLab 就成功激活了!

