GitLab EE 16 安装破解教程
GitLab 是⼀个主要由 Ruby on Rails 语⾔开发的开源应⽤程序,实现⼀个⾃托管的 Git 项⽬仓库,可通过 Web 界面进⾏访问和管理,简⽽⾔之就是⼀个可以私有化部署的 GitHub。
Gitlab 官⽅提供了 N 种安装和部署的⽅式,有直接通过操作系统软件源进⾏安装的,也有通过 Docker ⽅式部署的,还有通过源代码⽅式⾃⾏编译安装的。
本篇文章向你讲述如何通过源代码⽅式在 Debian 12 上编译安装 GitLab 并激活企业版功能
说明
本篇文章的所有命令都是默认你在 root 权限下执行的,如果你没有使用 root 请根据情况适当在命令前加上 sudo
本文中所有的涉及破解,激活的相关内容都是出于研究和学习的目的。请勿用于商业用途!如有需要请购买正版。
非常建议你在一个可以正常访问 Google 的机器上编译安装 GitLab
准备环境
- 安装 Debian 12
这步我就不用说了吧 - 安装 GitLab 相关依赖
apt install sudo build-essential zlib1g-dev libyaml-dev libssl-dev libgdbm-dev libre2-dev libreadline-dev libncurses5-dev libffi-dev curl openssh-server libxml2-dev libxslt-dev libcurl4-openssl-dev libicu-dev libkrb5-dev logrotate rsync python3-docutils pkg-config cmake runit-systemd libcurl4-openssl-dev libexpat1-dev gettext libz-dev libssl-dev libpcre2-dev build-essential git-core graphicsmagick postfix libimage-exiftool-perl ruby ruby-dev golang npm postgresql postgresql-client libpq-dev postgresql-contrib redis-server nginx在安装过程中需要配置 postfix
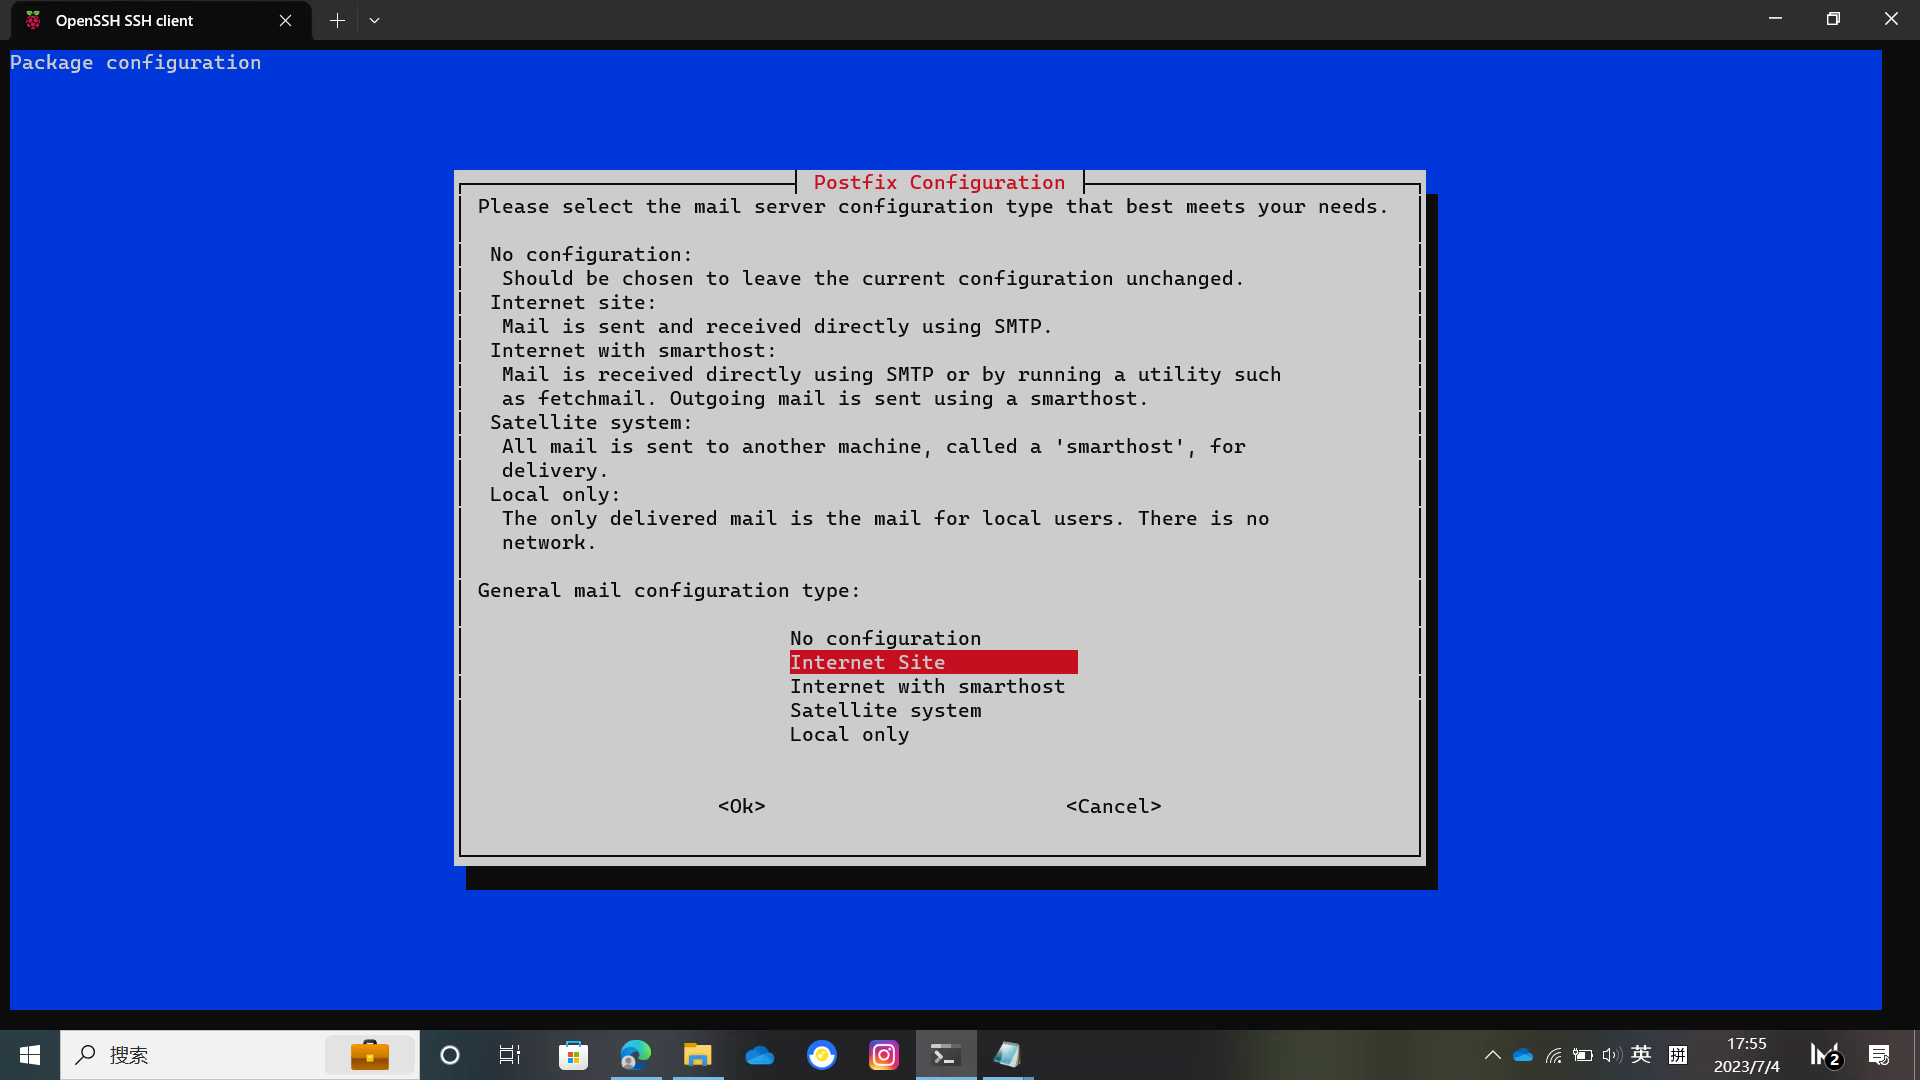
选择Internet Site然后按Enter输入域名
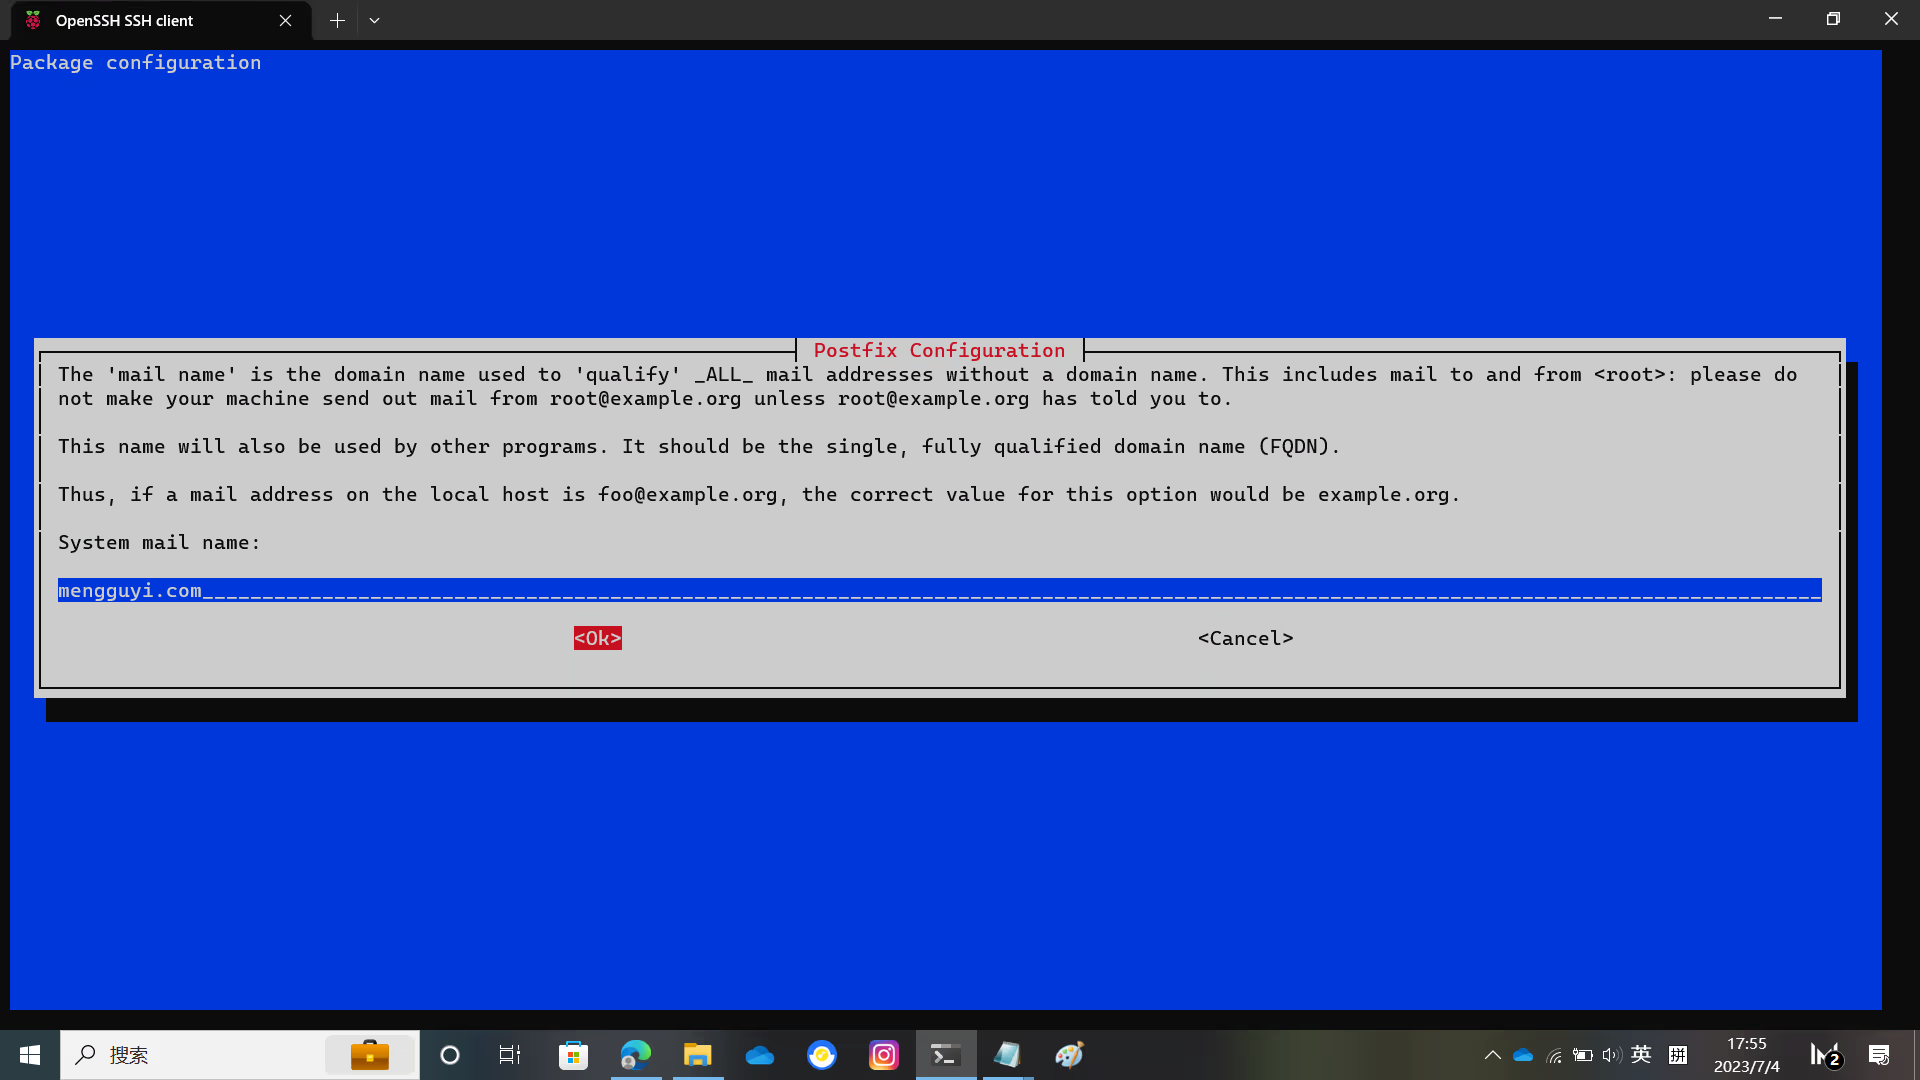
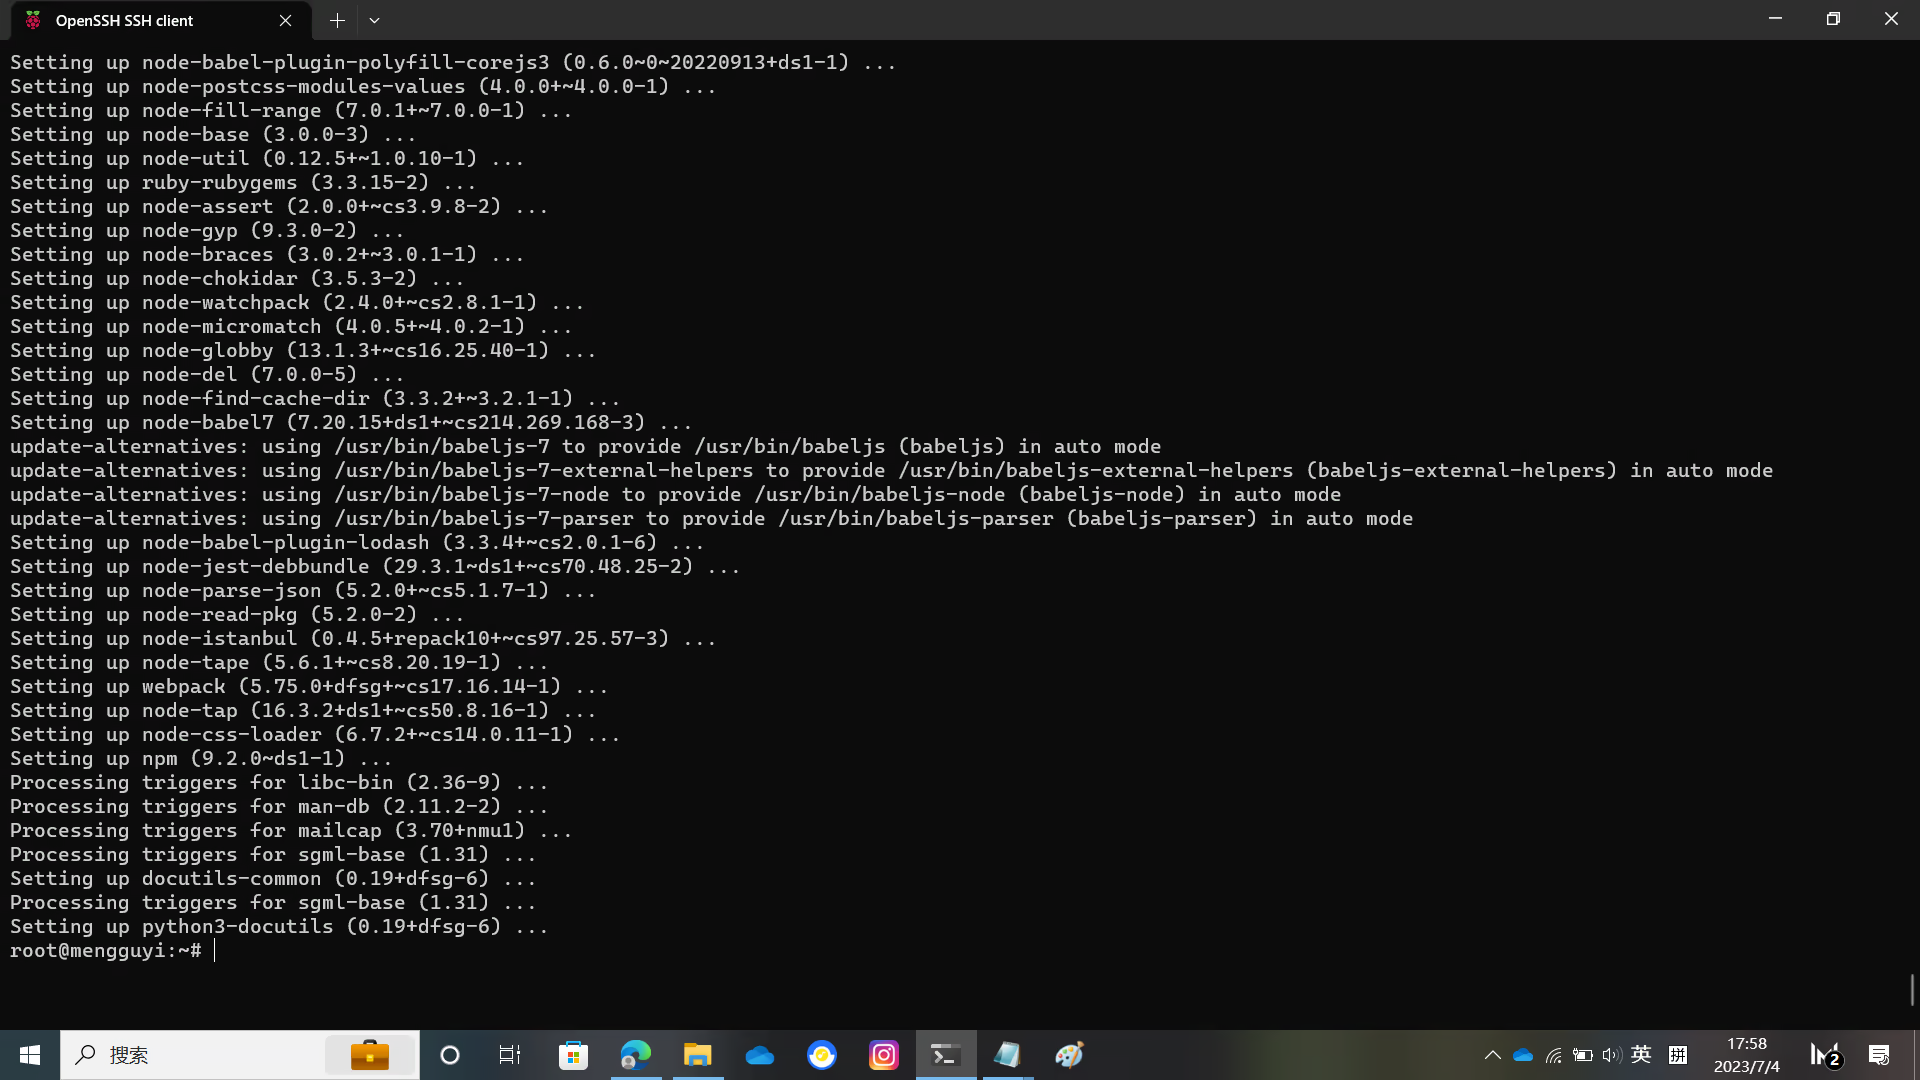
然后就是等待安装完成了
在安装上面的东西之后还需要安装 yarn 用来编译 GitLab 前端
npm install --global yarn编译 Gitaly
克隆 Gitaly 仓库并编译 Git
git clone https://gitlab.com/gitlab-org/gitaly.git /tmp/gitaly
cd /tmp/gitaly
make git GIT_PREFIX=/usr/local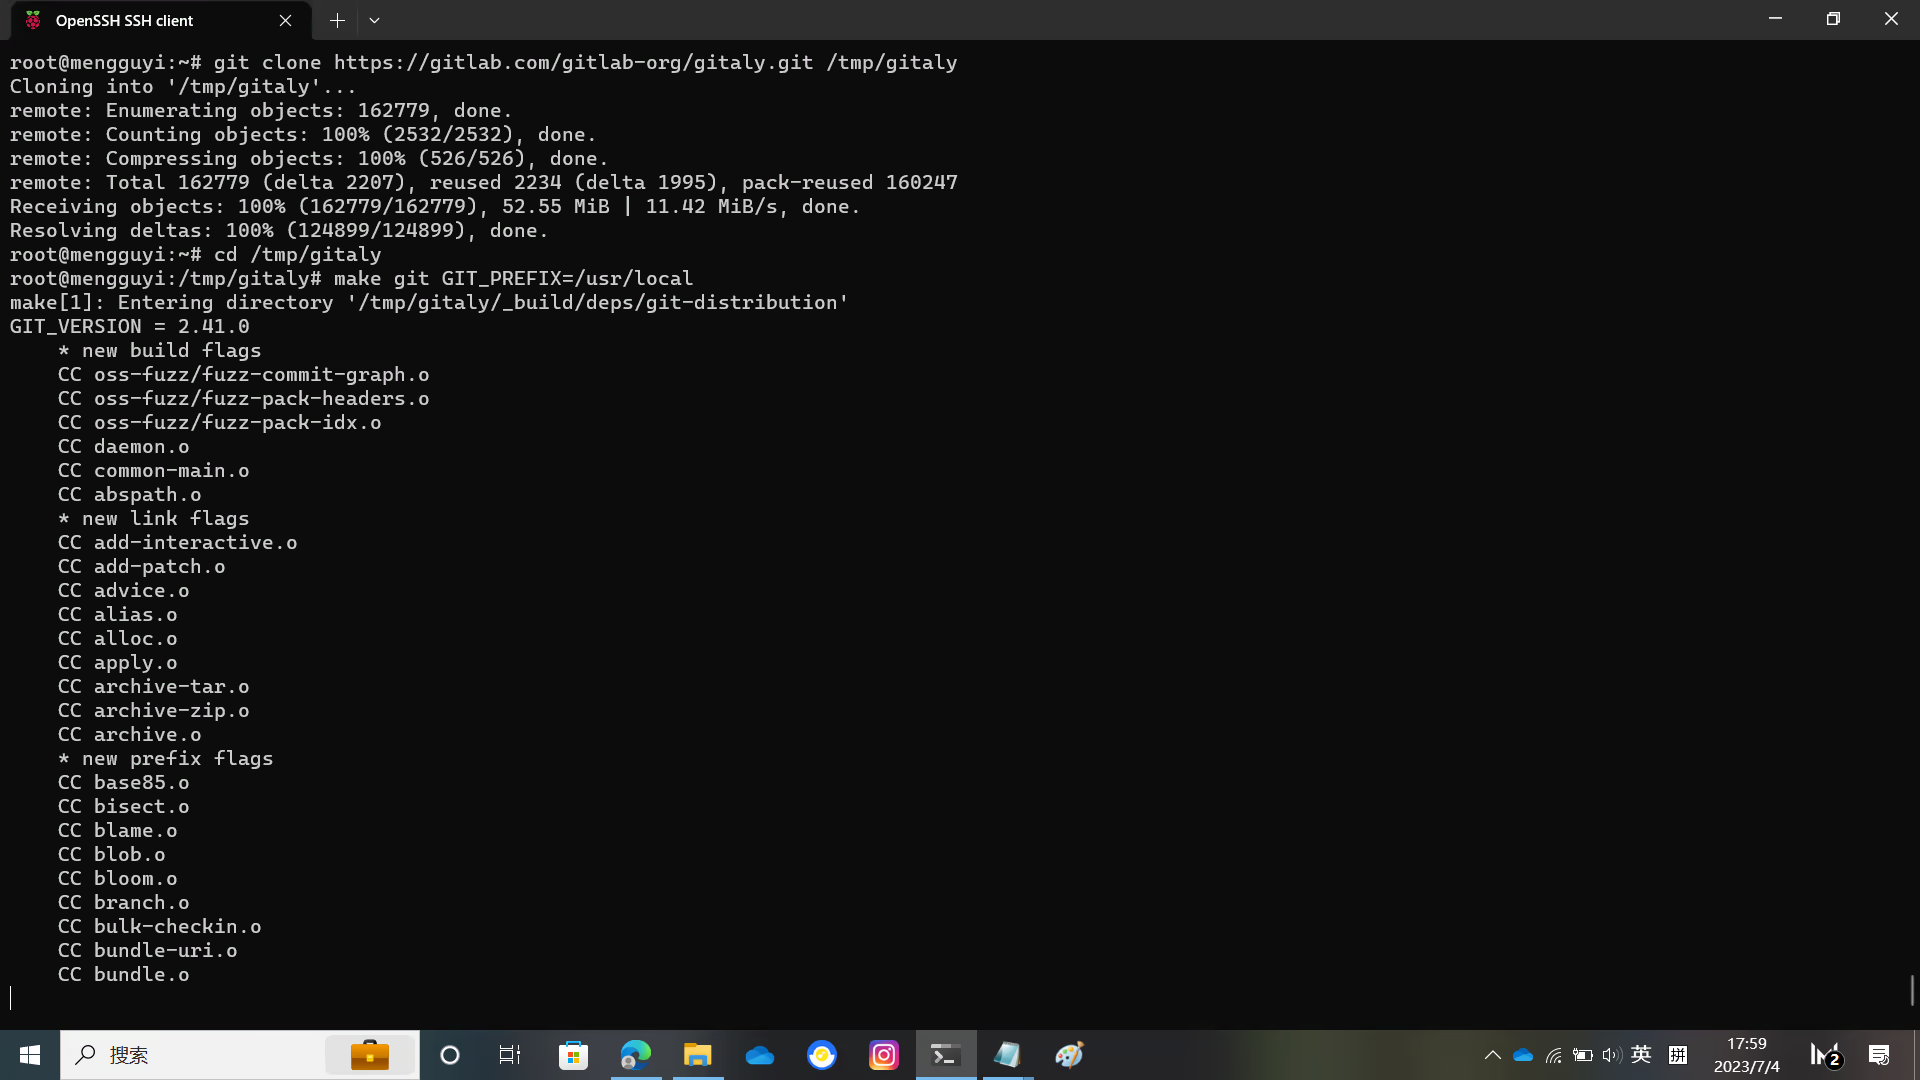
给 GitLab 创建一个 git 用户
adduser --disabled-login --gecos 'GitLab' git用下面的命令给 GitLab 初始化数据库
sudo -u postgres psql -d template1 -c "CREATE USER git CREATEDB;"
sudo -u postgres psql -d template1 -c "CREATE EXTENSION IF NOT EXISTS pg_trgm;"
sudo -u postgres psql -d template1 -c "CREATE EXTENSION IF NOT EXISTS btree_gist;"
sudo -u postgres psql -d template1 -c "CREATE EXTENSION IF NOT EXISTS plpgsql;"
sudo -u postgres psql -d template1 -c "CREATE DATABASE gitlabhq_production OWNER git;"
配置 Redis
使用下面的命令配置 Redis
cp /etc/redis/redis.conf /etc/redis/redis.conf.orig
sed 's/^port .*/port 0/' /etc/redis/redis.conf.orig | sudo tee /etc/redis/redis.conf
echo 'unixsocket /var/run/redis/redis.sock' | sudo tee -a /etc/redis/redis.conf
echo 'unixsocketperm 770' | sudo tee -a /etc/redis/redis.conf
usermod -aG redis git
用下面的命令检查 Redis 的状态
systemctl show --value --property=Type redis-server.service如果输出为 notify 则直接执行
systemctl restart redis如果不是则参考 GitLab 官方文档
编译 GitLab 本体
创建文件夹并赋予 git 用户权限
mkdir /opt/gitlab
chown -R git /opt/gitlab
cd /opt/gitlab
克隆 GitLab 源代码
sudo -u git -H git clone https://gitlab.com/gitlab-org/gitlab.git gitlab进入 GitLab 目录编辑配置文件
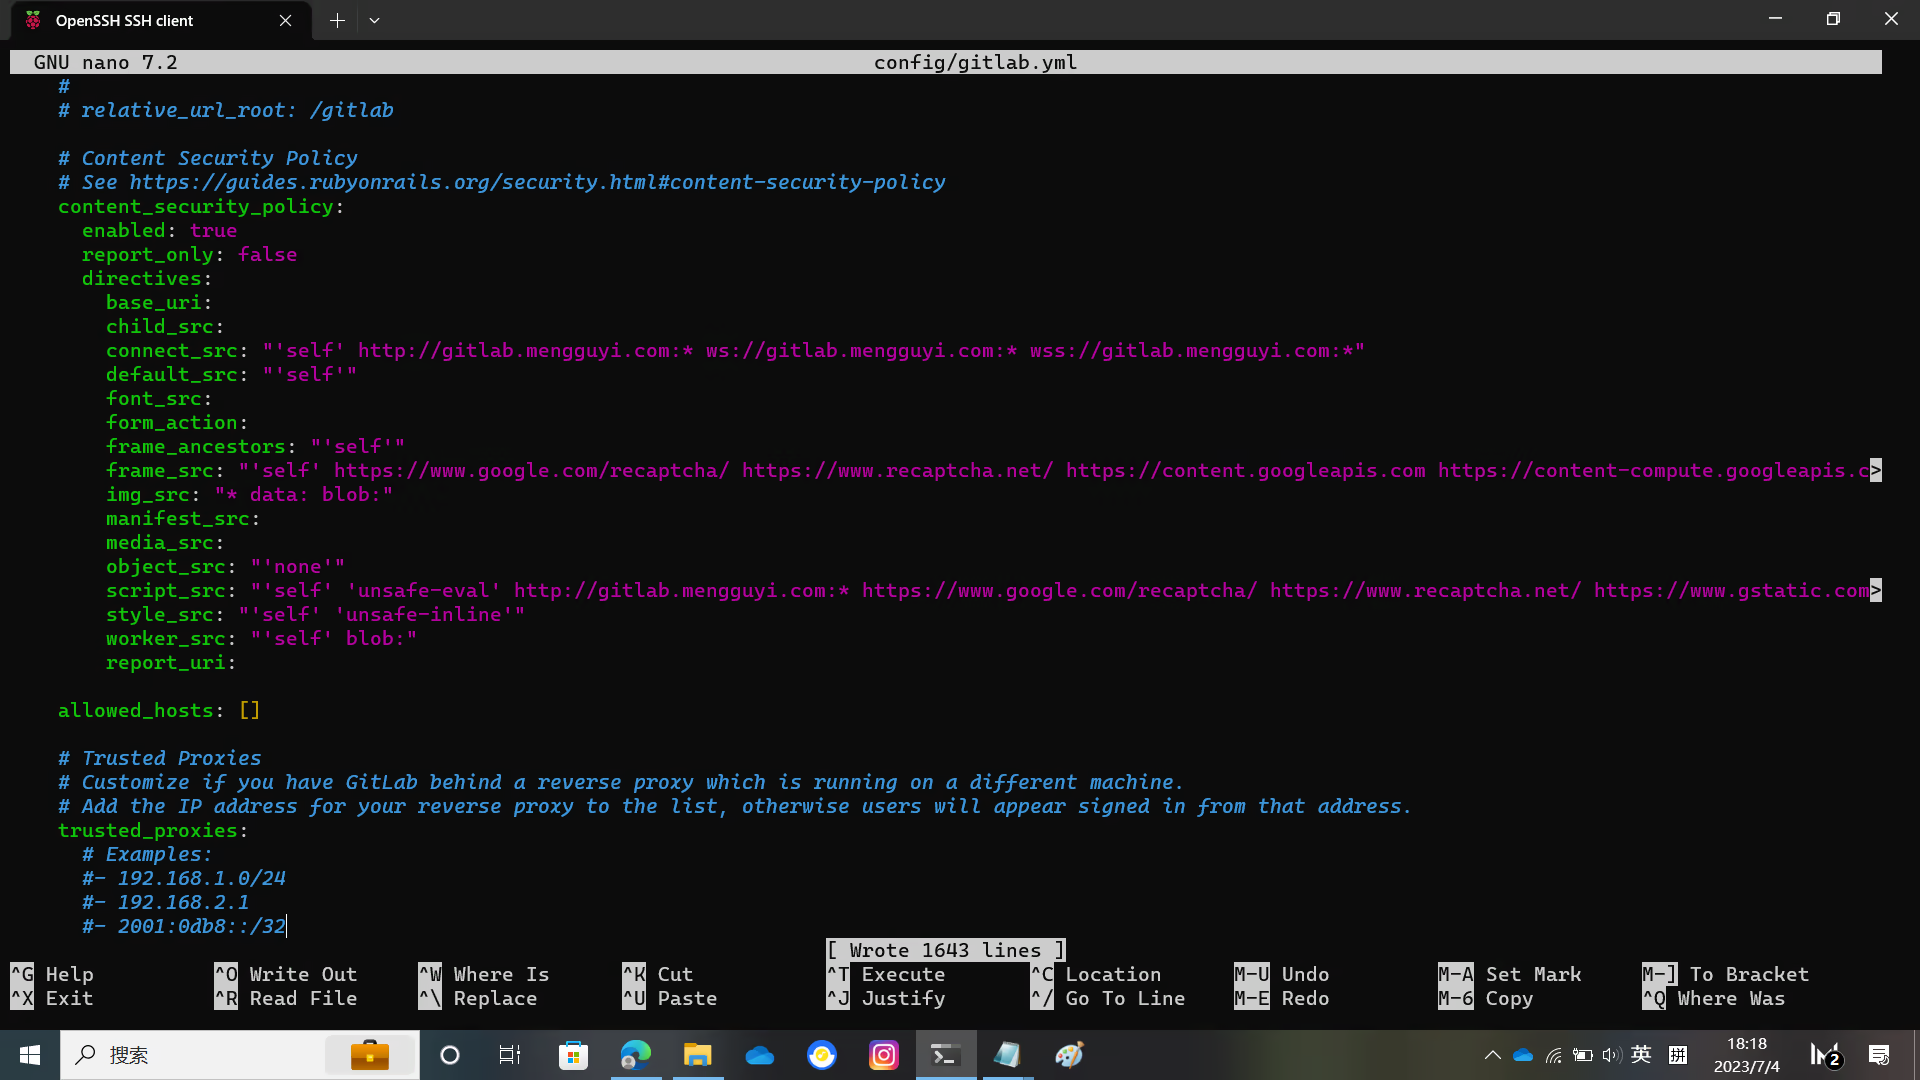
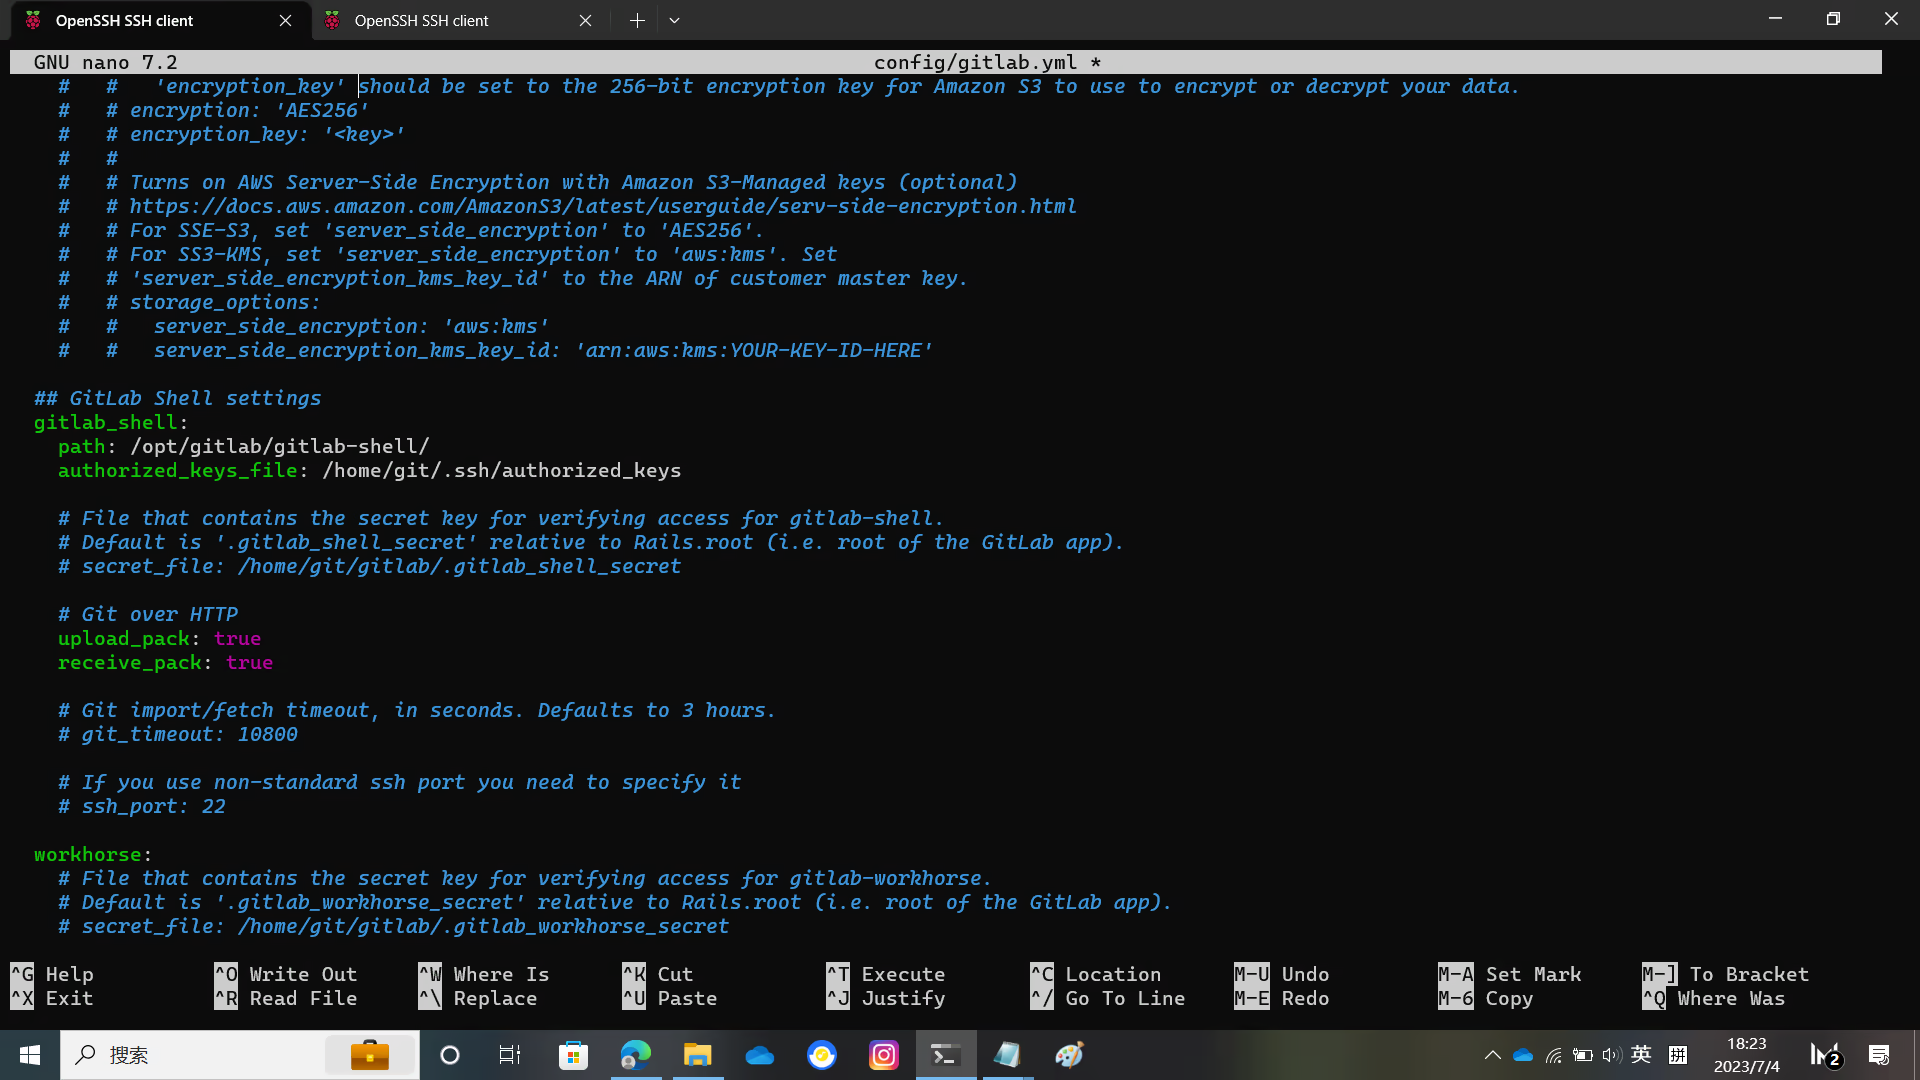
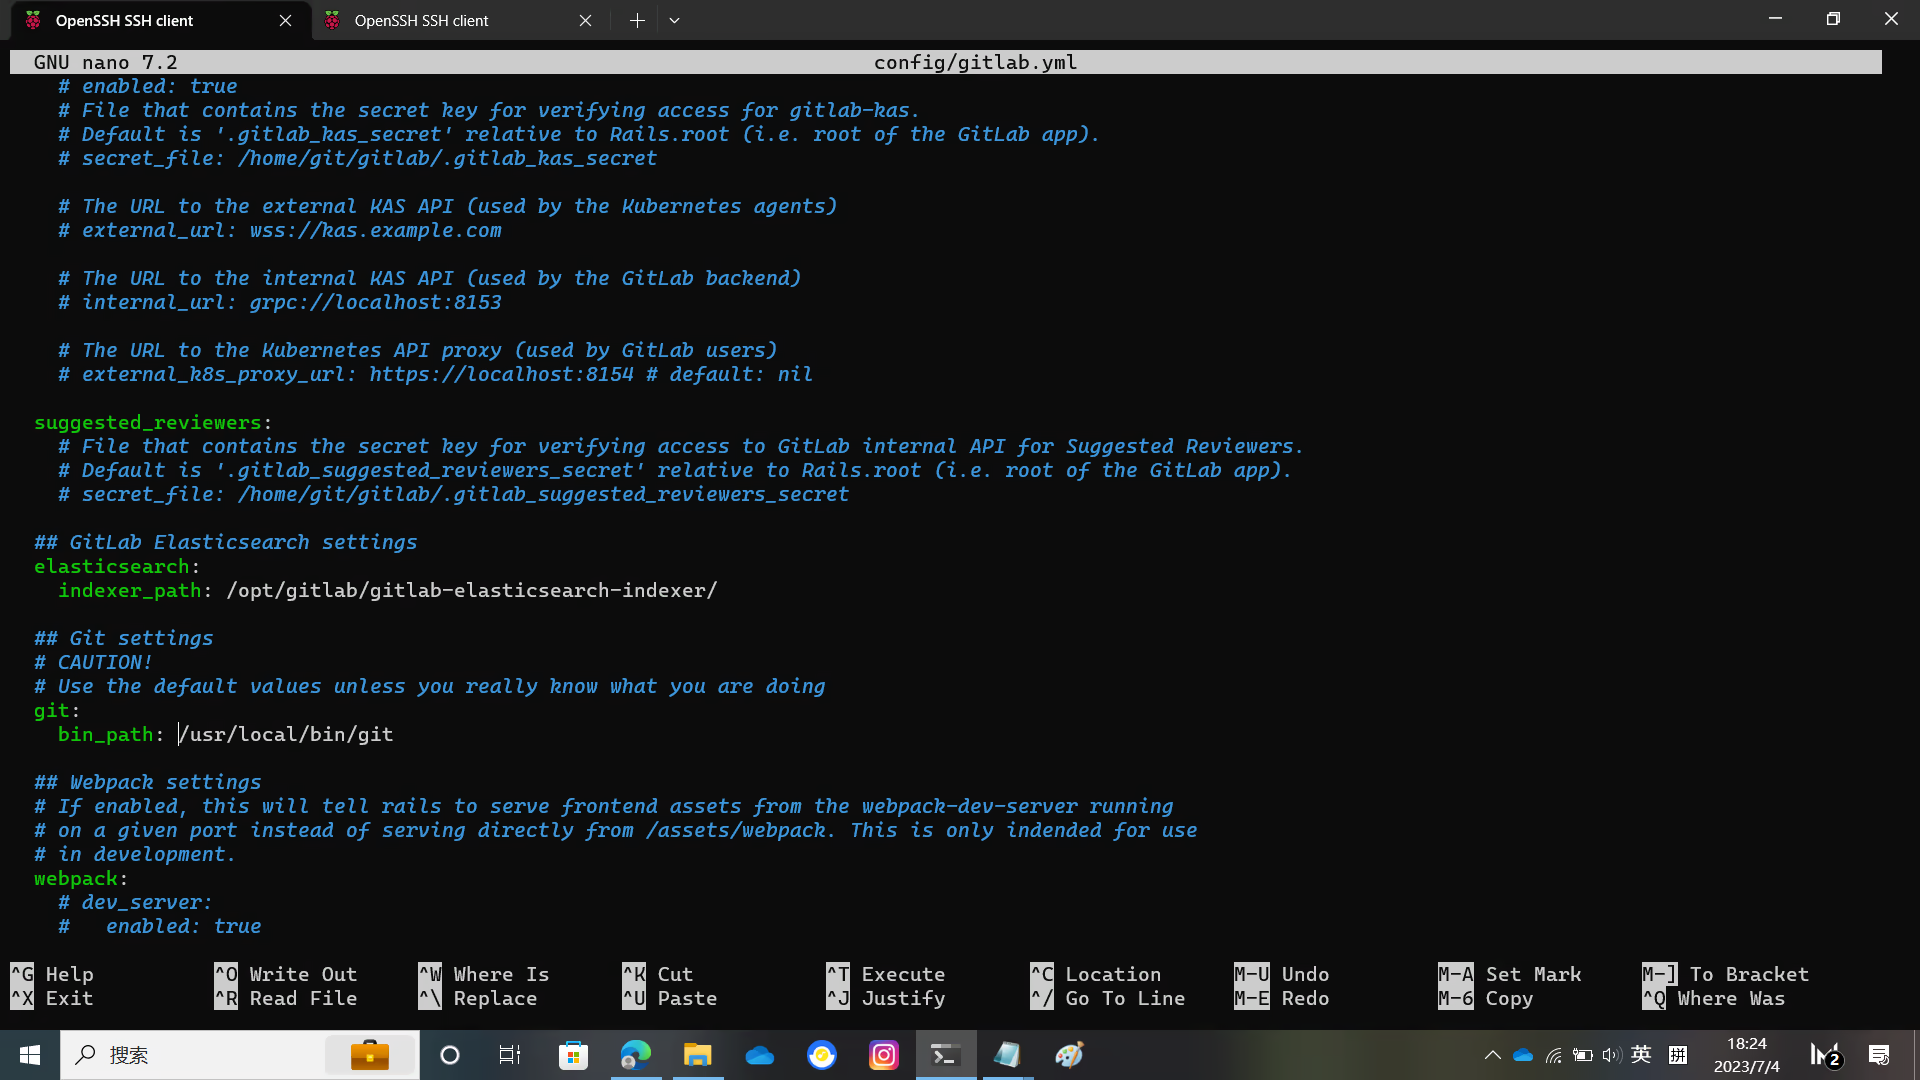
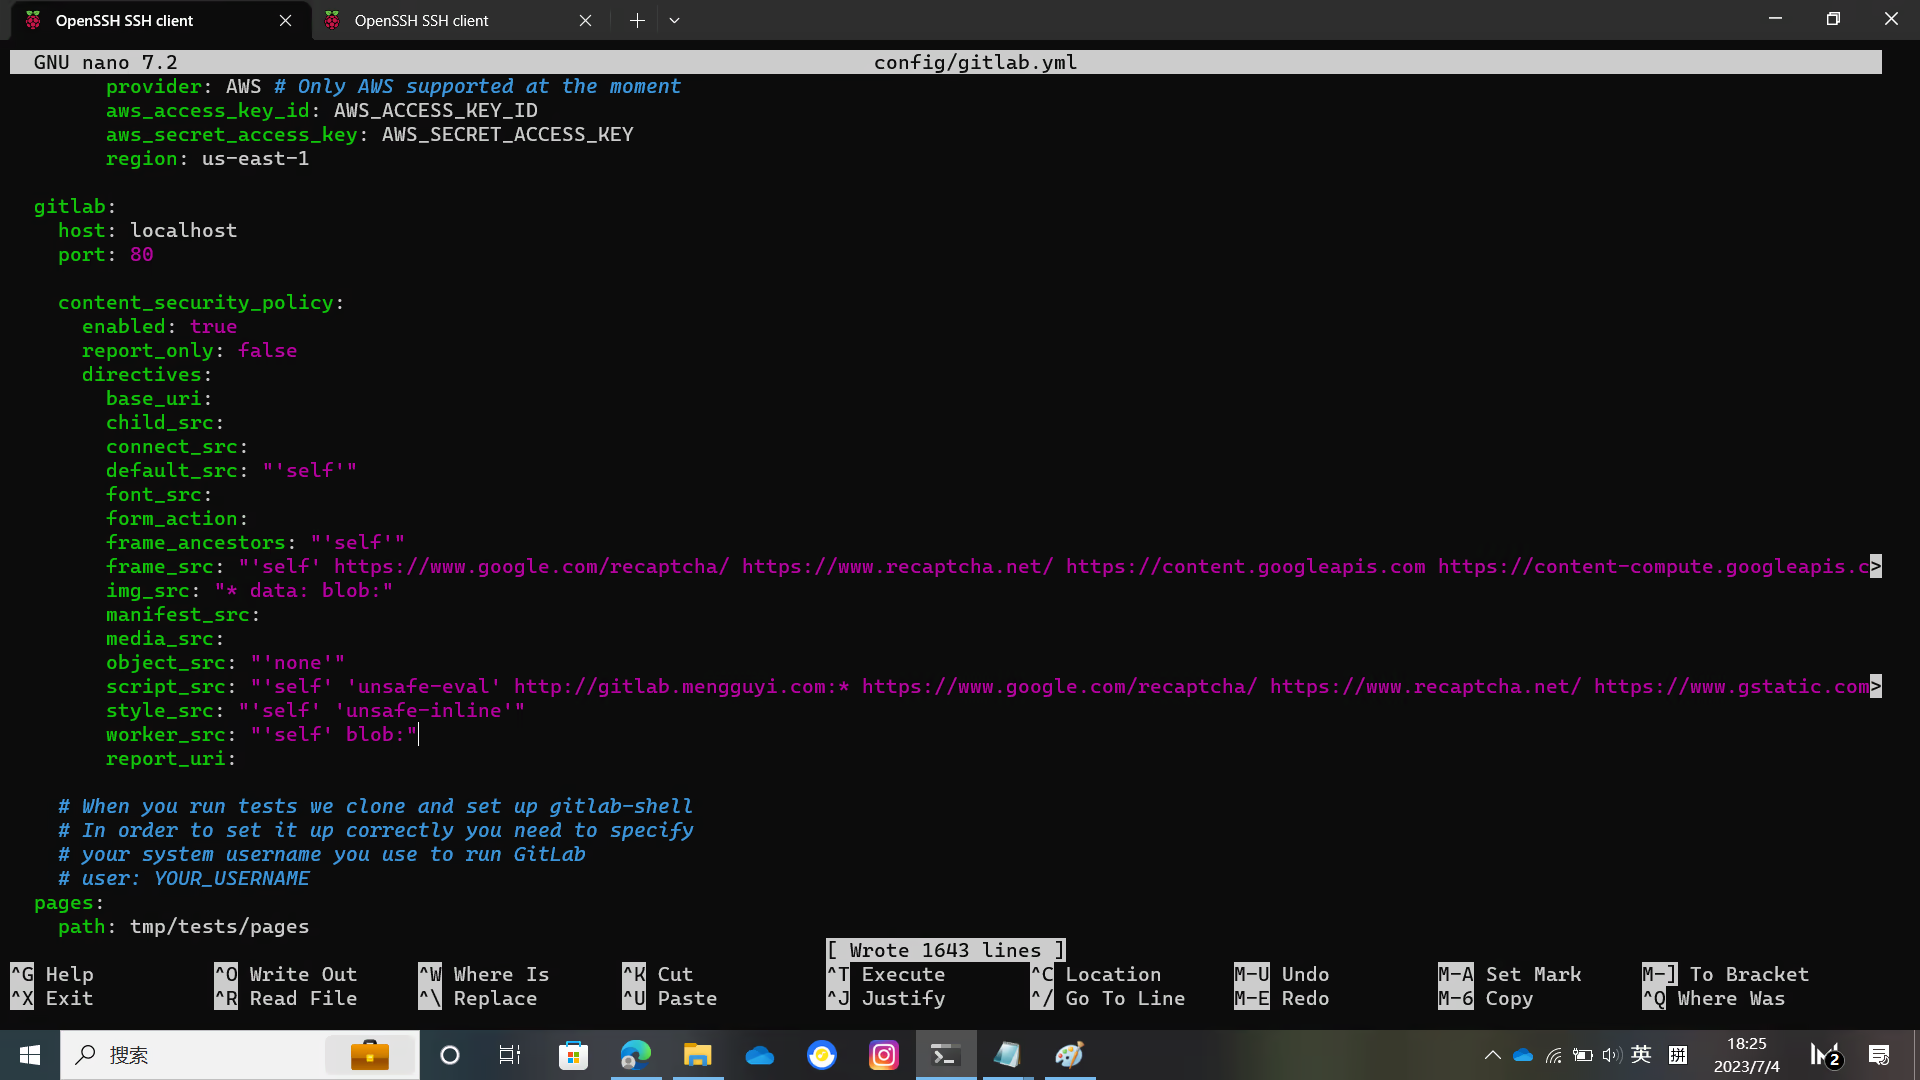
你需要修改 config/gitlab.yml 里的 host port https
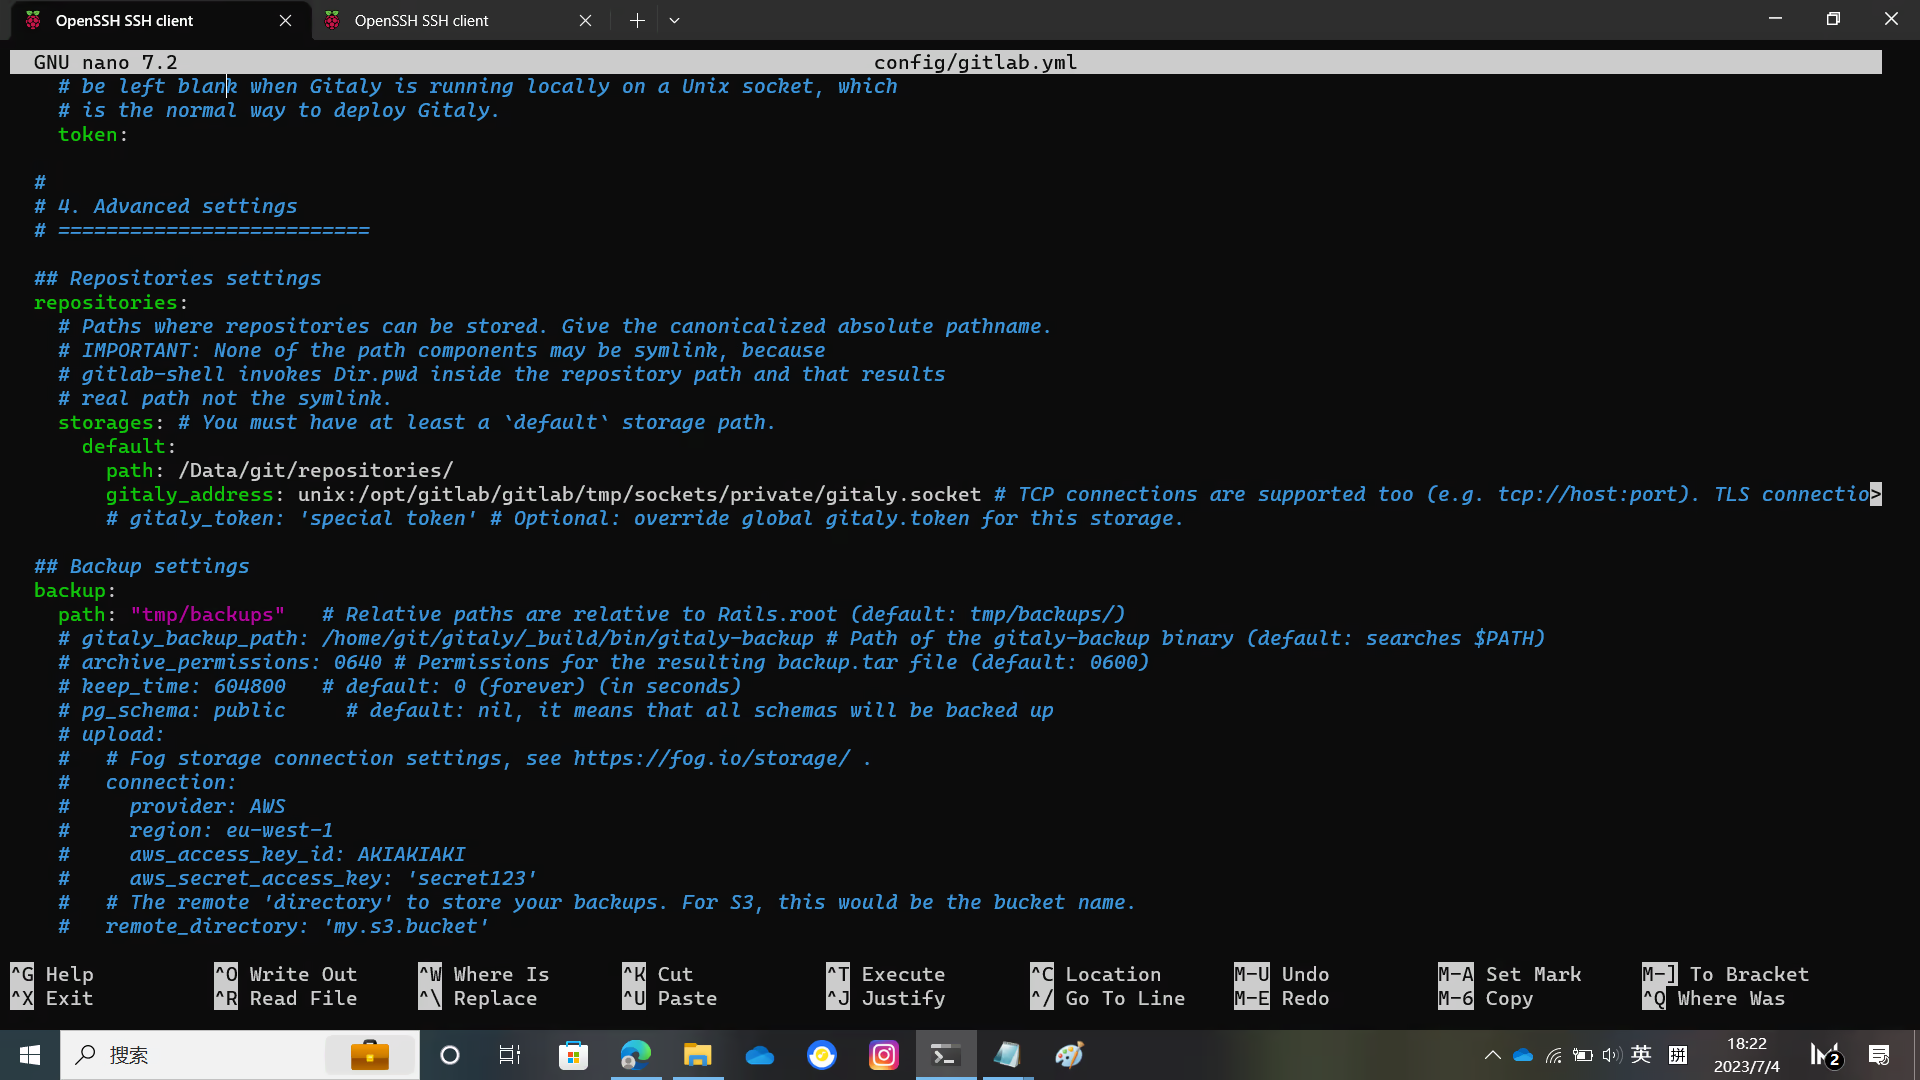
将 localhost 替换为你的域名,将默认 git 仓库目录修改为你将要使用的目录
将 UnixSocket 文件位置和 gitlab_shell 目录位置修改为如图所示。
以及 git 的 bin_path
相关图片在下面
cd /opt/gitlab/gitlab
sudo -u git -H cp config/gitlab.yml.example config/gitlab.yml
sudo -u git -H editor config/gitlab.yml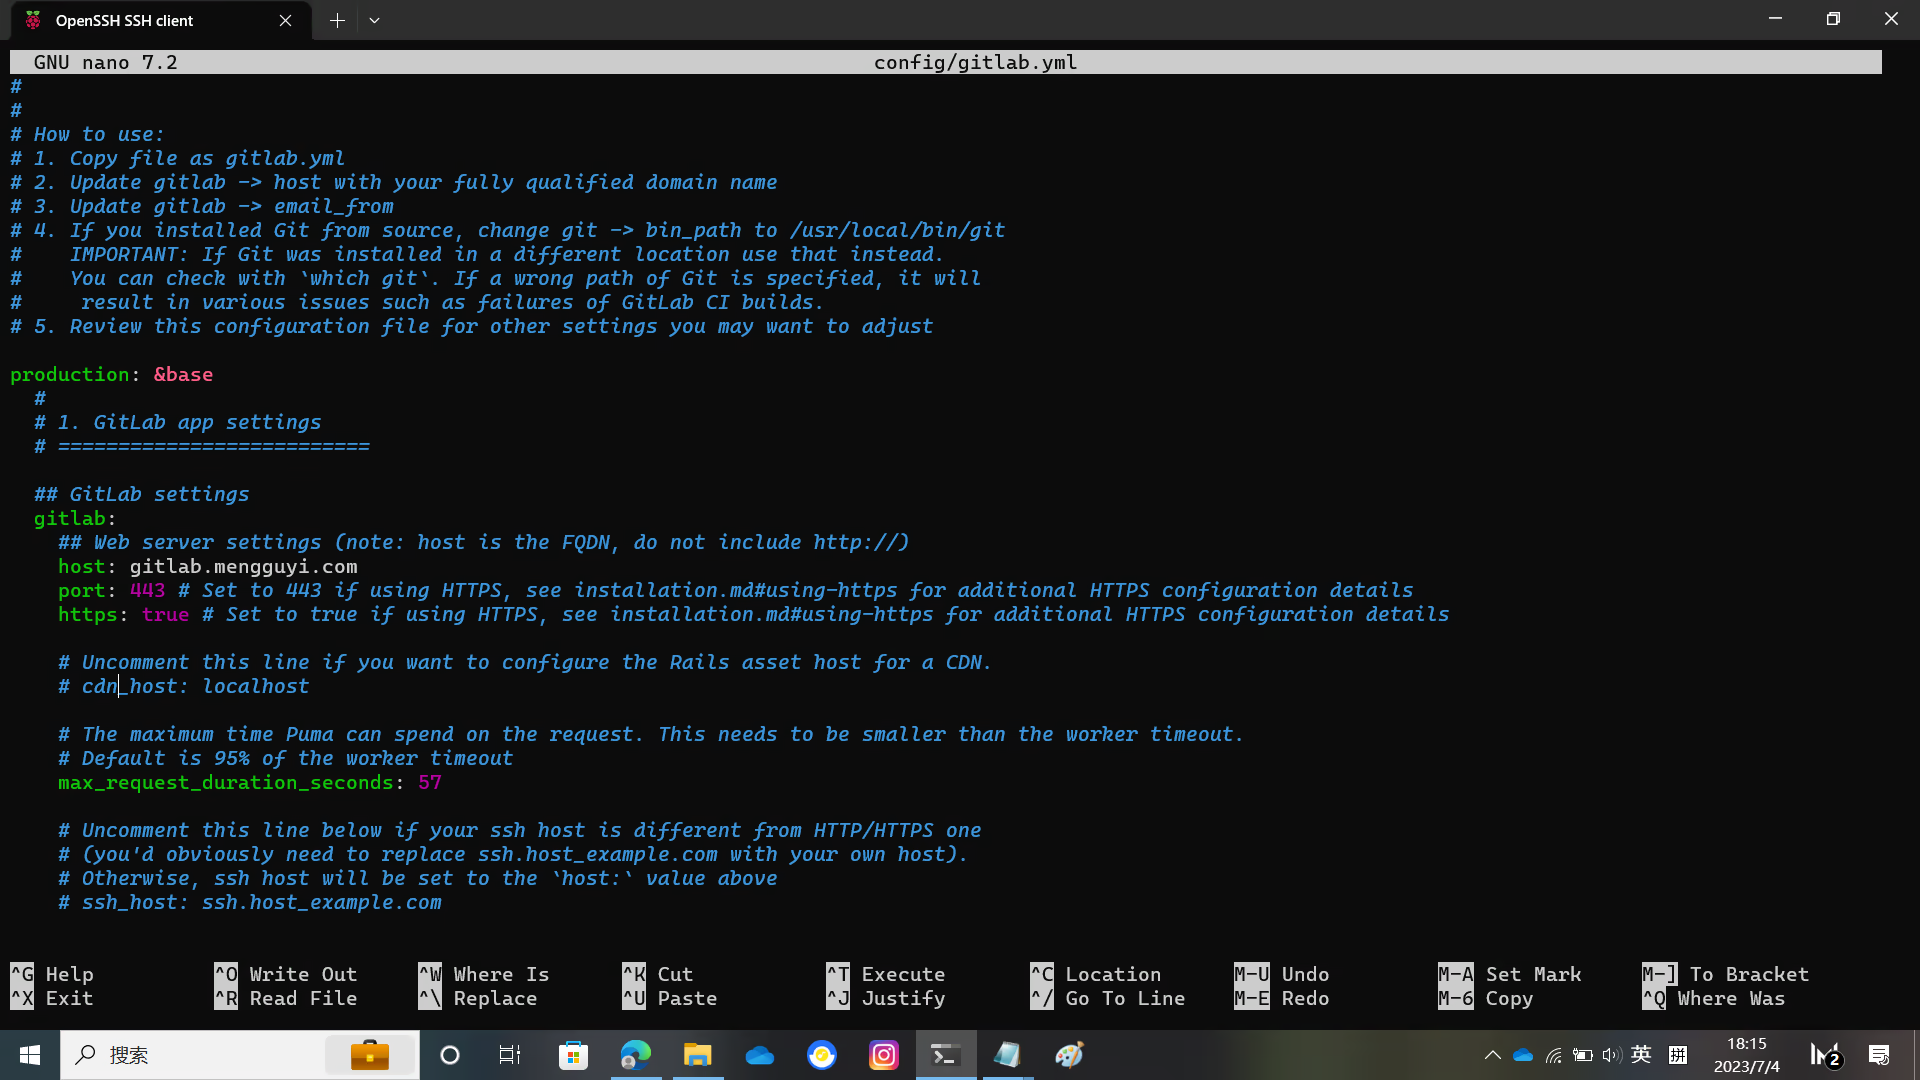
配置 GitLab
sudo -u git -H cp config/secrets.yml.example config/secrets.yml
sudo -u git -H chmod 0600 config/secrets.yml
chown -R git log/
chown -R git tmp/
chmod -R u+rwX,go-w log/
chmod -R u+rwX tmp/
chmod -R u+rwX tmp/pids/
chmod -R u+rwX tmp/sockets/
sudo -u git -H mkdir -p public/uploads/
chmod 0700 public/uploads
chmod -R u+rwX builds/
chmod -R u+rwX shared/artifacts/
chmod -R ug+rwX shared/pages/
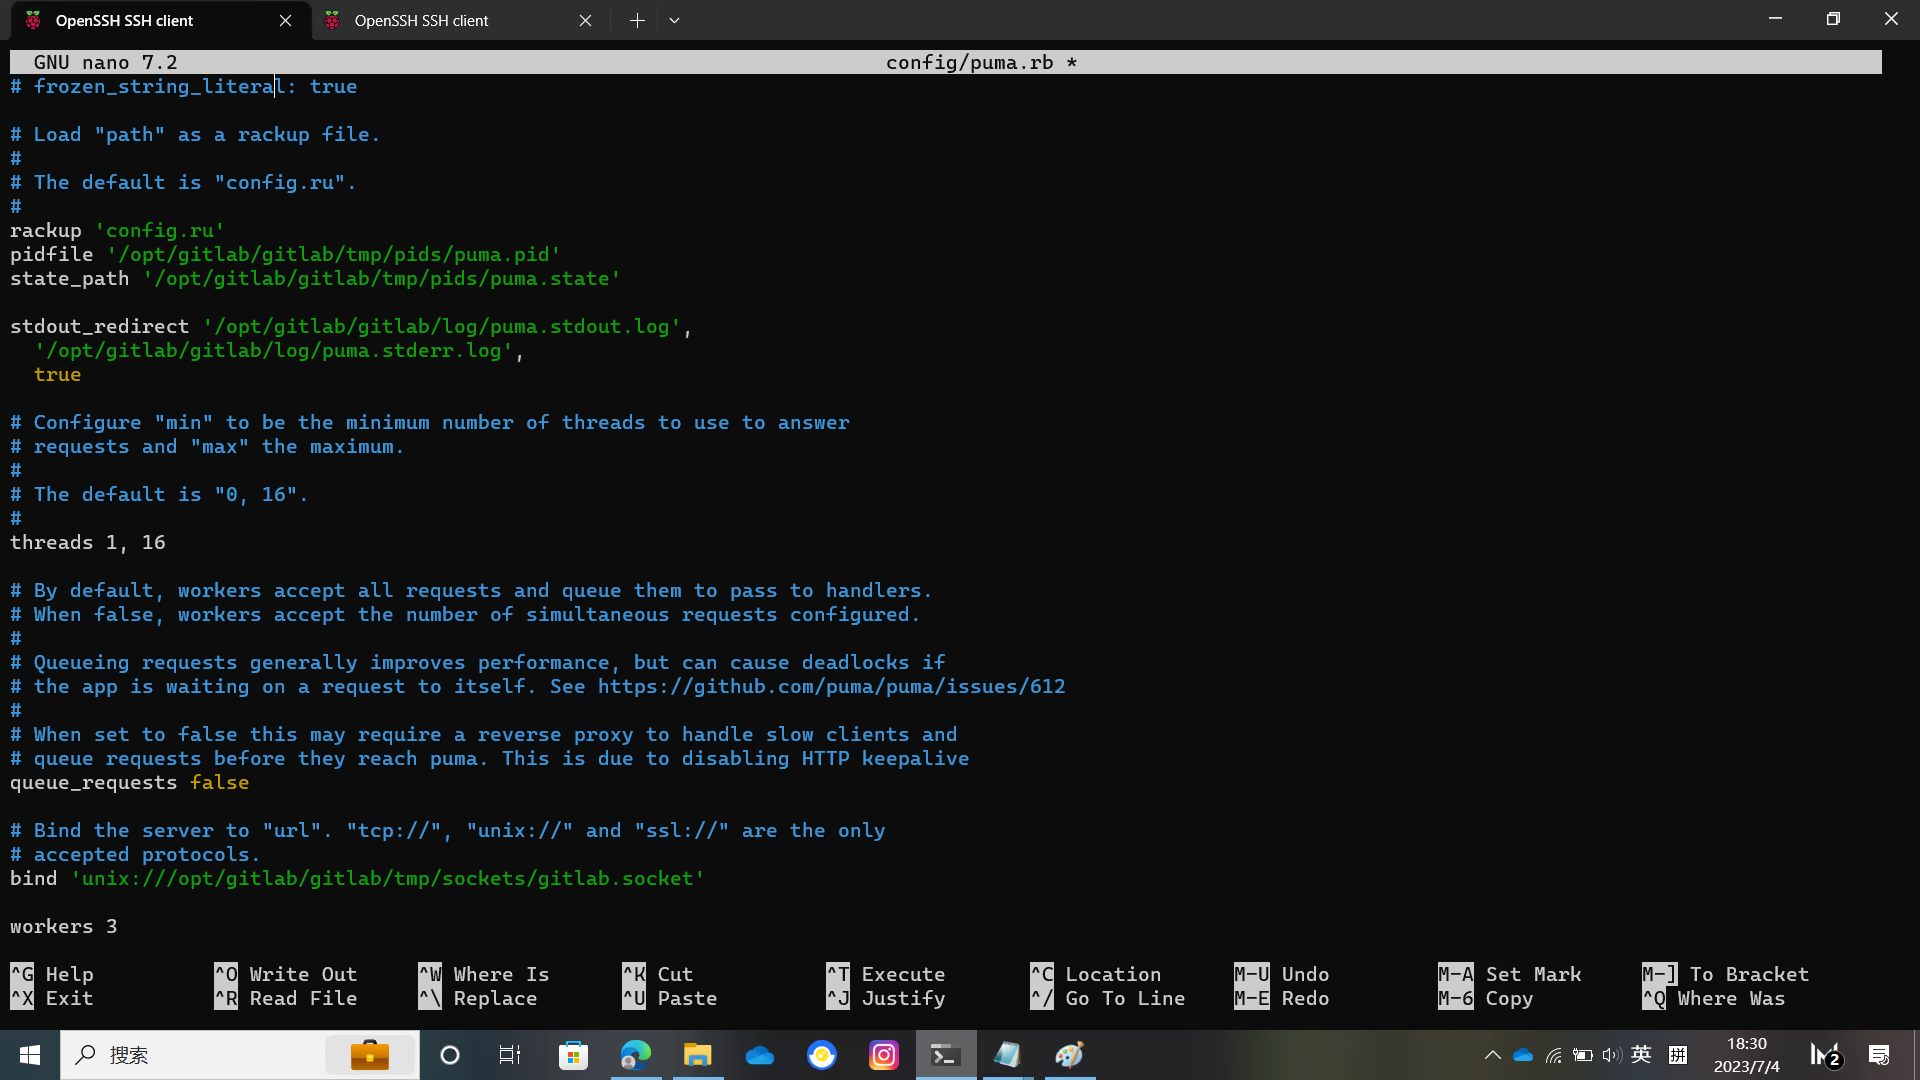
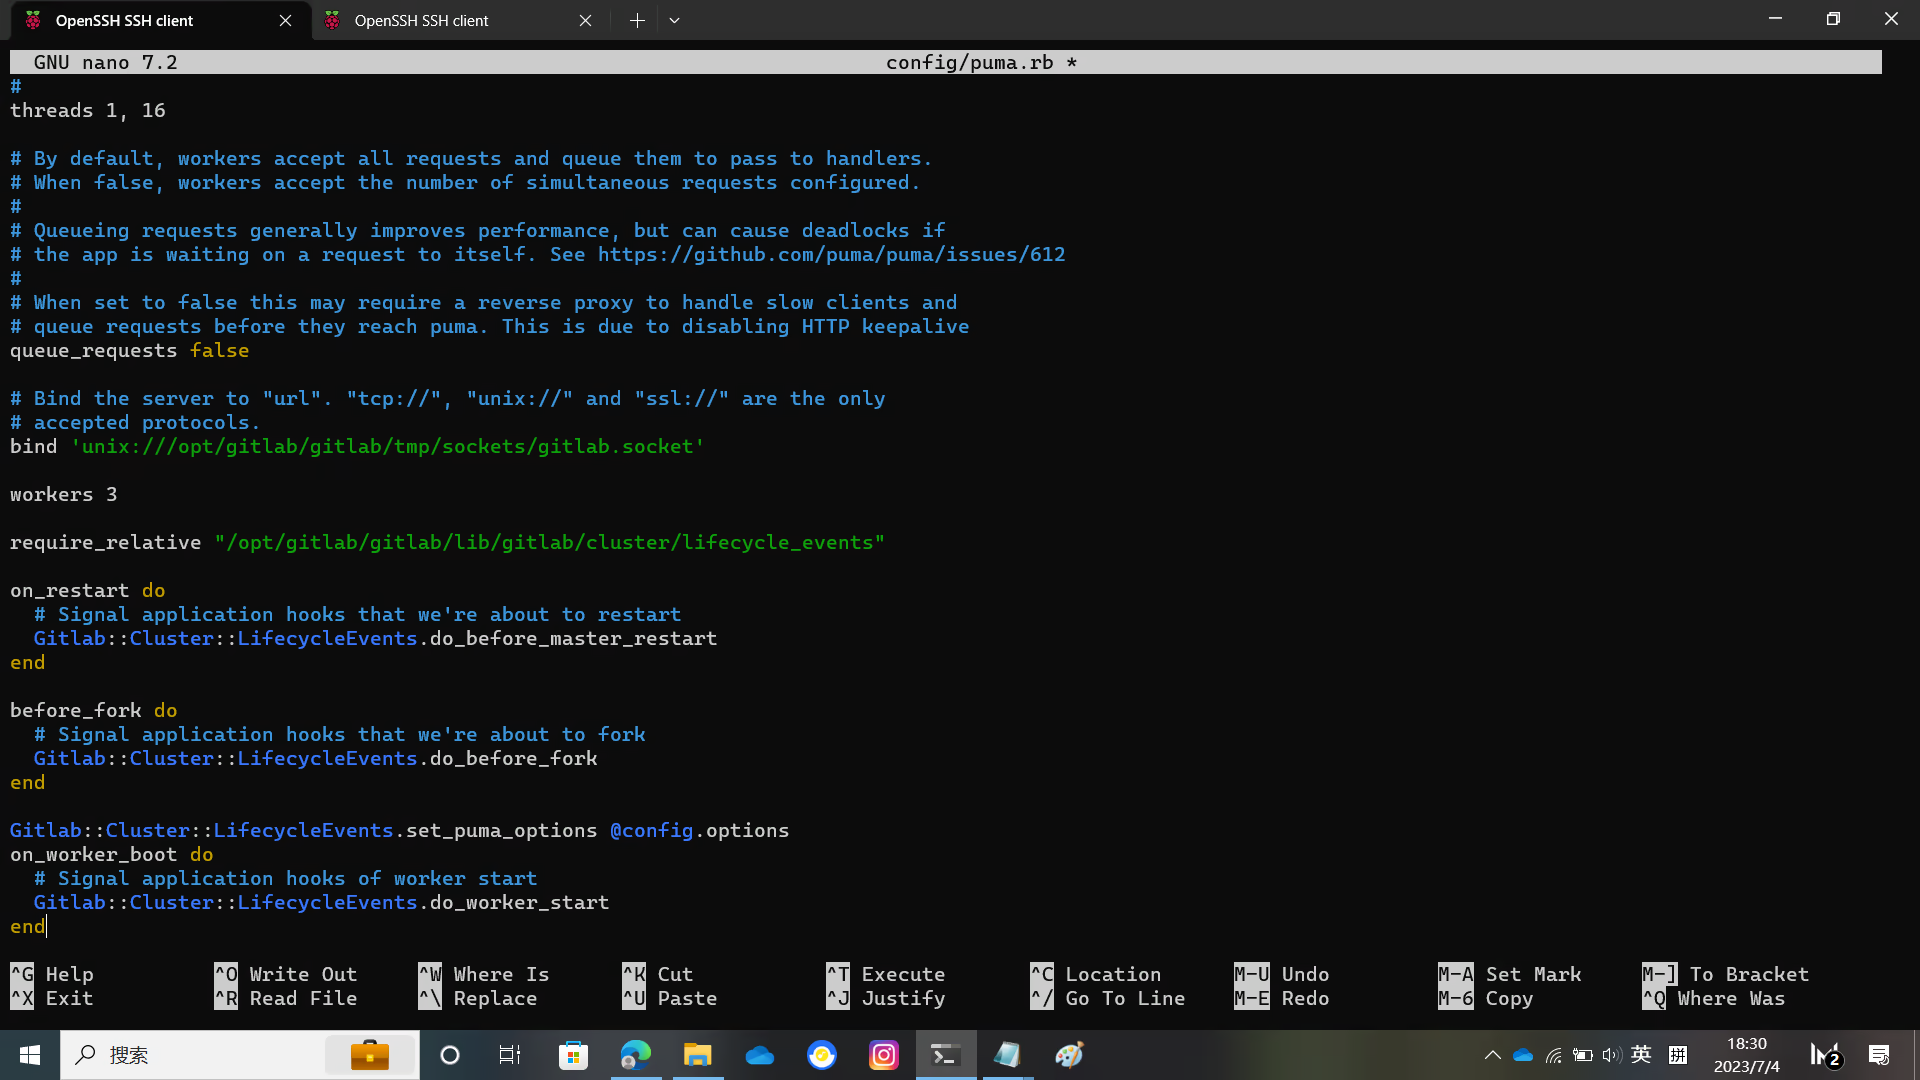
sudo -u git -H cp config/puma.rb.example config/puma.rb配置 puma
sudo -u git -H editor config/puma.rb
sudo -u git -H cp config/resque.yml.example config/resque.yml
sudo -u git -H cp config/cable.yml.example config/cable.yml
你需要将配置文件里的一些文件目录位置进行一些修改
具体细节请看下图
配置 Redis
一般来说这个不用修改。如果你使用的是默认的 Debian / Ubuntu 配置文件
sudo -u git -H editor config/resque.yml config/cable.yml修改数据库配置文件
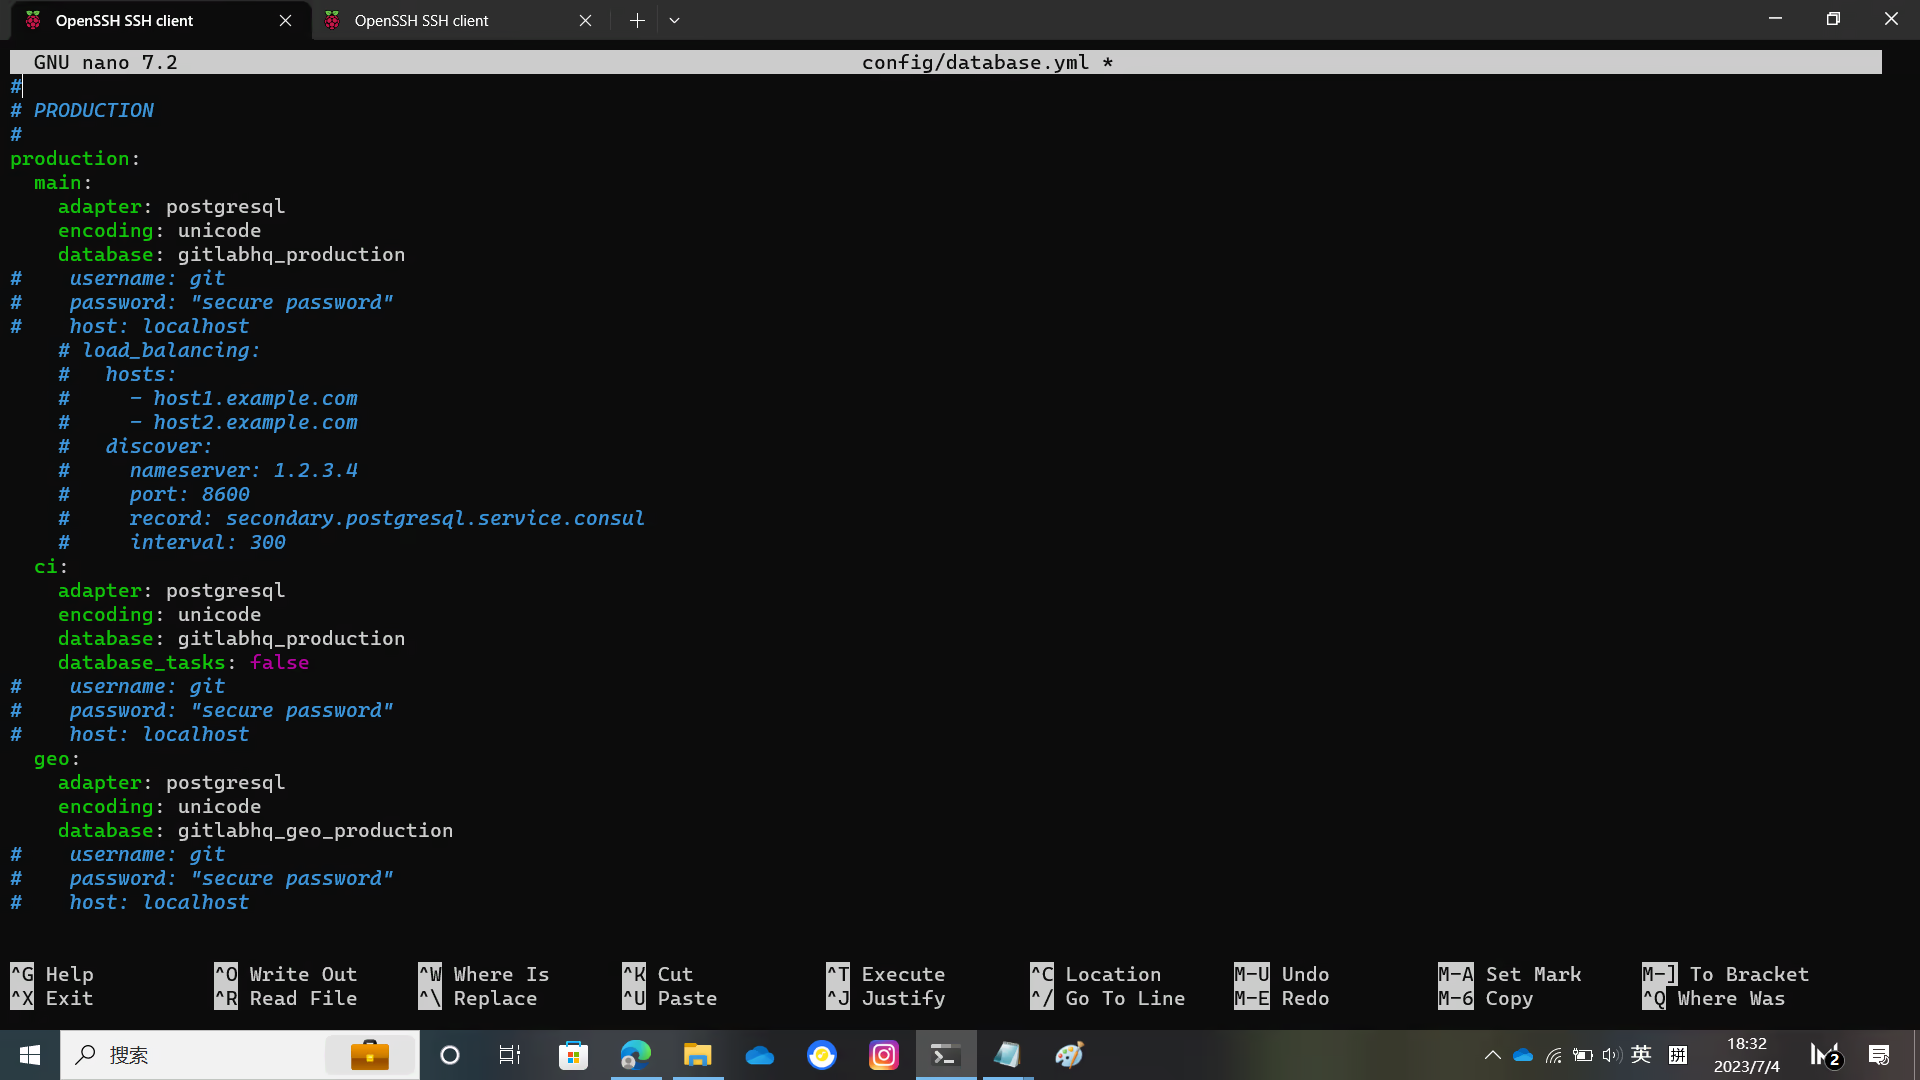
从 config/database.yml 中移除 host username password 这几行
sudo -u git cp config/database.yml.postgresql config/database.yml
sudo -u git -H editor config/database.yml
移除之后,它大概长这样:
production:
  main:
    adapter: postgresql
    encoding: unicode
    database: gitlabhq_production
  ci:
    adapter: postgresql
    encoding: unicode
    database: gitlabhq_production
    database_tasks: false
  geo:
    adapter: postgresql
    encoding: unicode
    database: gitlabhq_geo_production
这里还有图
安装 bundler 并使用 bundler 安装依赖
sudo -u git -H editor config/database.yml
sudo -u git -H chmod o-rwx config/database.yml
gem install bundler
sudo -u git -H bundle config set --local deployment 'true'
sudo -u git -H bundle config set --local without 'development test mysql aws kerberos'
sudo -u git -H bundle config path /opt/gitlab/gitlab/vendor/bundle
sudo -u git -H bundle install
安装 GitLab Shell
注意
进行此步必须要有能访问 Google 的网络
否则 golang 无法完成下载
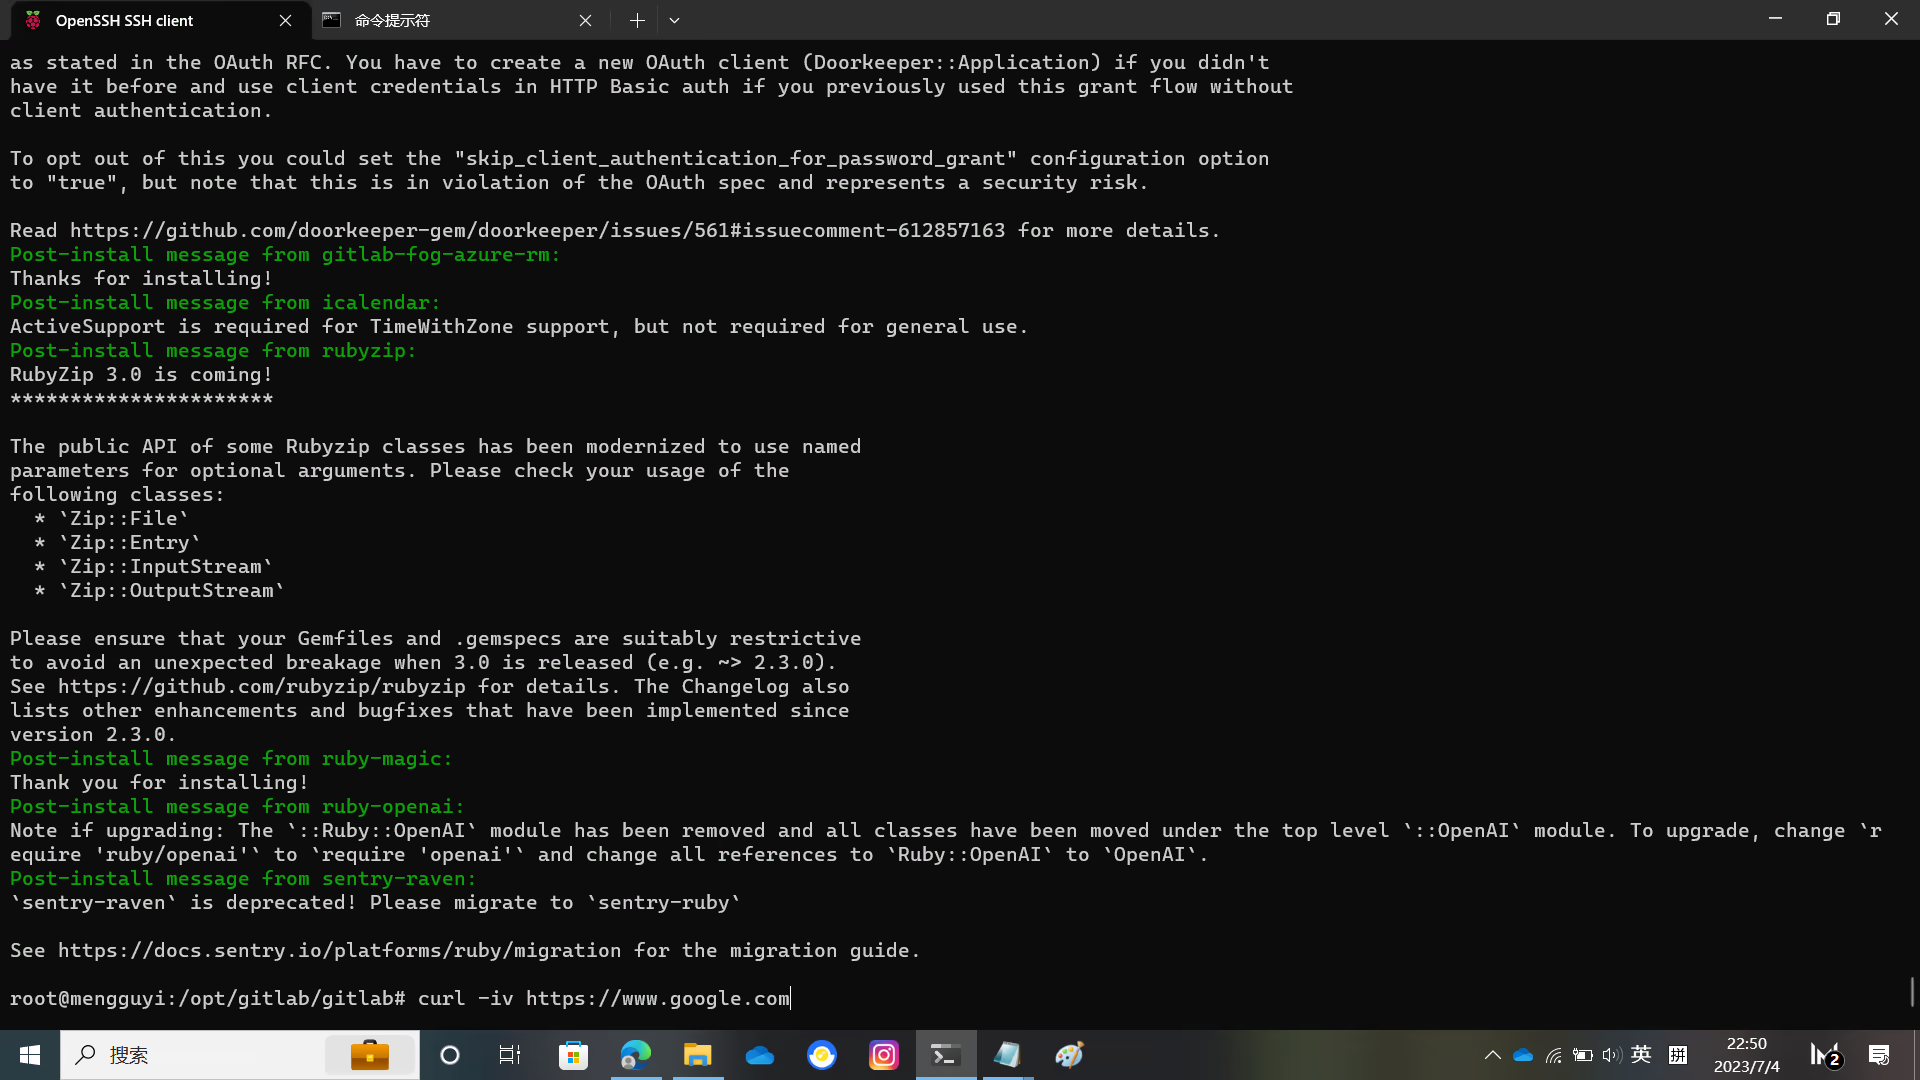
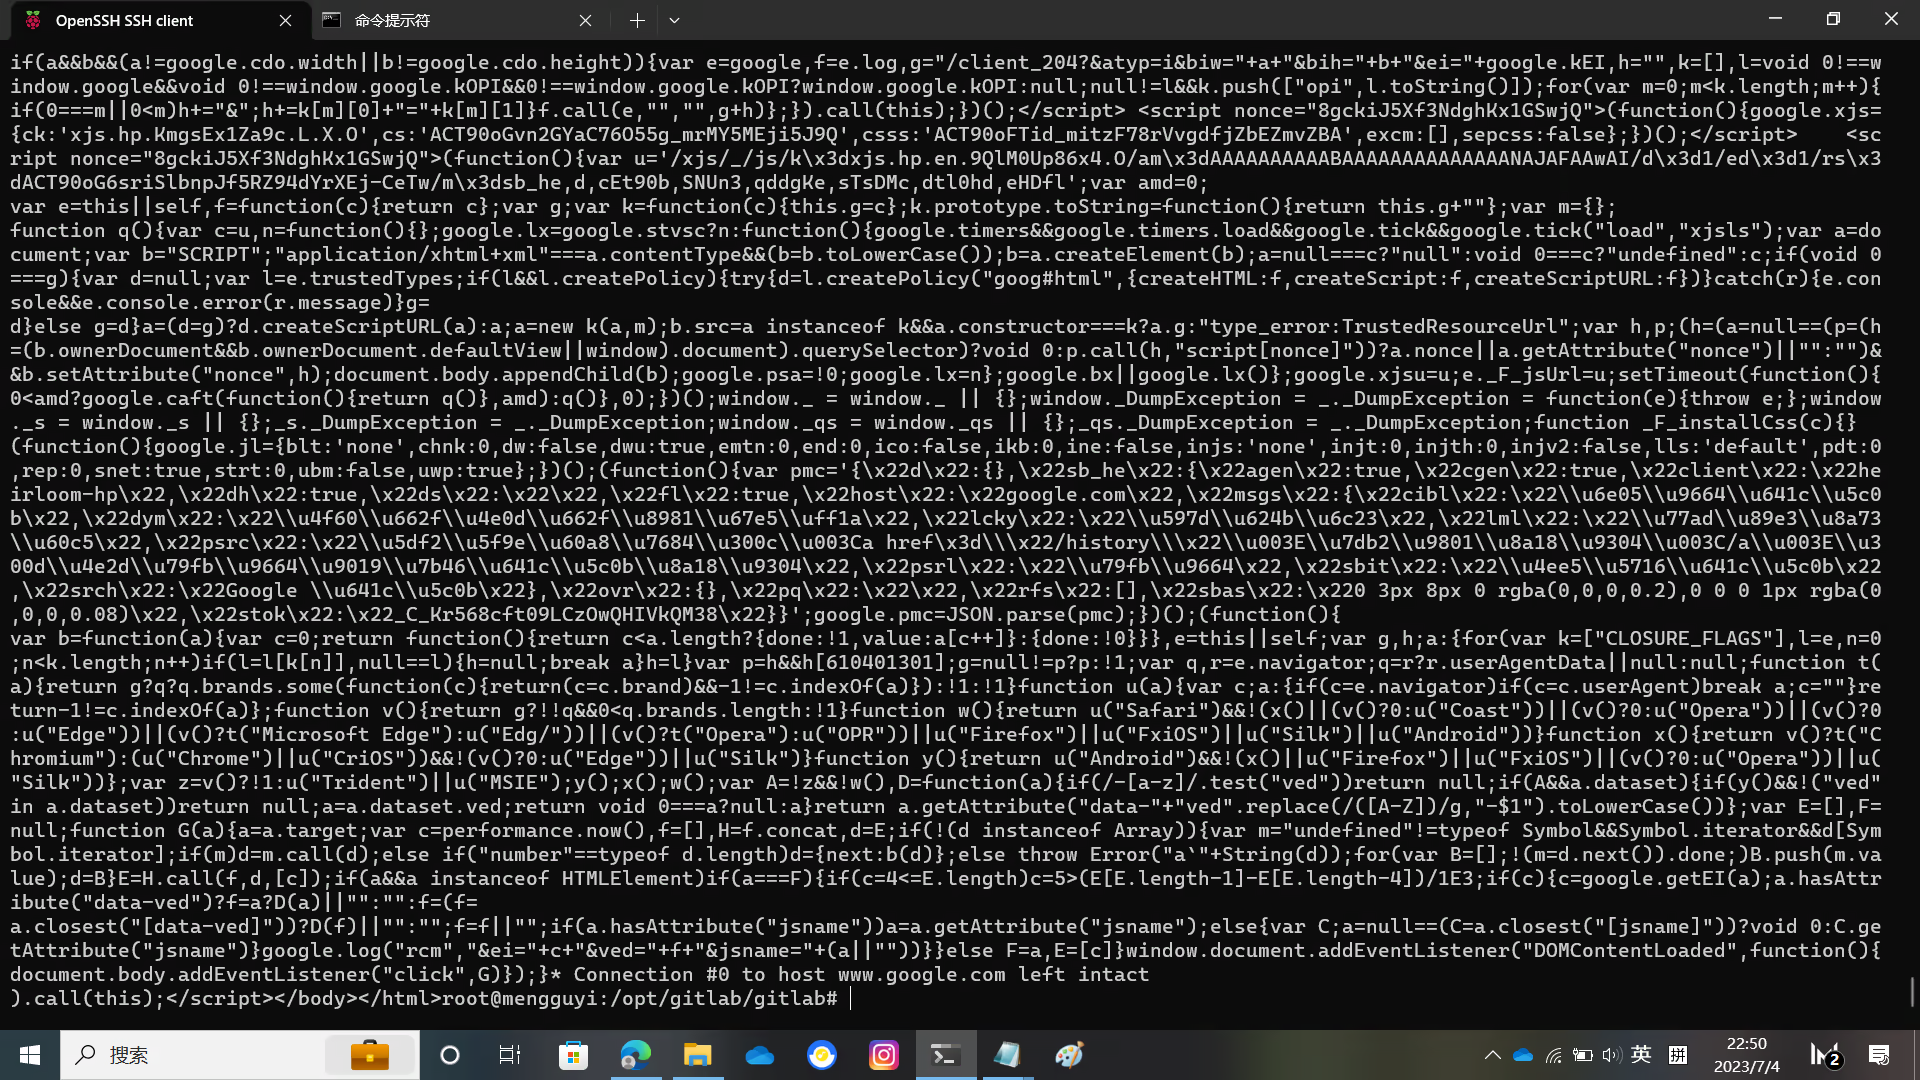
使用 curl 来检测网络
curl -iv https://www.google.com若出现类似图中的输出则说明网络畅通可以进行这步
安装 GitLab Shell
成功示例如图
sudo -u git -H bundle exec rake gitlab:shell:install RAILS_ENV=production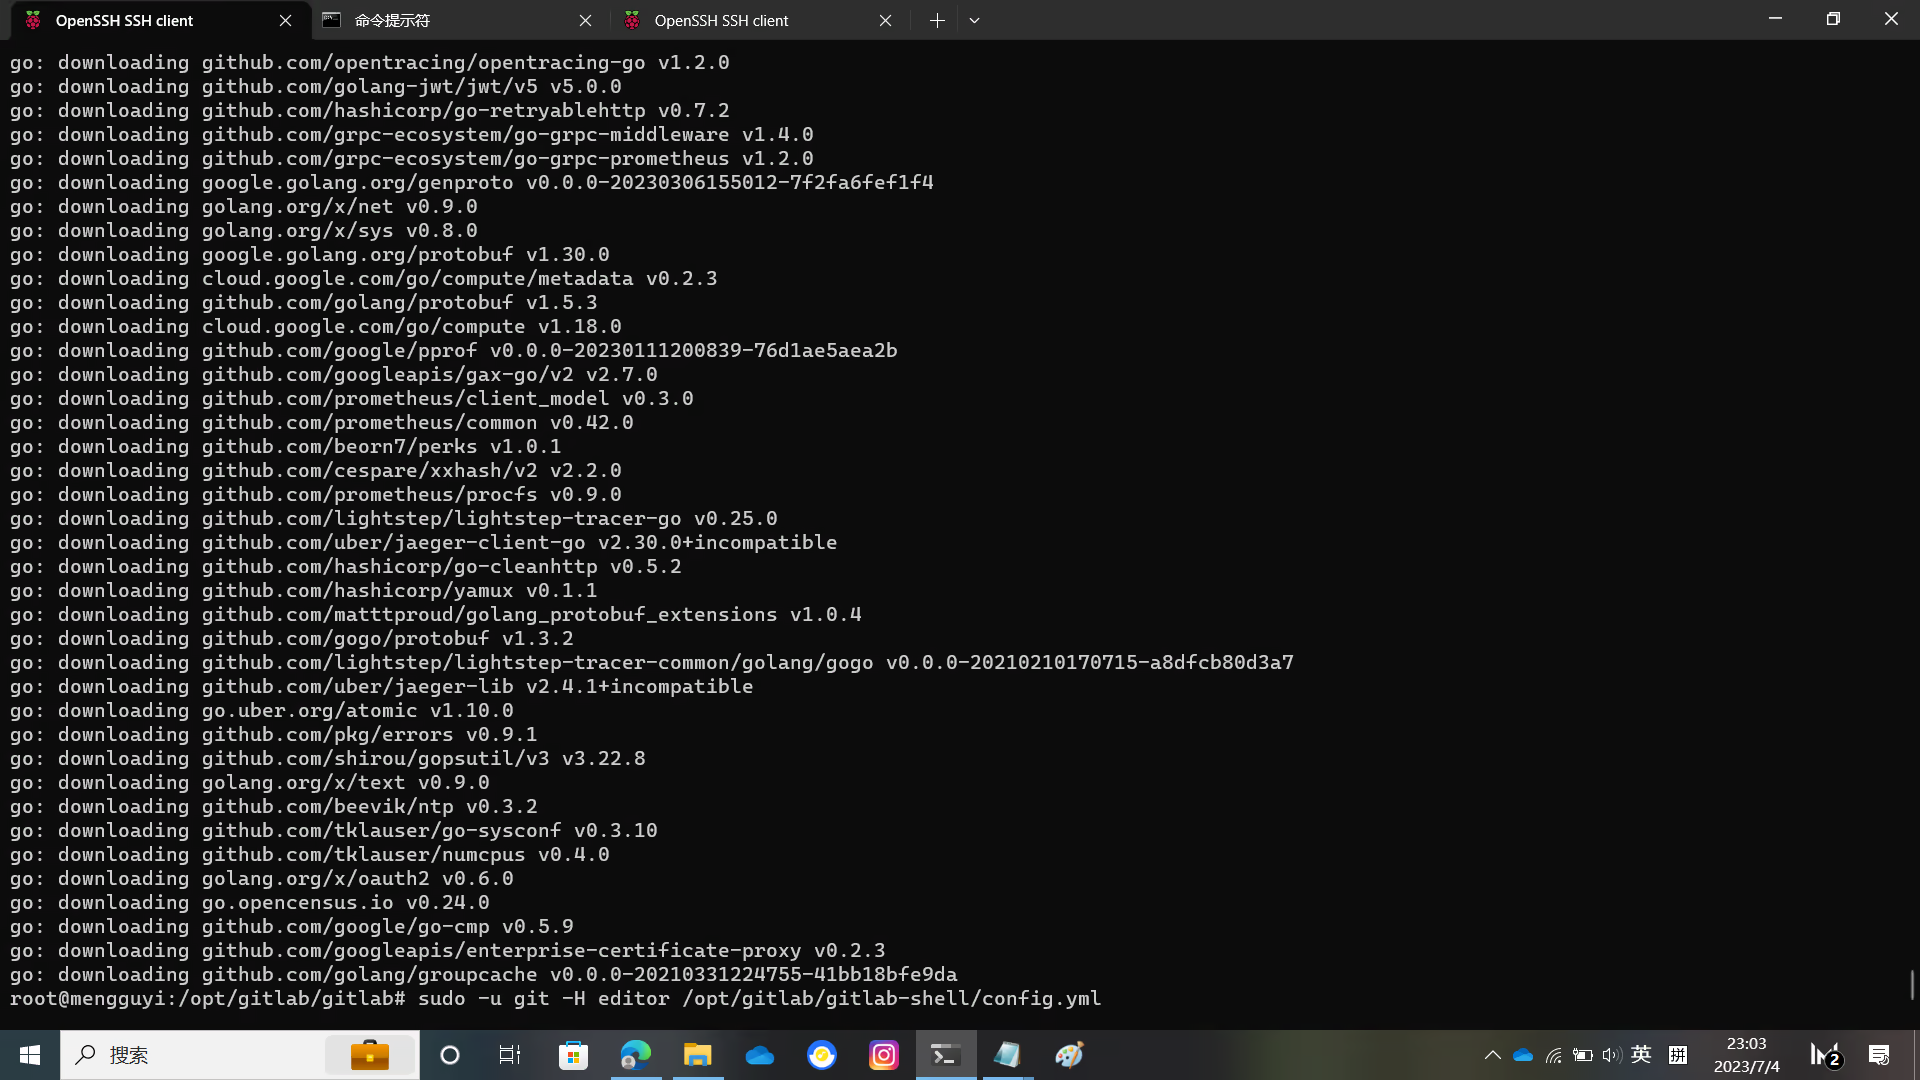
编辑 GitLab Shell 配置文件
将里面的 gitlab_url 修改为你的域名
sudo -u git -H editor /opt/gitlab/gitlab-shell/config.yml安装 GitLab 企业版功能
sudo -u git -H bundle exec rake "gitlab:workhorse:install[/opt/gitlab/gitlab-workhorse]" RAILS_ENV=production
sudo -u git -H bundle exec rake "gitlab:indexer:install[/opt/gitlab/gitlab-elasticsearch-indexer]" RAILS_ENV=production
安装 GitLab Pages
cd /opt/gitlab
sudo -u git -H git clone https://gitlab.com/gitlab-org/gitlab-pages.git
cd gitlab-pages
sudo -u git -H make
安装 Gitaly
cd /opt/gitlab/gitlab
sudo -u git -H bundle exec rake "gitlab:gitaly:install[/opt/gitlab/gitaly,/opt/gitlab/repositories]" RAILS_ENV=production
chmod 0700 /opt/gitlab/gitlab/tmp/sockets/private
chown git /opt/gitlab/gitlab/tmp/sockets/private
安装服务
cd /opt/gitlab/gitlab
mkdir -p /usr/local/lib/systemd/system
cp lib/support/systemd/* /usr/local/lib/systemd/system/
这里需要把配置文件做一些调整
将下面两行添加到下面两个文件的 [Unit] 中Wants=redis-server.service postgresql.serviceAfter=redis-server.service postgresql.service
nano /usr/local/lib/systemd/system/gitlab-puma.service
nano /usr/local/lib/systemd/system/gitlab-sidekiq.service
你还需编辑 /usr/local/lib/systemd/system/ 目录中的所有 servise 文件,将错误的目录修复
然后执行一下
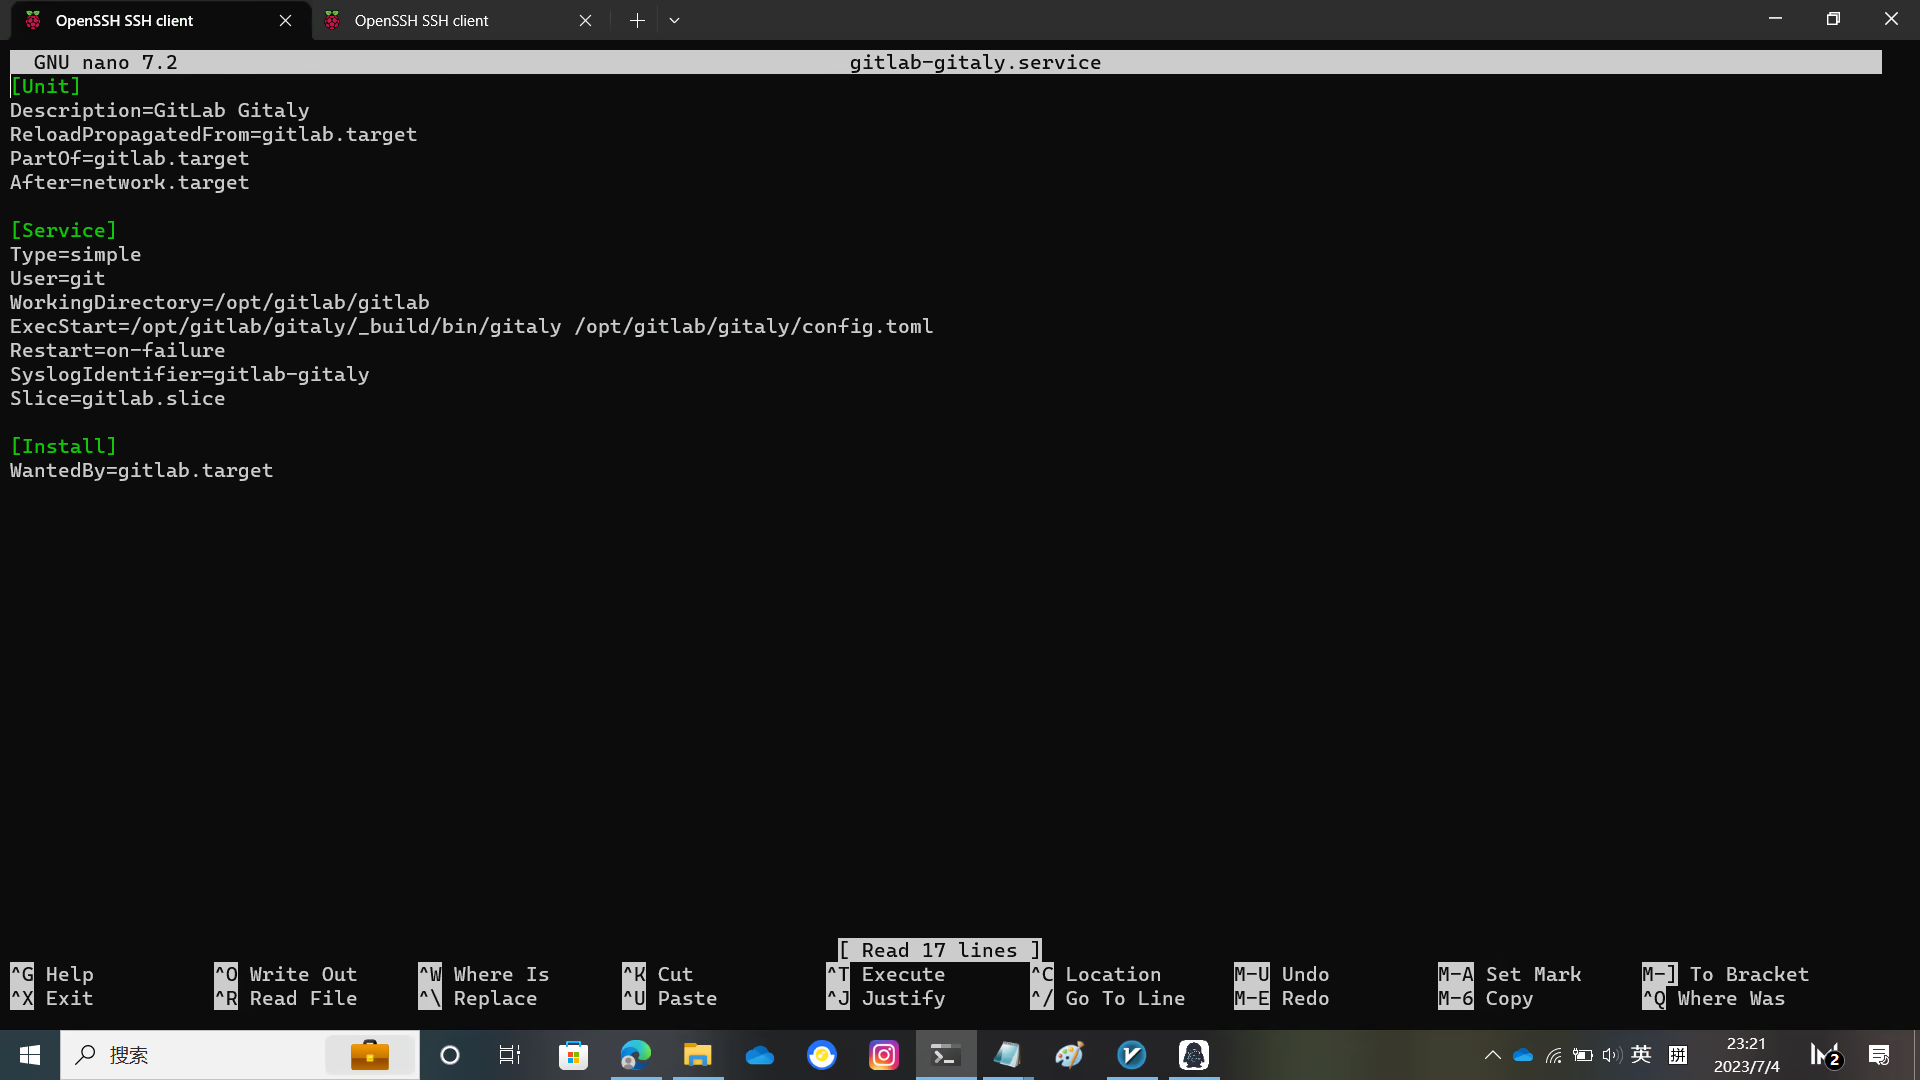
systemctl daemon-reload编辑 Gitaly 配置文件
将里面的 path = "/opt/gitlab/repositories" 改为 path = "/Data/git/repositories"
nano /opt/gitlab/gitaly/config.toml最后执行一下
systemctl enable gitlab.target设置 Logrotate
cp lib/support/logrotate/gitlab /etc/logrotate.d/gitlab启动 Gitaly
systemctl start gitlab-gitaly.service初始化数据库并激活高级功能
cd /opt/gitlab/gitlab
sudo -u git -H bundle exec rake gitlab:setup RAILS_ENV=production
检查运行状态
sudo -u git -H bundle exec rake gitlab:env:info RAILS_ENV=production编译 Assets
sudo -u git -H yarn install --production --pure-lockfile
sudo -u git -H bundle exec rake gitlab:assets:compile RAILS_ENV=production NODE_ENV=production
如果失败并出现 JavaScript 堆内存不足错误,请尝试运行如下命令。
sudo -u git -H bundle exec rake gitlab:assets:compile RAILS_ENV=production NODE_ENV=production NODE_OPTIONS="--max_old_space_size=4096"GitLab 启动!
systemctl start gitlab.targetNginx 配置
编辑 gitlab-ssl 文件,编辑 unixsocket 路径,替换 YOUR_SERVER_FQDN 为你的域名,移除 default_server 。配置好证书位置
注意运行 nginx 的用户,要能访问 GitLab 的 unixsocket ,不然会 403
cp lib/support/nginx/gitlab-ssl /etc/nginx/sites-available/gitlab-ssl
ln -s /etc/nginx/sites-available/gitlab-ssl /etc/nginx/sites-enabled/gitlab-ssl
nano /etc/nginx/sites-available/gitlab-ssl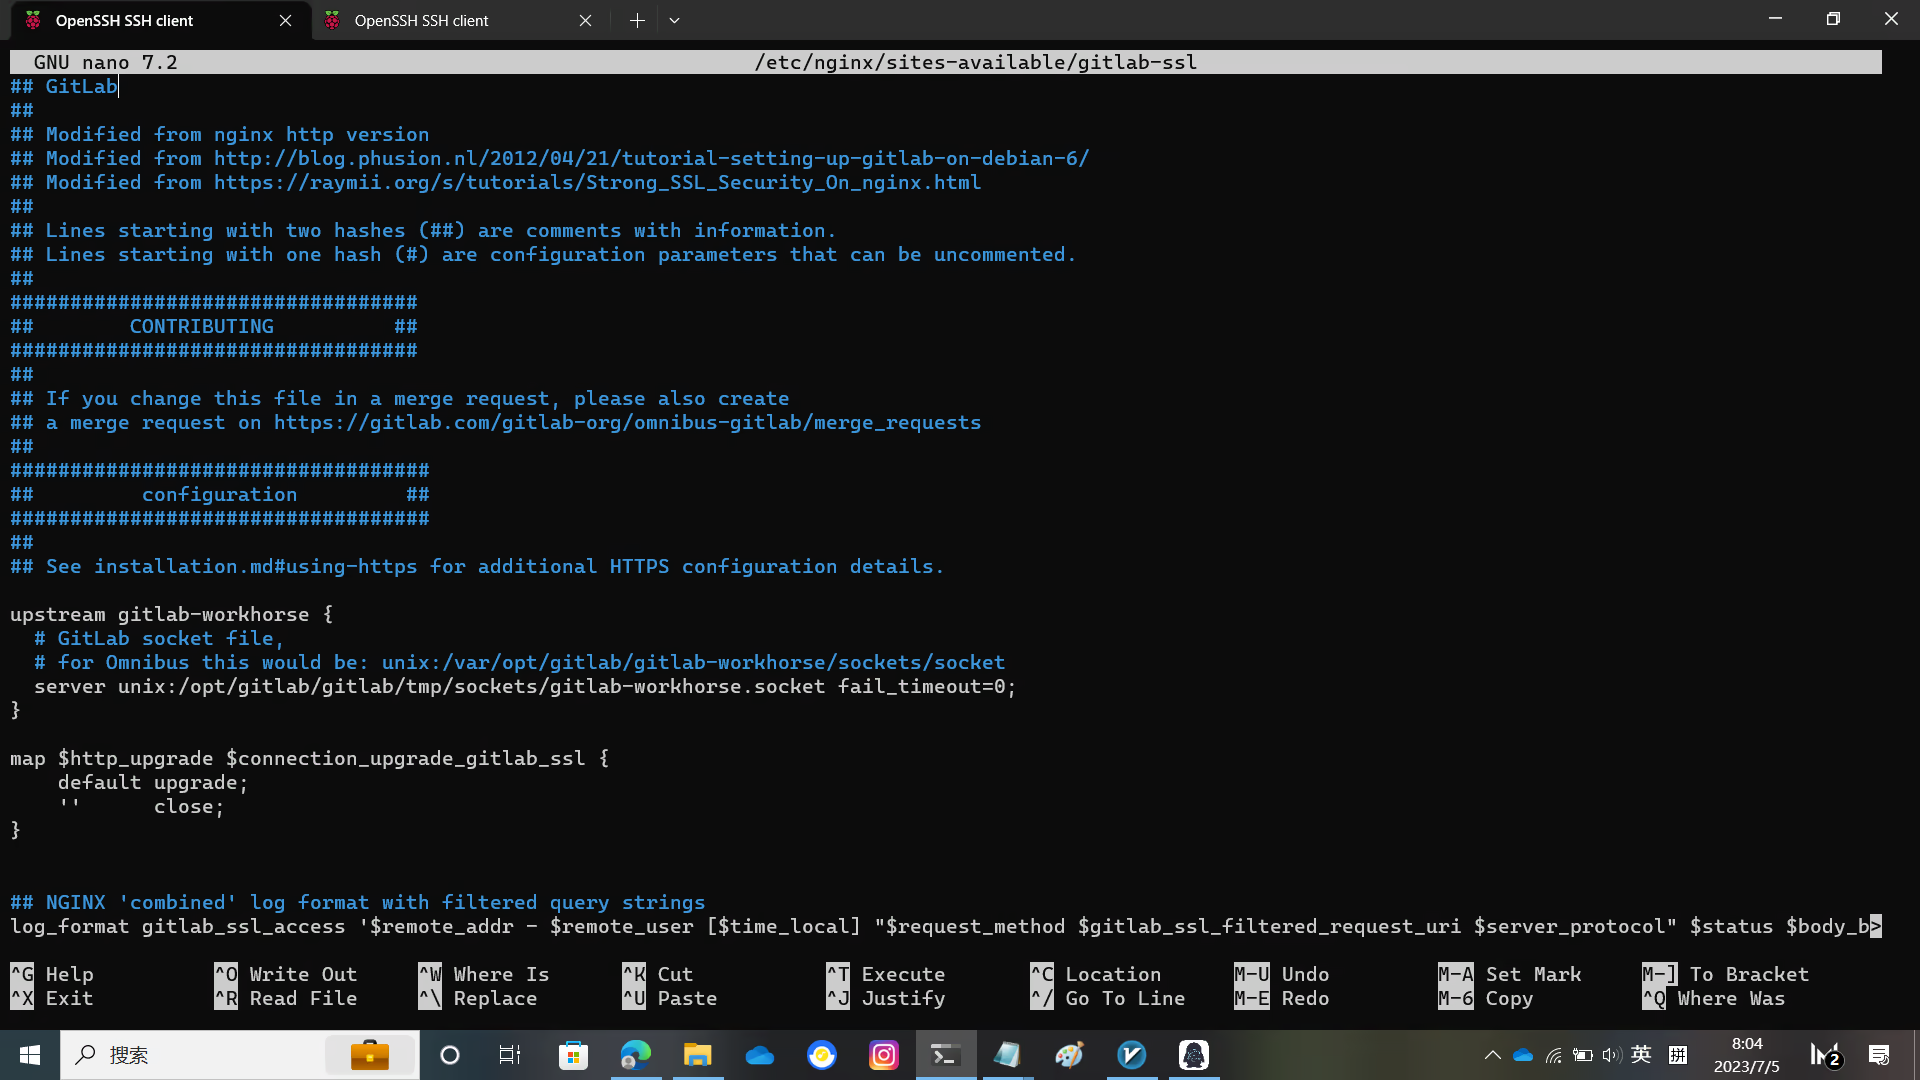

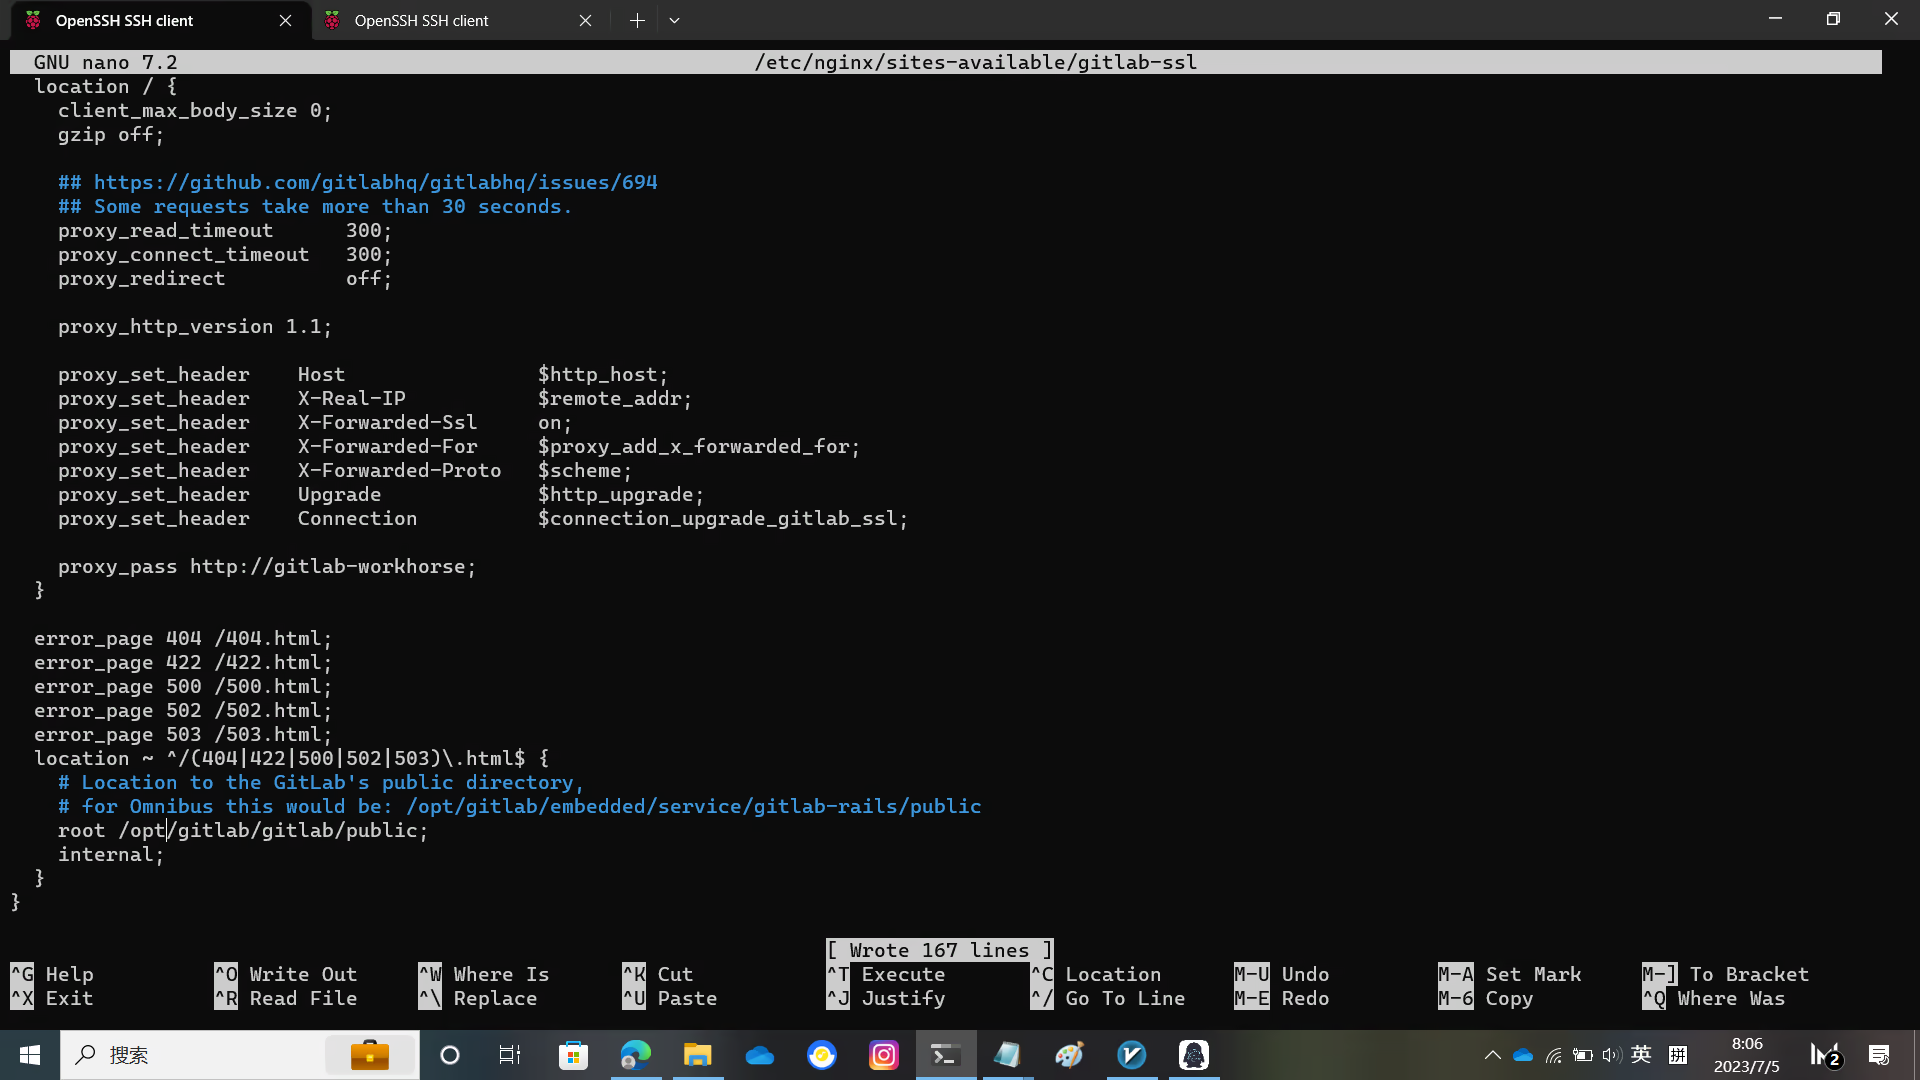
重启 nginx
systemctl restart nginx.service仔细检查应用程序状态
sudo -u git -H bundle exec rake gitlab:check RAILS_ENV=production初始化登录
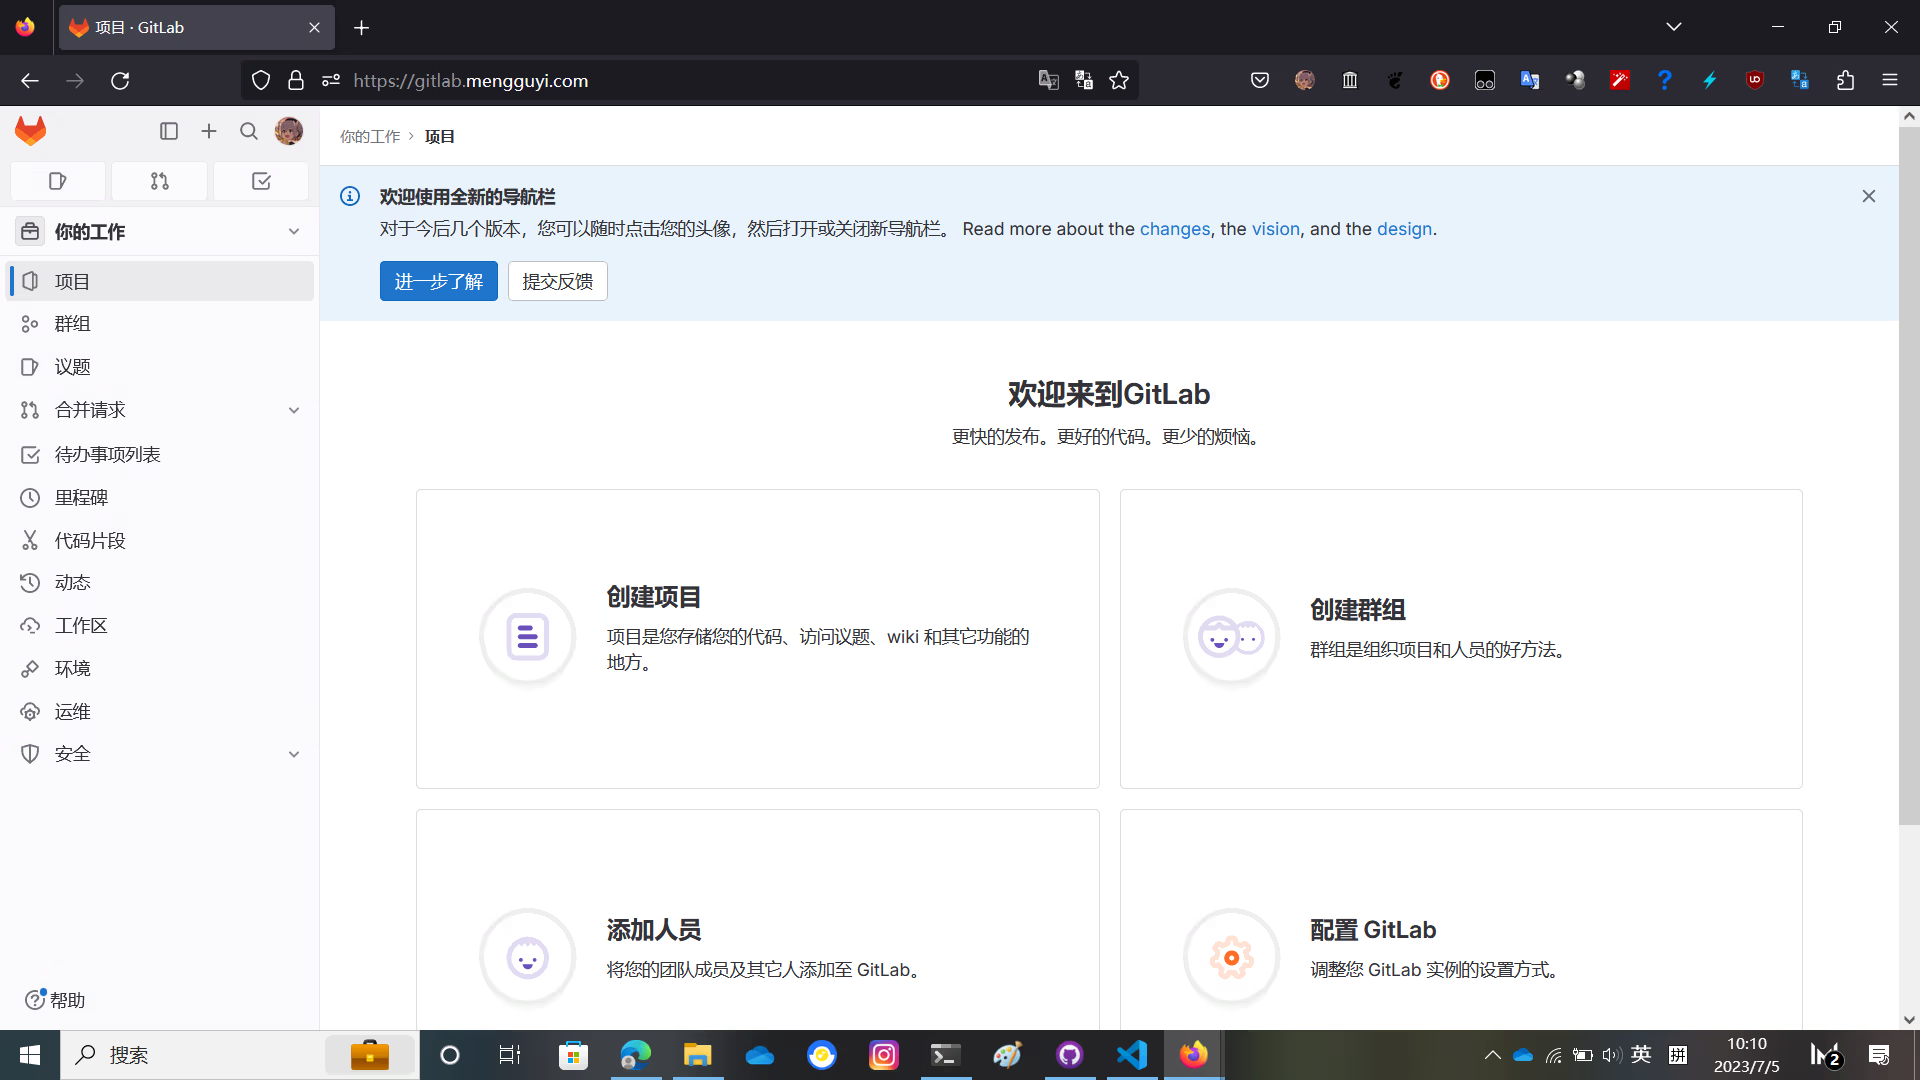
访问之前设置的域名,GitLab 会要求你设置 root 密码
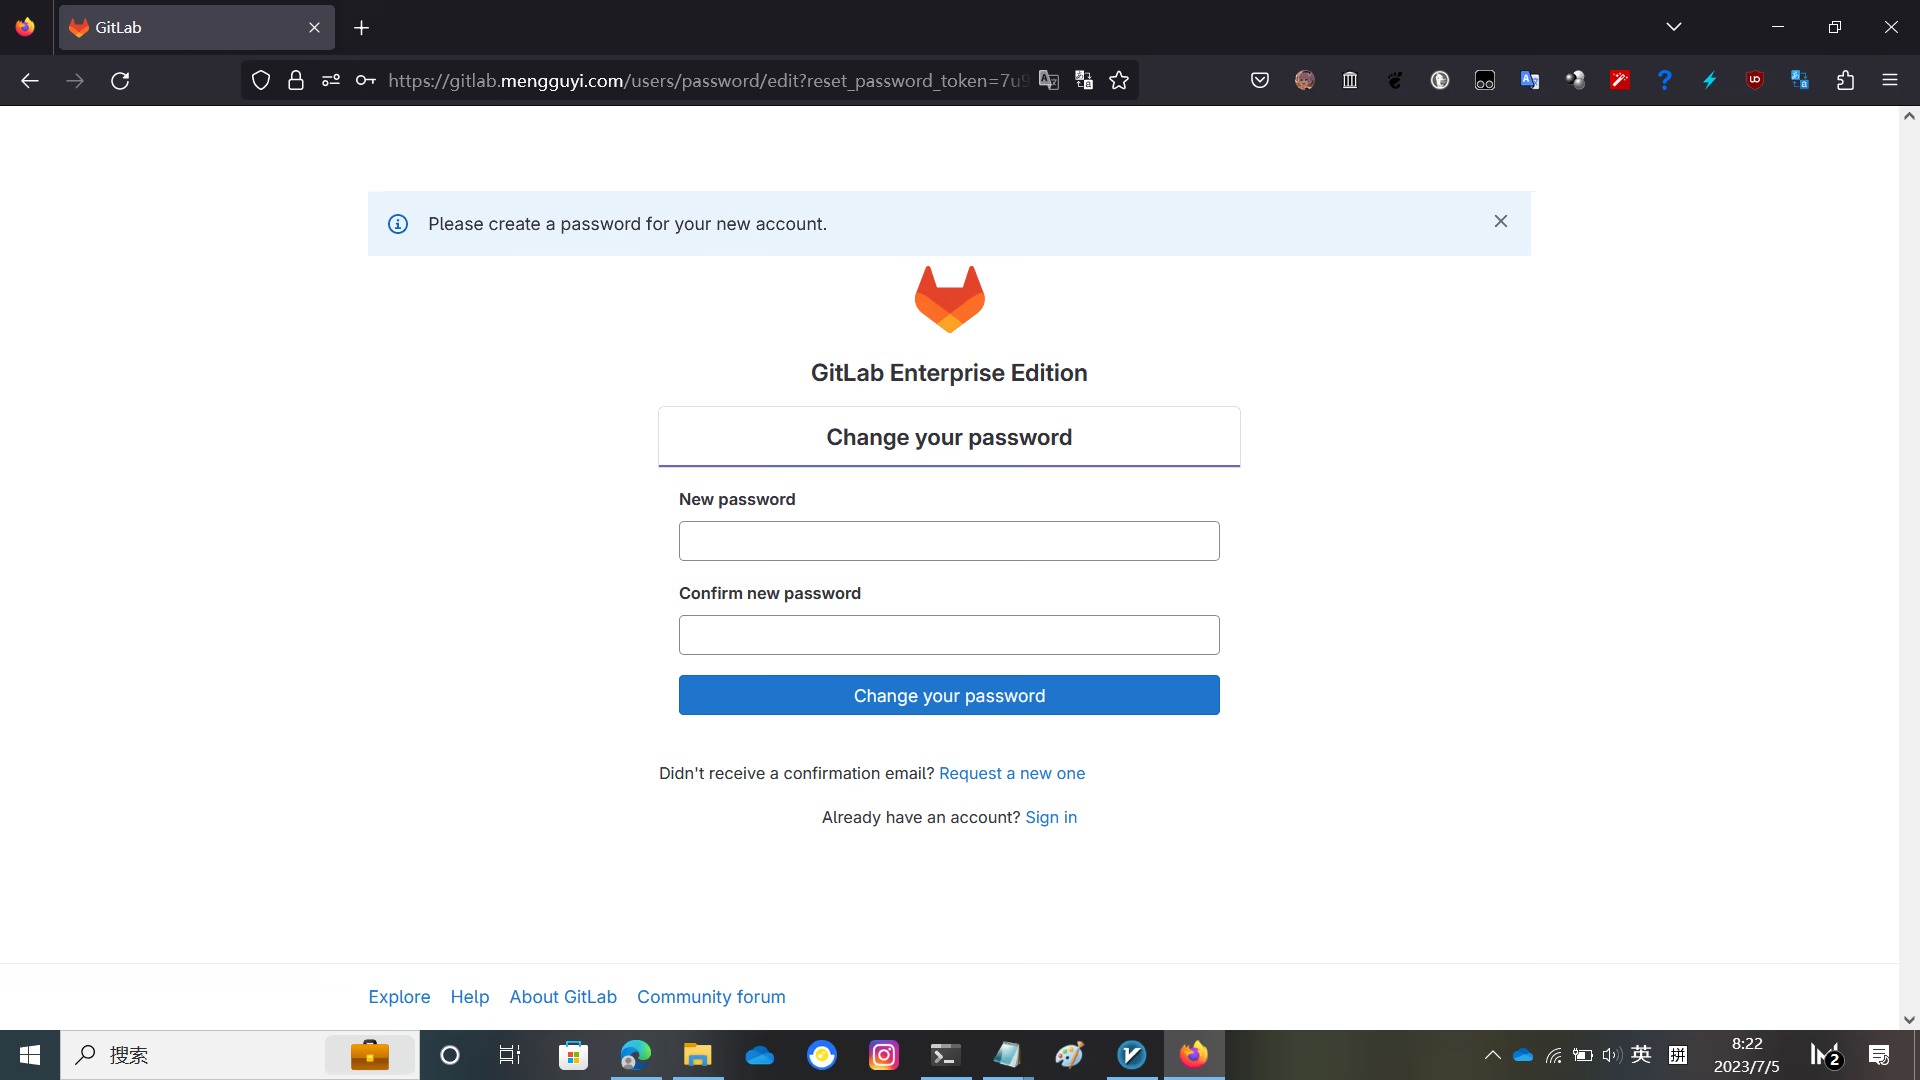
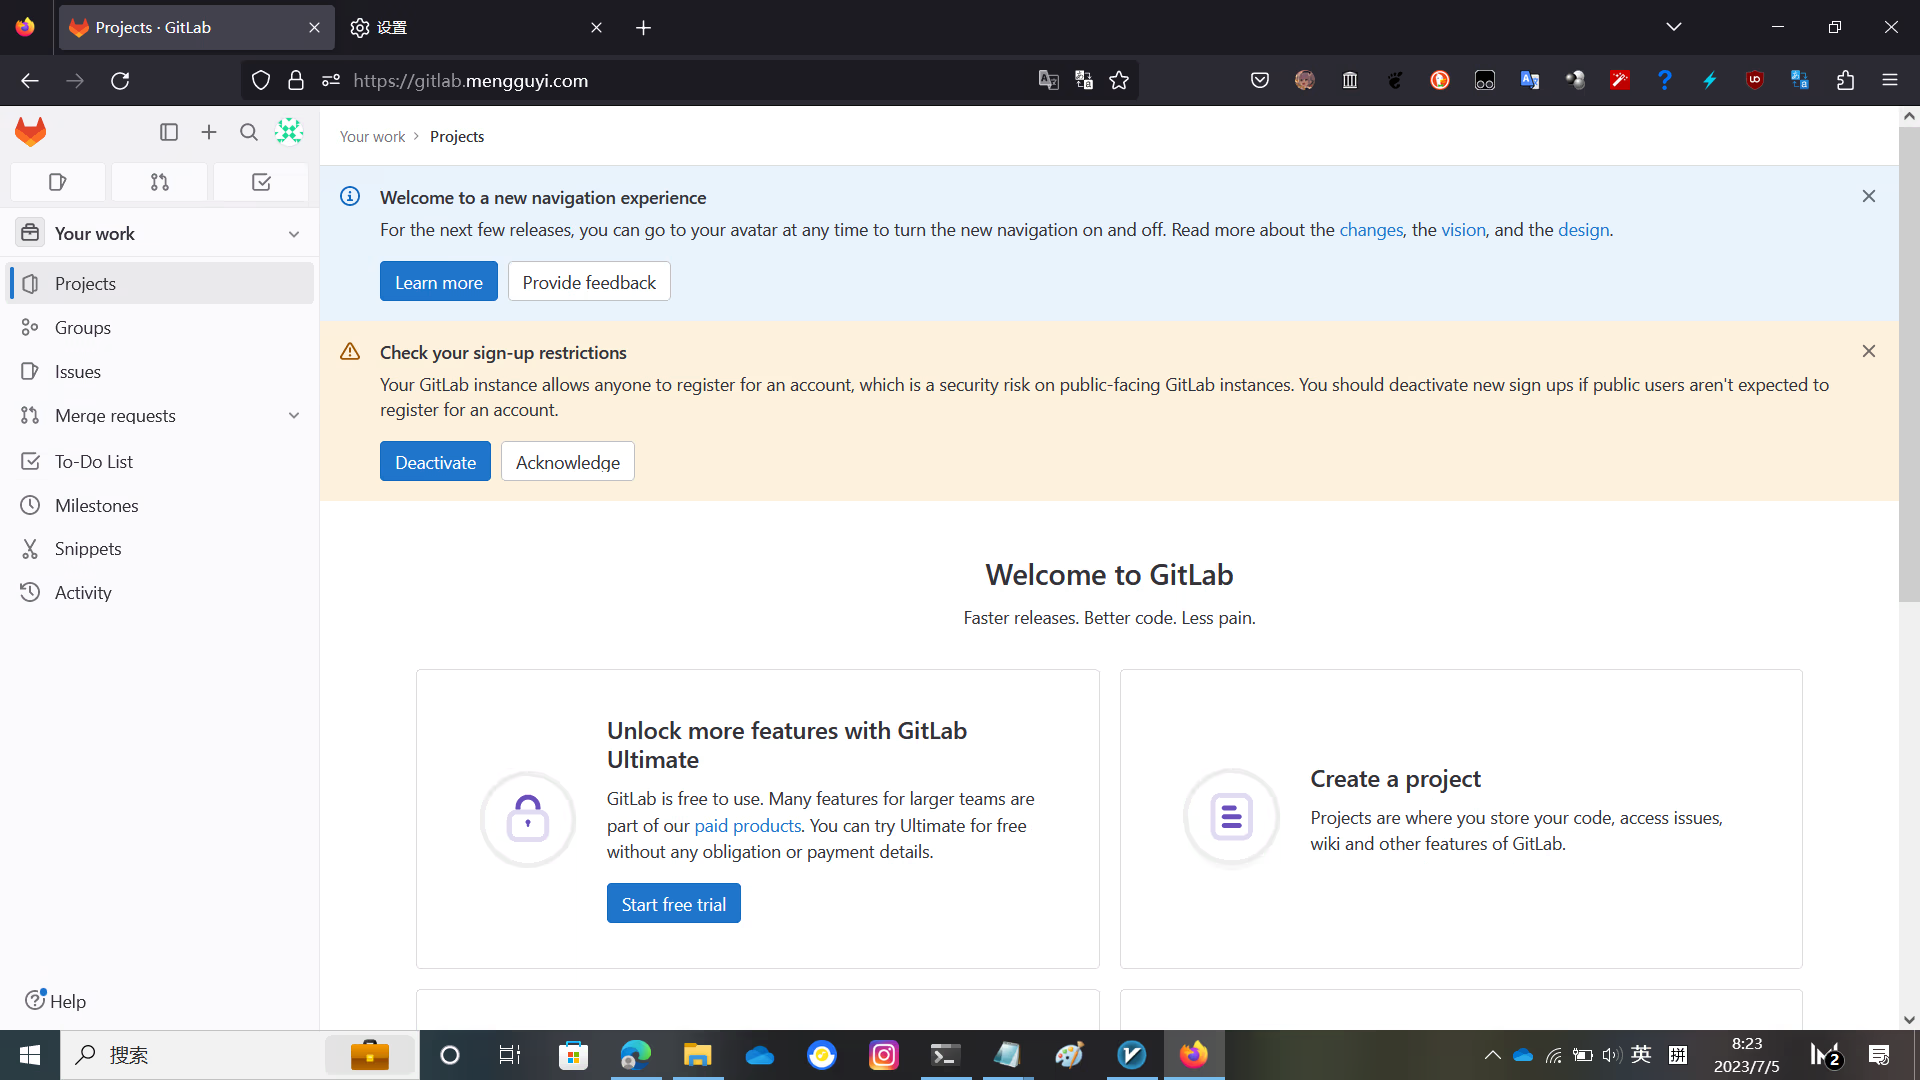
设置密码登录后就看到 GitLab 的界面了
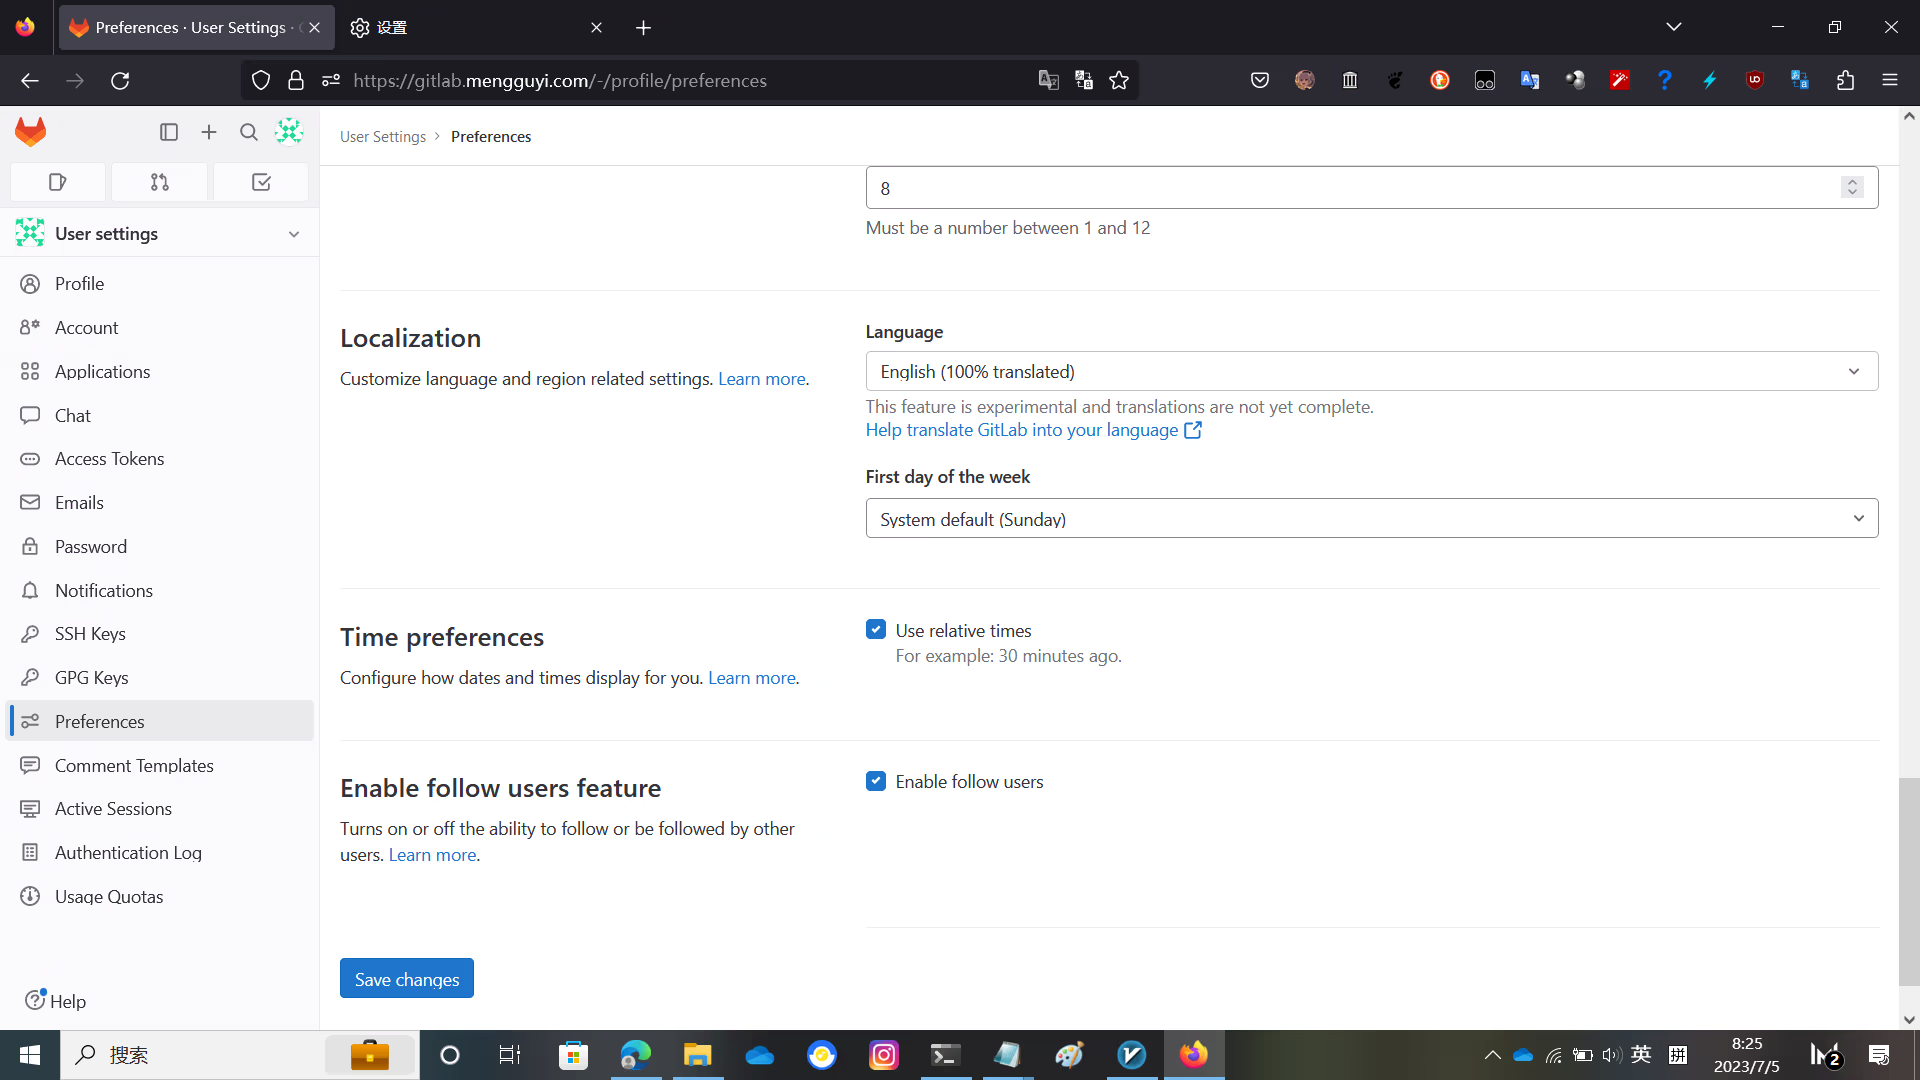
这时 GitLab 还没有激活,语言也是英语
点用户头像,点 Preferences 找到 Localization 选择中文
激活 GitLab
将下面的脚本写入 license.rb 进行适当修改,如用户名之类的
require "openssl"
require "gitlab/license"
key_pair = OpenSSL::PKey::RSA.generate(2048)
File.open("license_key", "w") { |f| f.write(key_pair.to_pem) }
public_key = key_pair.public_key
File.open("license_key.pub", "w") { |f| f.write(public_key.to_pem) }
private_key = OpenSSL::PKey::RSA.new File.read("license_key")
Gitlab::License.encryption_key = private_key
license = Gitlab::License.new
license.licensee = {
"Name" => "none",
"Company" => "none",
"Email" => "[email protected]",
}
license.starts_at = Date.new(2021, 1, 1) # 开始时间
license.expires_at = Date.new(2050, 1, 1) # 结束时间
license.notify_admins_at = Date.new(2049, 12, 1)
license.notify_users_at = Date.new(2049, 12, 1)
license.block_changes_at = Date.new(2050, 1, 1)
license.restrictions = {
active_user_count: 10000,
}
puts "License:"
puts license
data = license.export
puts "Exported license:"
puts data
File.open("GitLabBV.gitlab-license", "w") { |f| f.write(data) }
public_key = OpenSSL::PKey::RSA.new File.read("license_key.pub")
Gitlab::License.encryption_key = public_key
data = File.read("GitLabBV.gitlab-license")
$license = Gitlab::License.import(data)
puts "Imported license:"
puts $license
unless $license
raise "The license is invalid."
end
if $license.restricted?(:active_user_count)
active_user_count = 10000
if active_user_count > $license.restrictions[:active_user_count]
    raise "The active user count exceeds the allowed amount!"
end
end
if $license.notify_admins?
puts "The license is due to expire on #{$license.expires_at}."
end
if $license.notify_users?
puts "The license is due to expire on #{$license.expires_at}."
end
module Gitlab
class GitAccess
    def check(cmd, changes = nil)
    if $license.block_changes?
        return build_status_object(false, "License expired")
    end
    end
end
end
puts "This instance of GitLab Enterprise Edition is licensed to:"
$license.licensee.each do |key, value|
puts "#{key}: #{value}"
end
if $license.expired?
puts "The license expired on #{$license.expires_at}"
elsif $license.will_expire?
puts "The license will expire on #{$license.expires_at}"
else
puts "The license will never expire."
end
写入 license.rb
gem install gitlab-license
mkdir gitlab-license
cd gitlab-license
nano license.rb
ruby license.rb
备份原先的许可证
再覆盖新的许可证
cp /opt/gitlab/gitlab/.license_encryption_key.pub /opt/gitlab/gitlab/.license_encryption_key.pub.bak
cp /opt/gitlab/gitlab/gitlab-license/license_key.pub /opt/gitlab/gitlab/.license_encryption_key.pub
修改激活脚本
修改第247行为 restricted_attr(:plan).presence || ULTIMATE_PLAN
nano /opt/gitlab/gitlab/ee/app/models/license.rb重启 GitLab
systemctl restart gitlab.target访问 https://你的GitLab域名/admin/application_settings/general 点击 添加许可证,点击 请输入许可证密钥
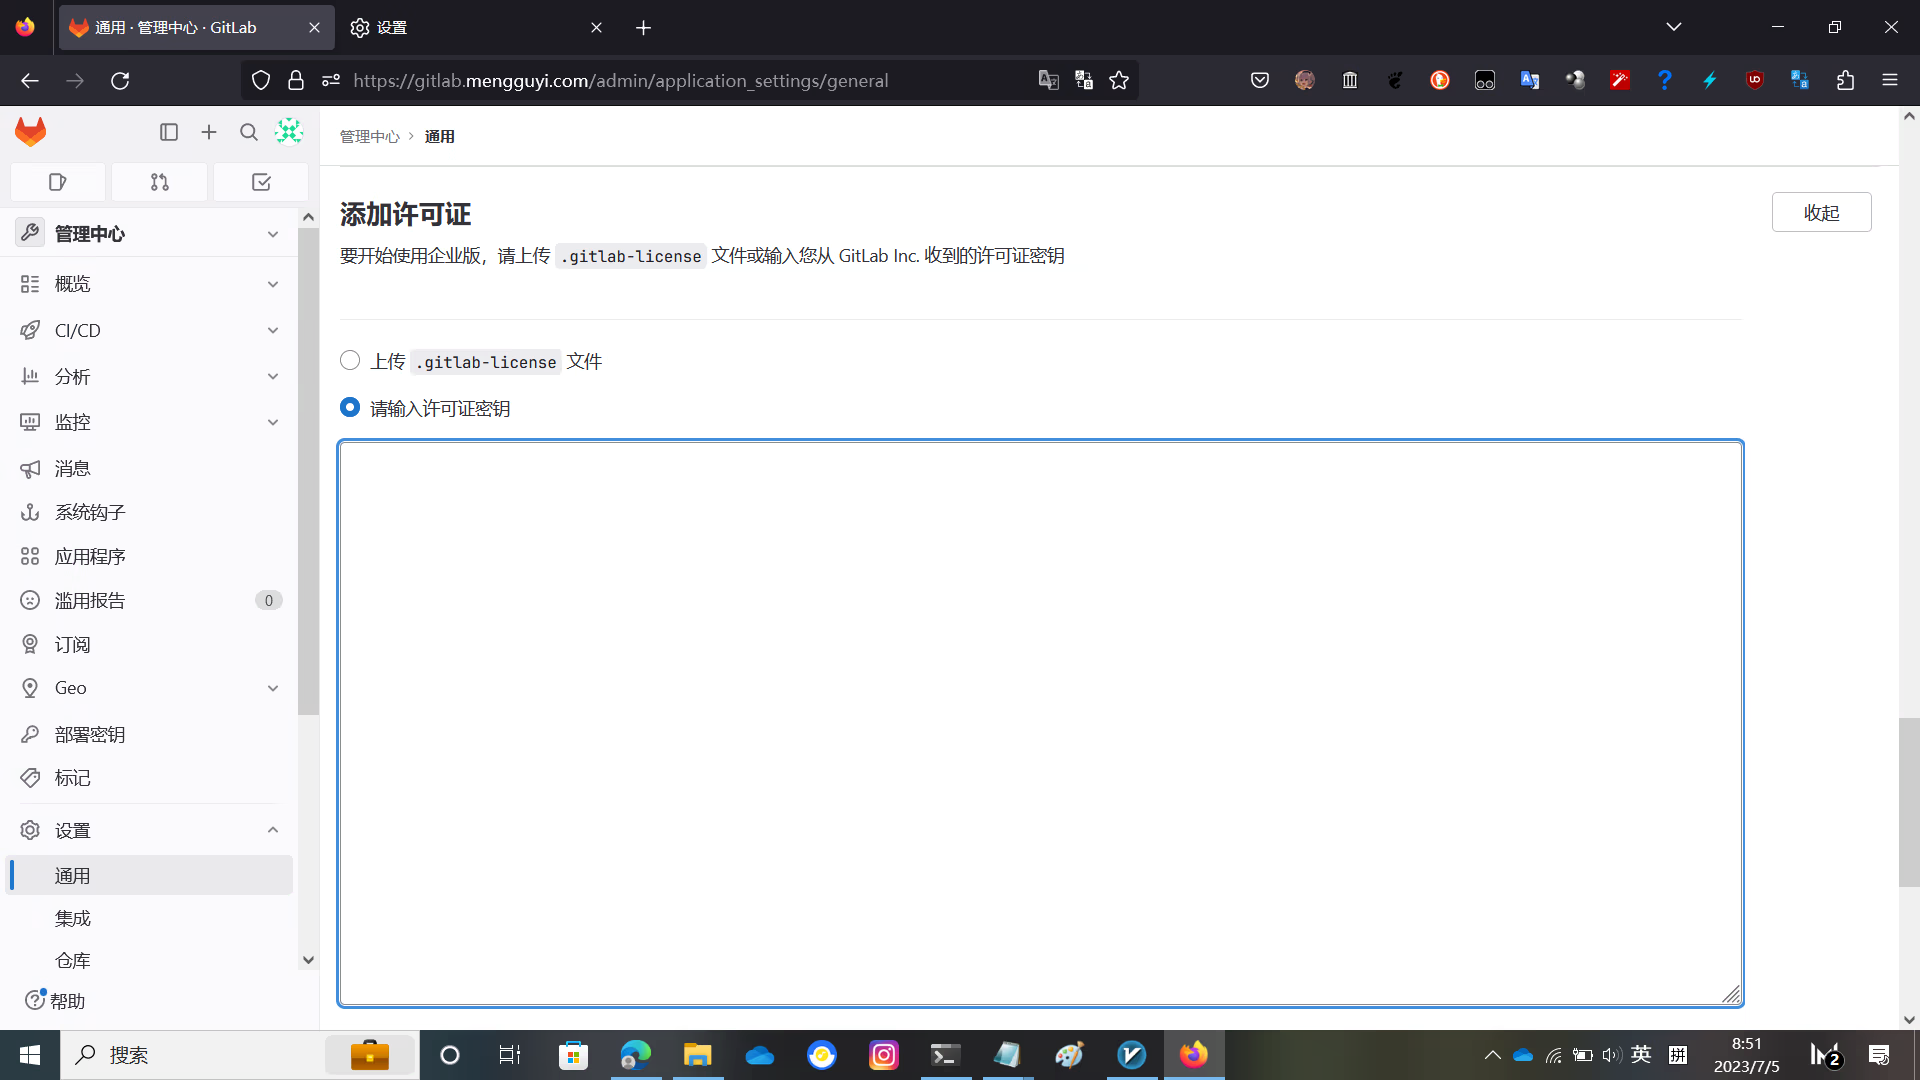
粘贴 /opt/gitlab/gitlab/gitlab-license/GitLabBV.gitlab-license 中的内容进去并勾选 服务条款 点击 添加许可证
激活成功

Enjoy!