GitLab EE 16 install and cracking tutorial
GitLab is an open source application developed mainly in Ruby on Rails language, which implements a self-hosted Git project repository that can be accessed and managed through a web interface. In short, it is a GitHub that can be deployed privately.
Gitlab official offers various ways of installation and deployment, such as installing from the operating system software source, deploying with Docker, or compiling and installing from source code.
This article shows you how to compile and install GitLab on Debian 12 from source code and activate the enterprise edition features.
Note
All the commands in this article are assumed to be executed under root permission. If you are not using root, please add sudo before the command as appropriate.
All the content related to cracking and activation in this article is for research and learning purposes only. Do not use it for commercial purposes! Please buy the official version if you need it.
It is highly recommended that you compile and install GitLab on a machine that can access Google normally.
Prepare the environment
- Install Debian 12
I don't need to say this, right? - Install GitLab related dependencies
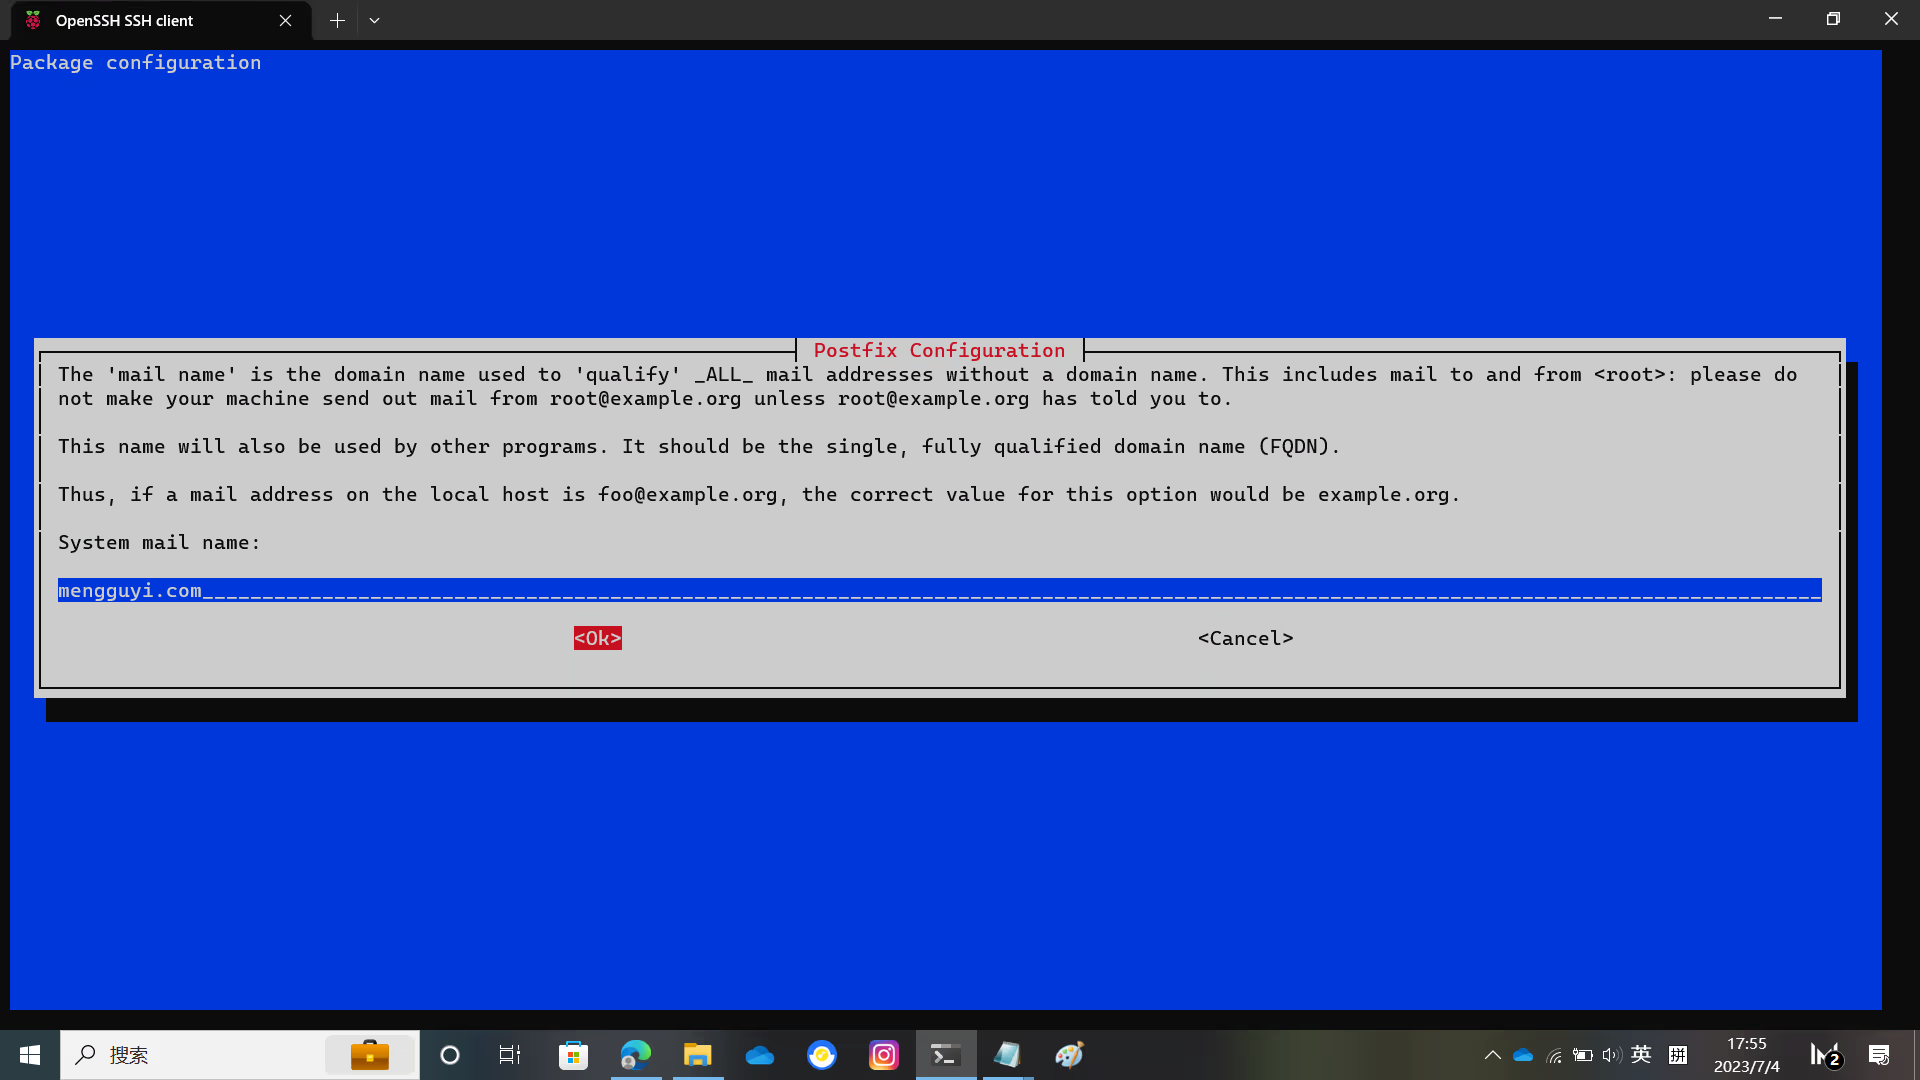
apt install sudo build-essential zlib1g-dev libyaml-dev libssl-dev libgdbm-dev libre2-dev libreadline-dev libncurses5-dev libffi-dev curl openssh-server libxml2-dev libxslt-dev libcurl4-openssl-dev libicu-dev libkrb5-dev logrotate rsync python3-docutils pkg-config cmake runit-systemd libcurl4-openssl-dev libexpat1-dev gettext libz-dev libssl-dev libpcre2-dev build-essential git-core graphicsmagick postfix libimage-exiftool-perl ruby ruby-dev golang npm postgresql postgresql-client libpq-dev postgresql-contrib redis-server nginxDuring the installation process, you need to configure postfix
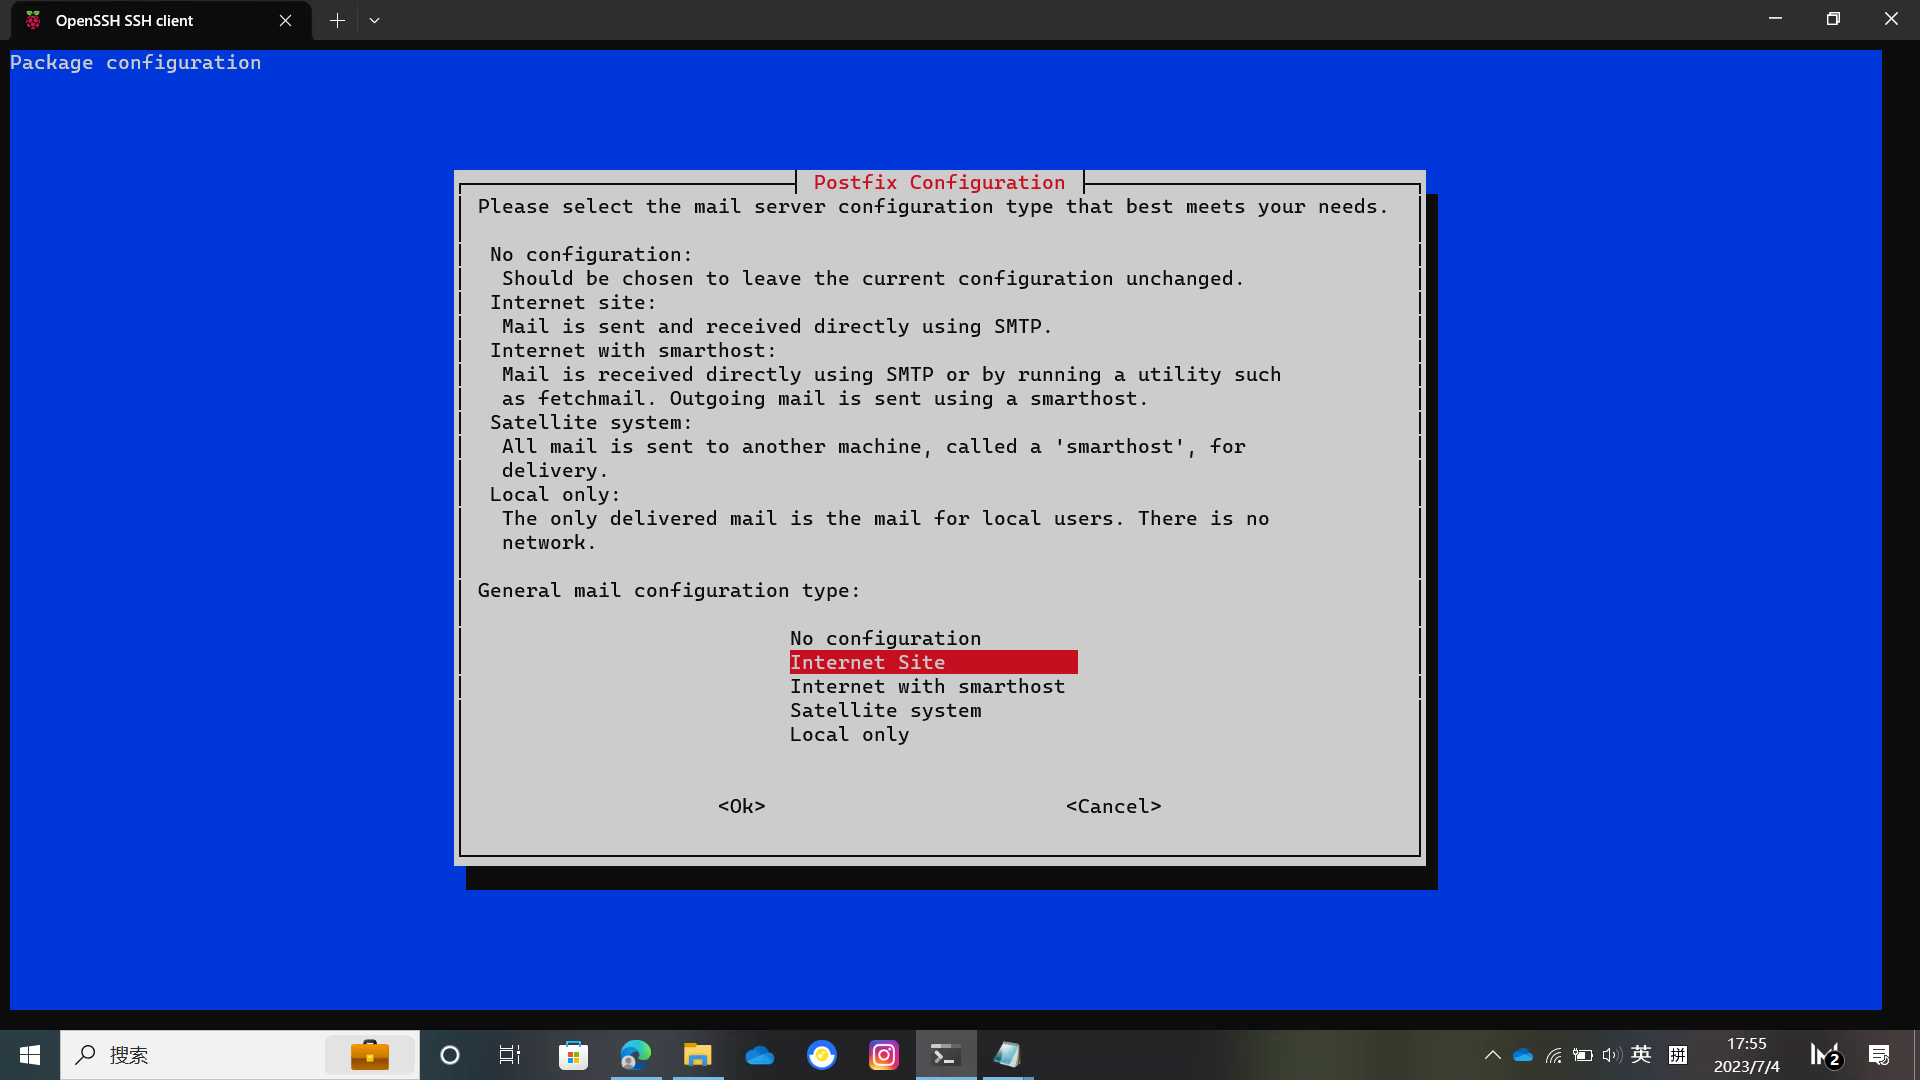
Select Internet Site and press Enter to enter the domain name
Then wait for the installation to complete
After installing the above things, you also need to install yarn to compile the GitLab front end.
npm install --global yarnCompile Gitaly
clone Gitaly repository and compile Git
git clone https://gitlab.com/gitlab-org/gitaly.git /tmp/gitaly
cd /tmp/gitaly
make git GIT_PREFIX=/usr/local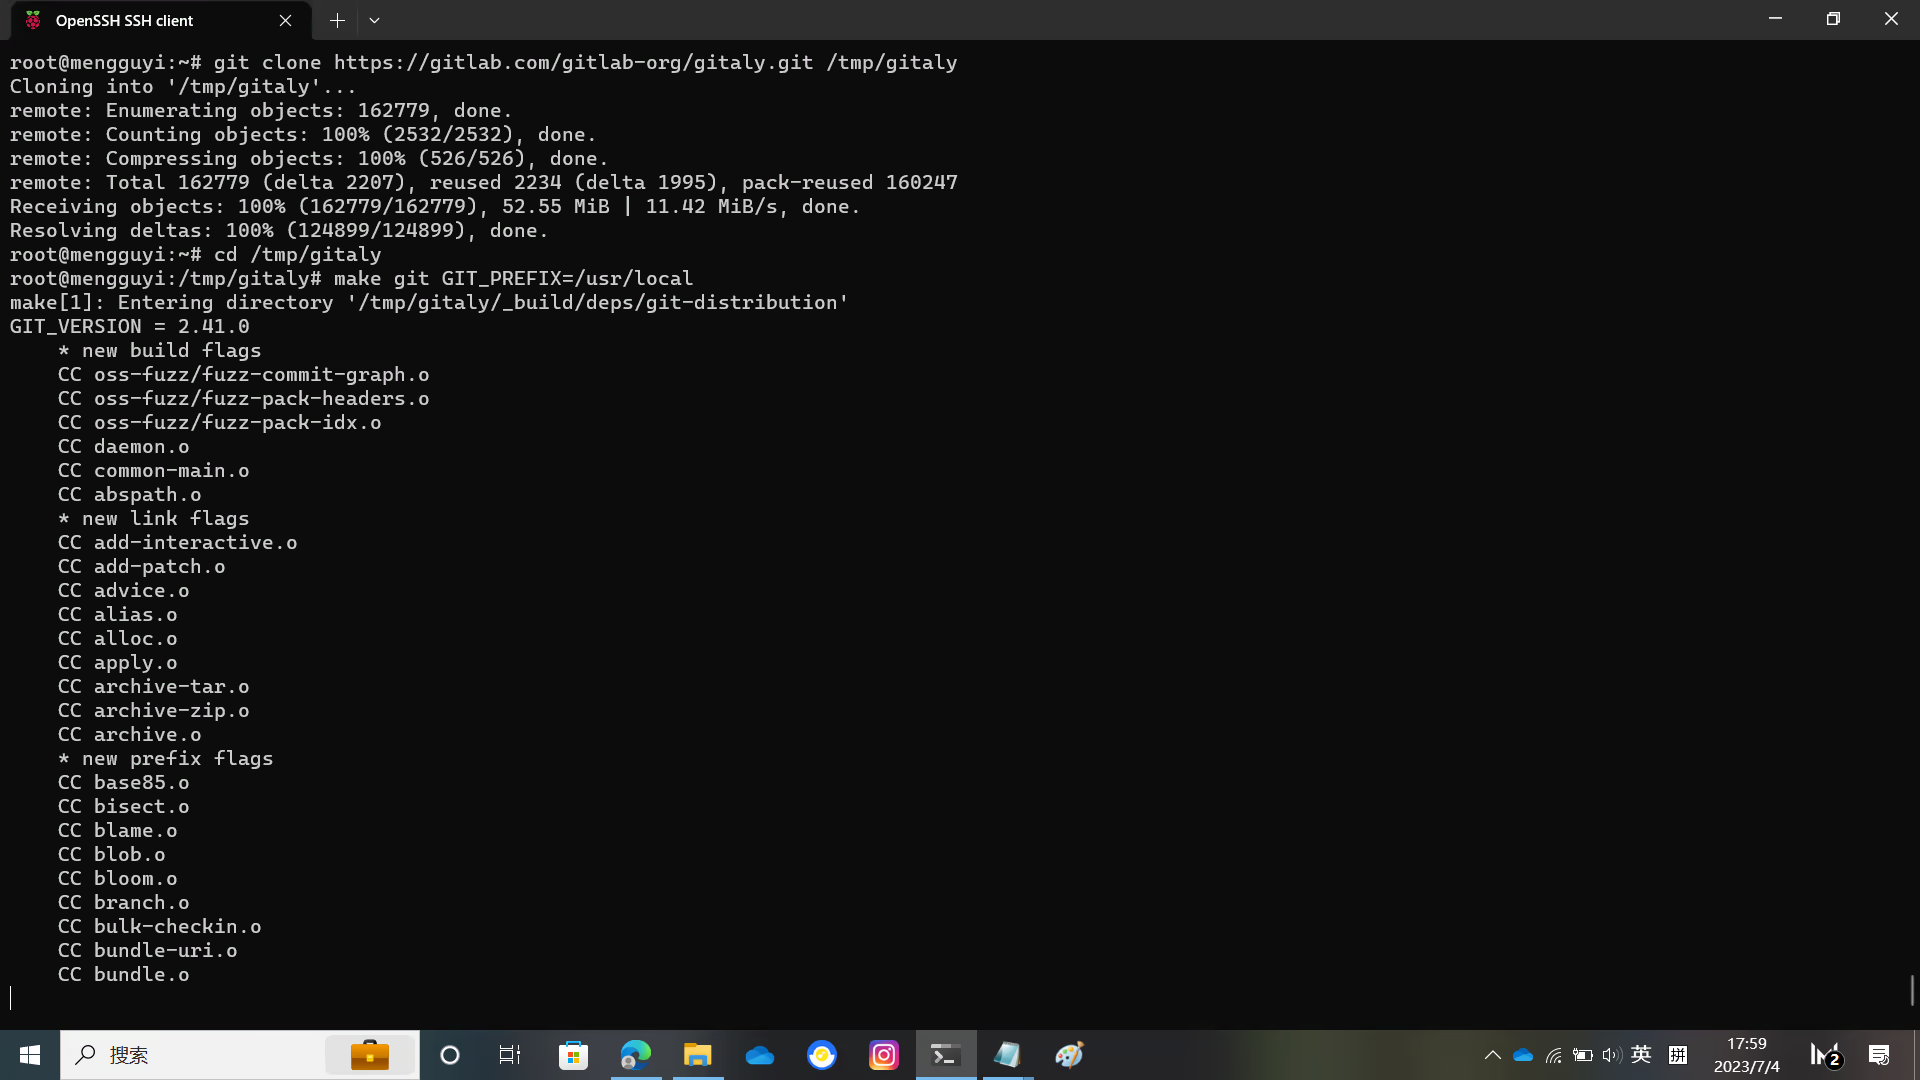
Create a git user for GitLab
adduser --disabled-login --gecos 'GitLab' gitUse the following command to initialize the database for GitLab
sudo -u postgres psql -d template1 -c "CREATE USER git CREATEDB;"
sudo -u postgres psql -d template1 -c "CREATE EXTENSION IF NOT EXISTS pg_trgm;"
sudo -u postgres psql -d template1 -c "CREATE EXTENSION IF NOT EXISTS btree_gist;"
sudo -u postgres psql -d template1 -c "CREATE EXTENSION IF NOT EXISTS plpgsql;"
sudo -u postgres psql -d template1 -c "CREATE DATABASE gitlabhq_production OWNER git;"
Configure Redis
se the following command to configure Redis
cp /etc/redis/redis.conf /etc/redis/redis.conf.orig
sed 's/^port .*/port 0/' /etc/redis/redis.conf.orig | sudo tee /etc/redis/redis.conf
echo 'unixsocket /var/run/redis/redis.sock' | sudo tee -a /etc/redis/redis.conf
echo 'unixsocketperm 770' | sudo tee -a /etc/redis/redis.conf
usermod -aG redis git
Check the status of Redis with the following command
systemctl show --value --property=Type redis-server.serviceIf output is notify then execute
systemctl restart redisIf not, refer to GitLab official documentation
Compile GitLab
Create a folder and give git user permission
mkdir /opt/gitlab
chown -R git /opt/gitlab
cd /opt/gitlab
Clone GitLab source code
sudo -u git -H git clone https://gitlab.com/gitlab-org/gitlab.git gitlabEnter the GitLab directory and edit the configuration file
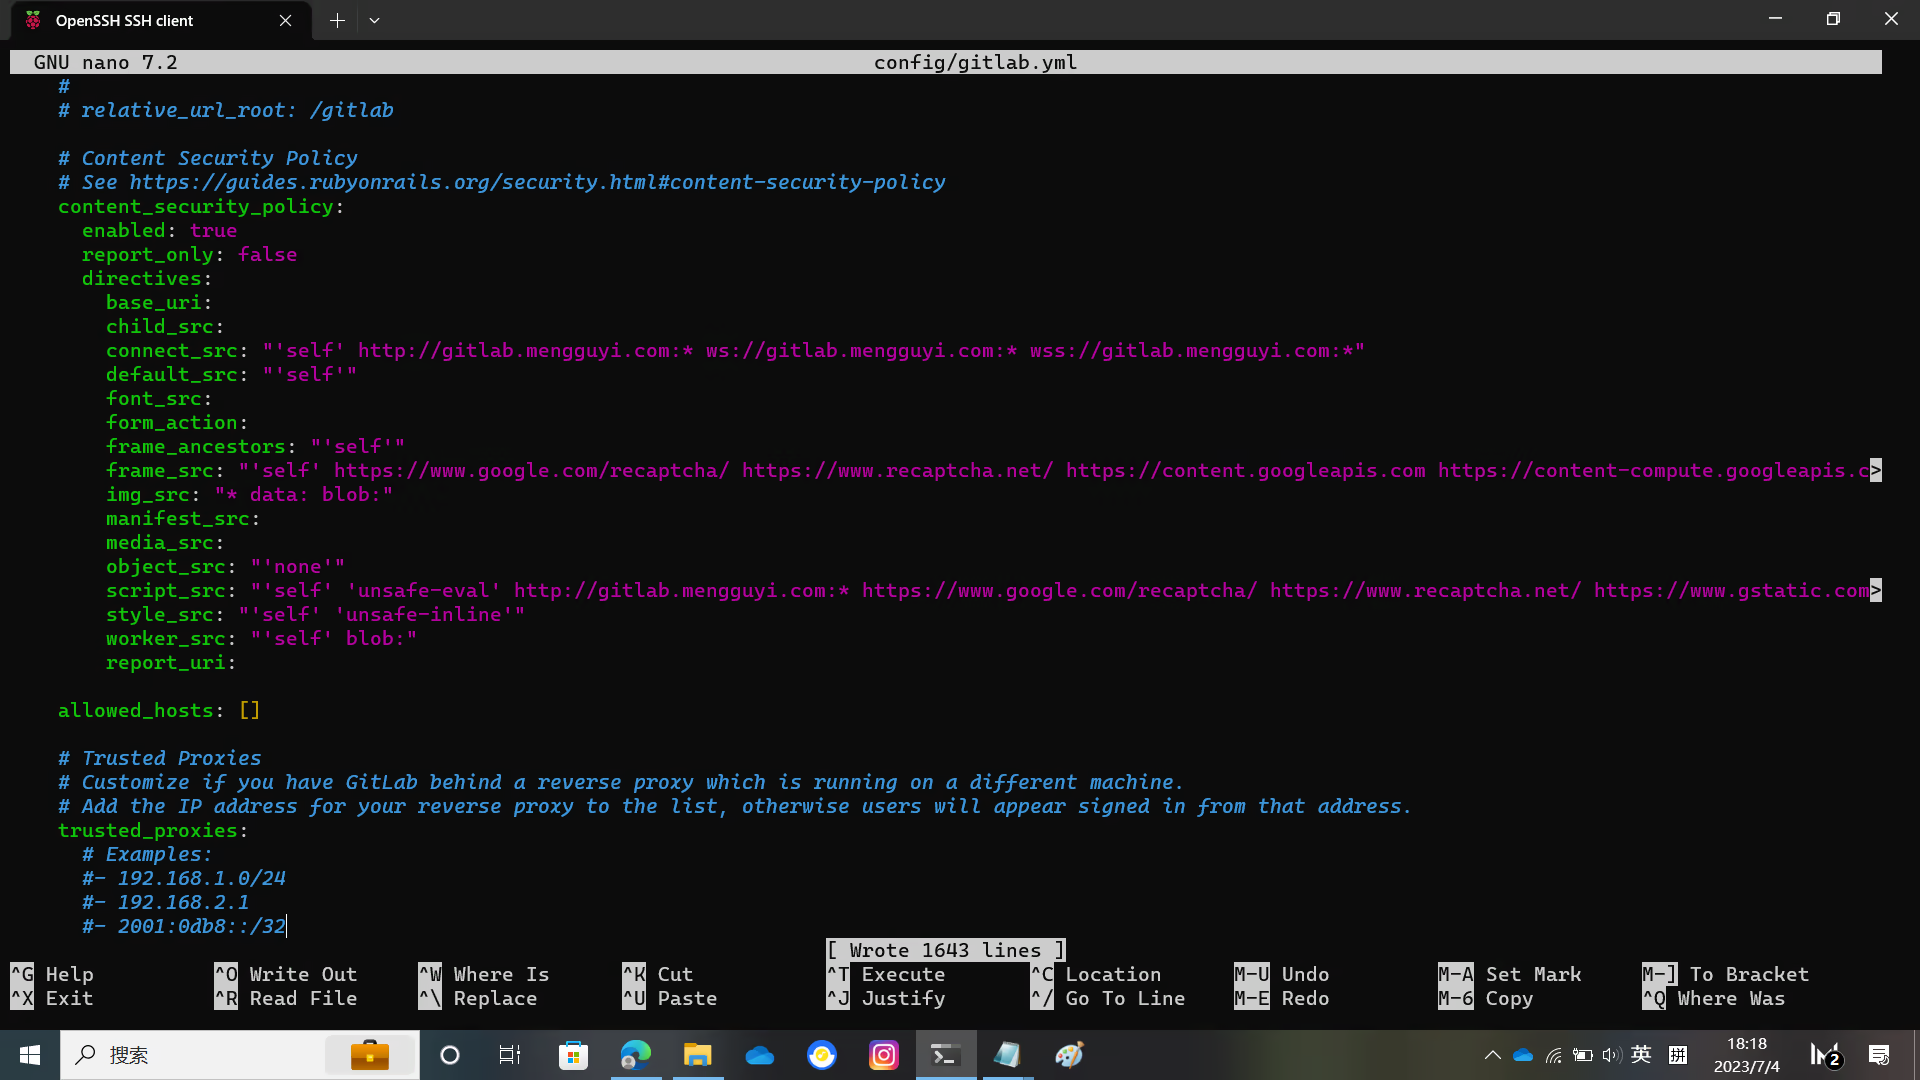
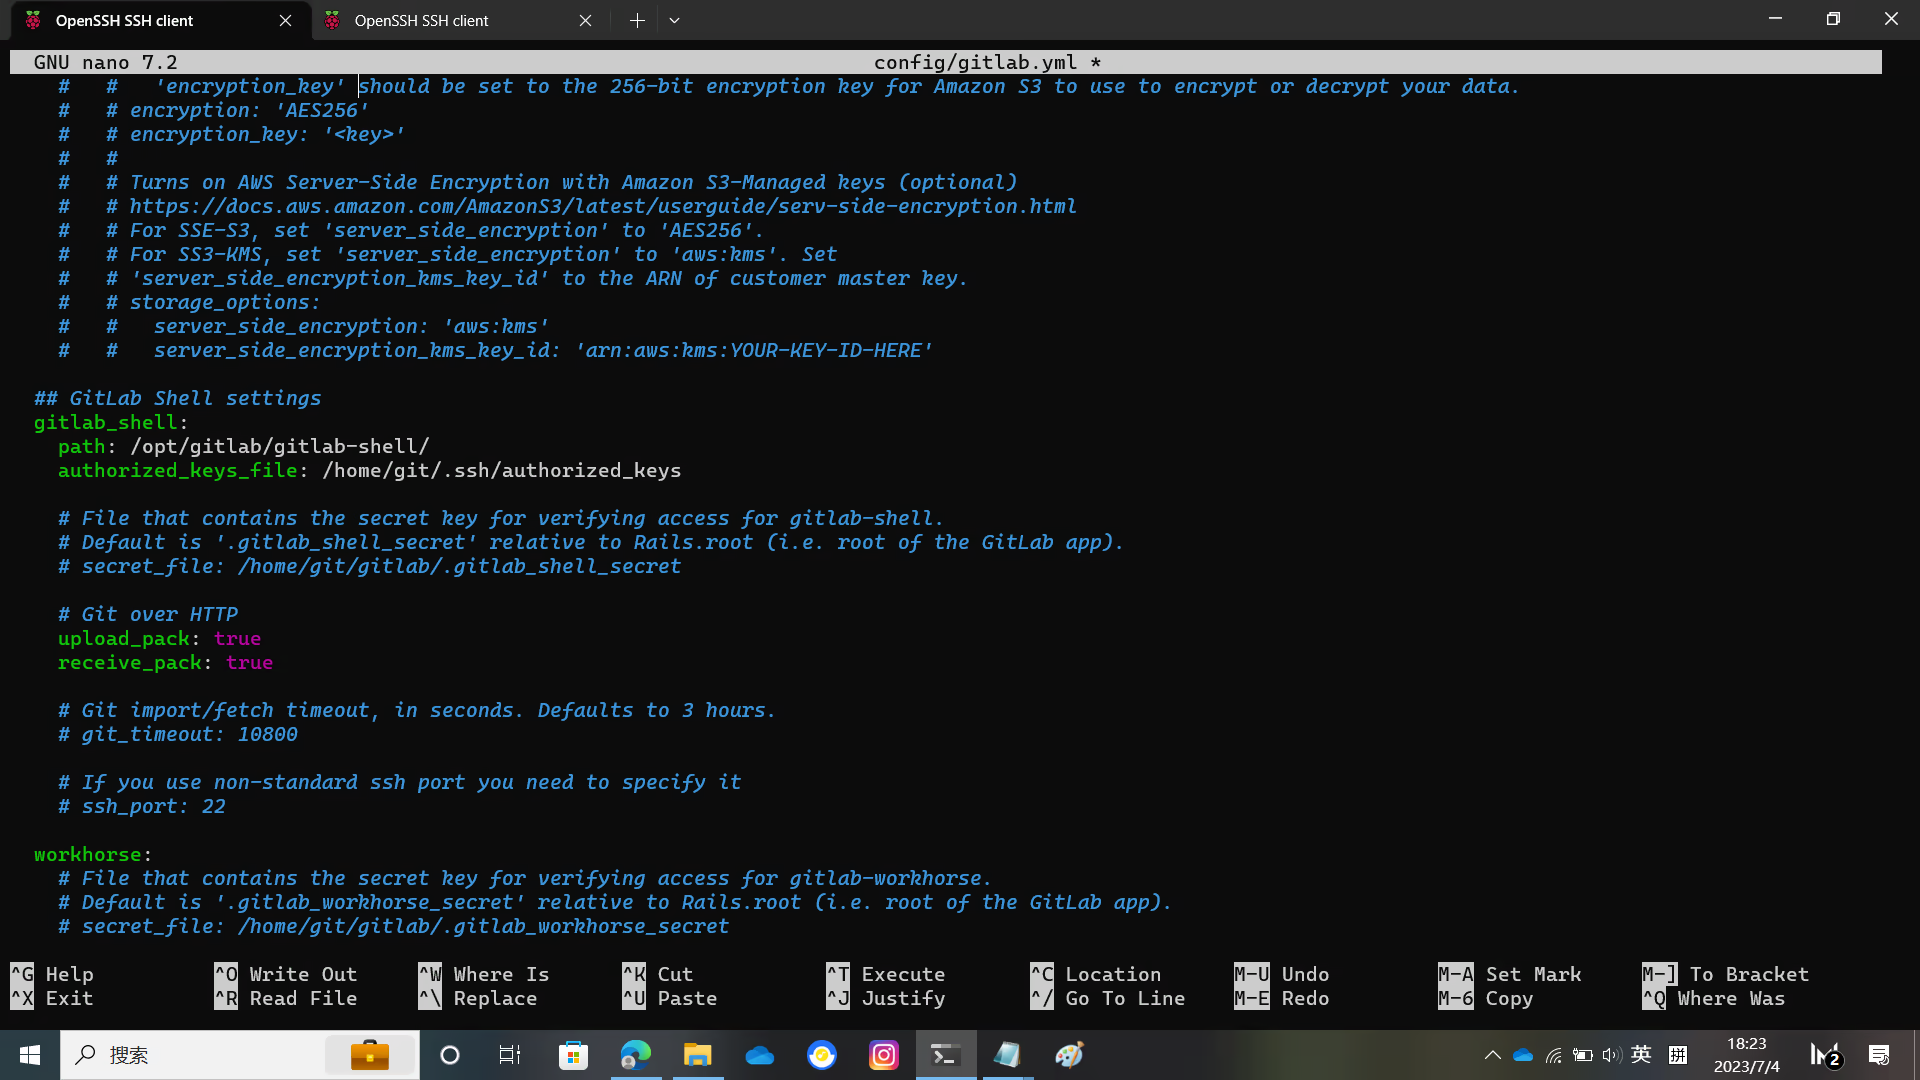
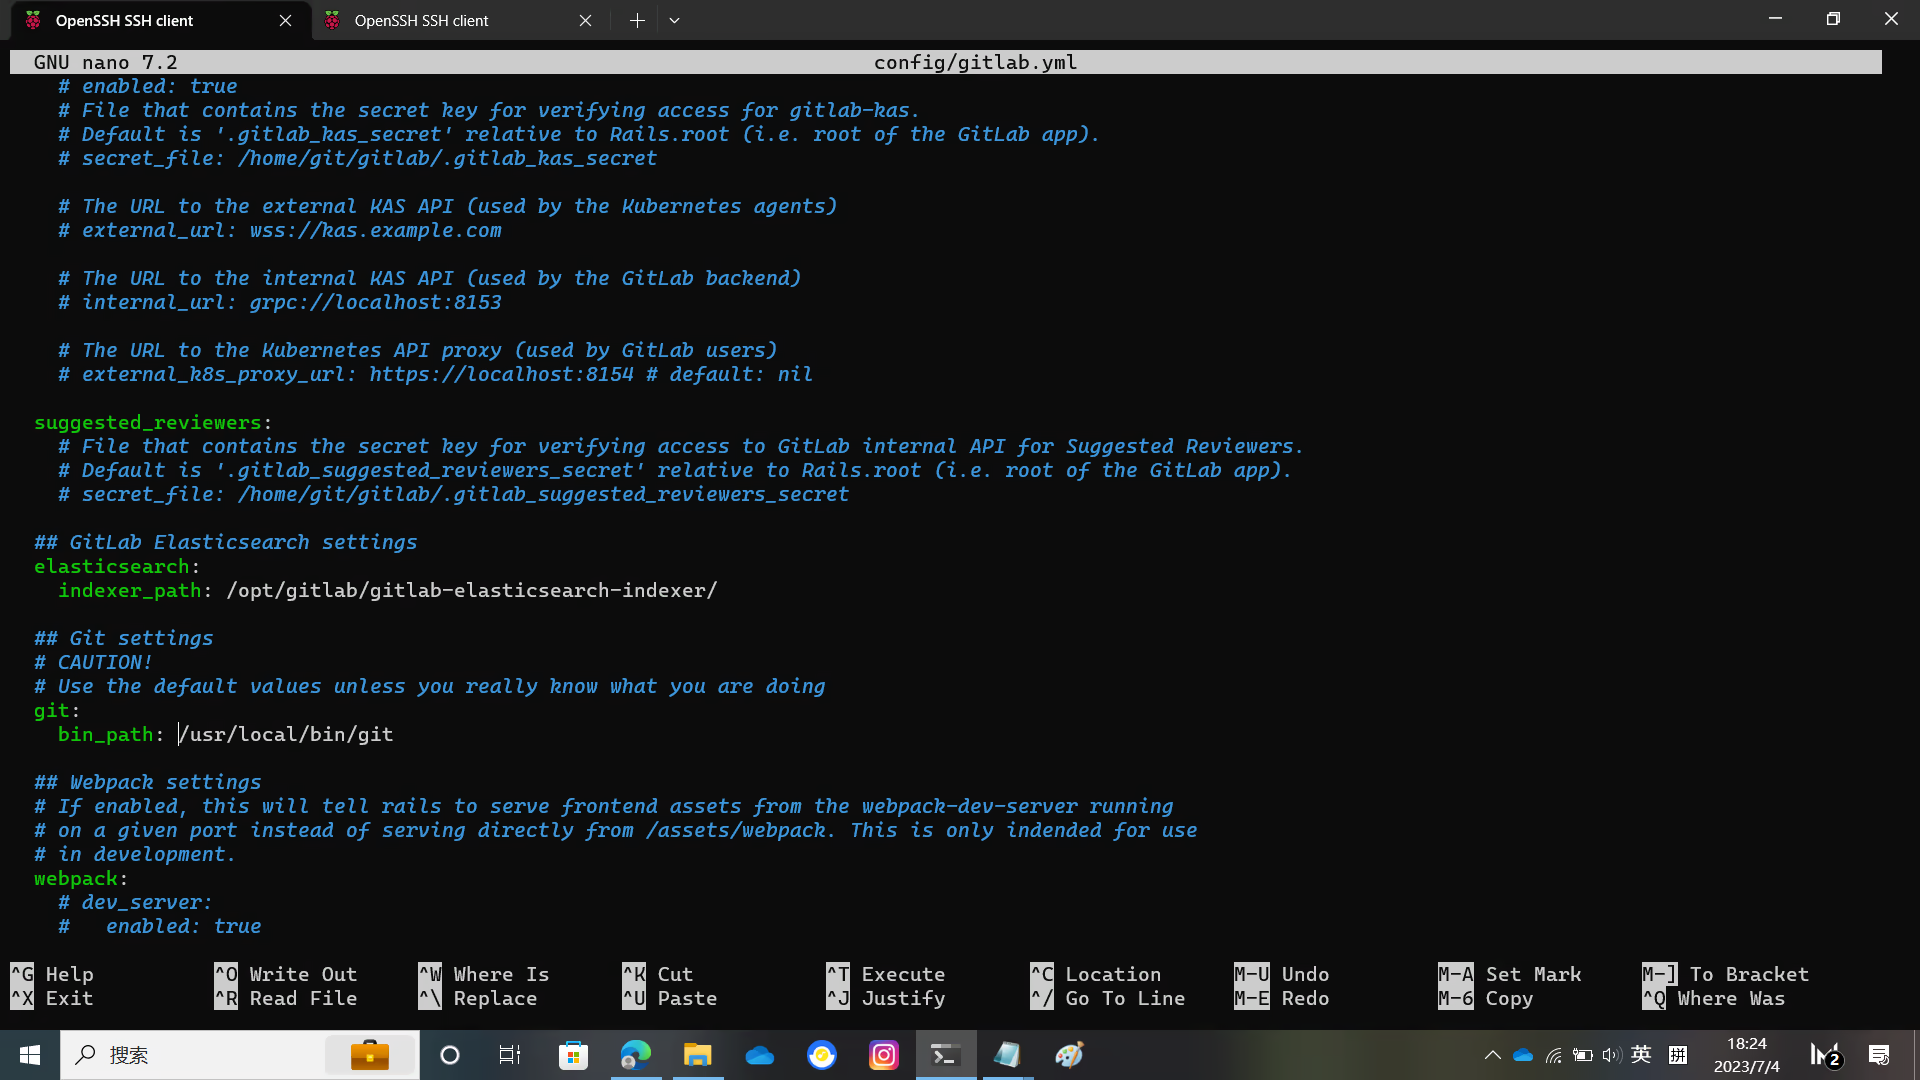
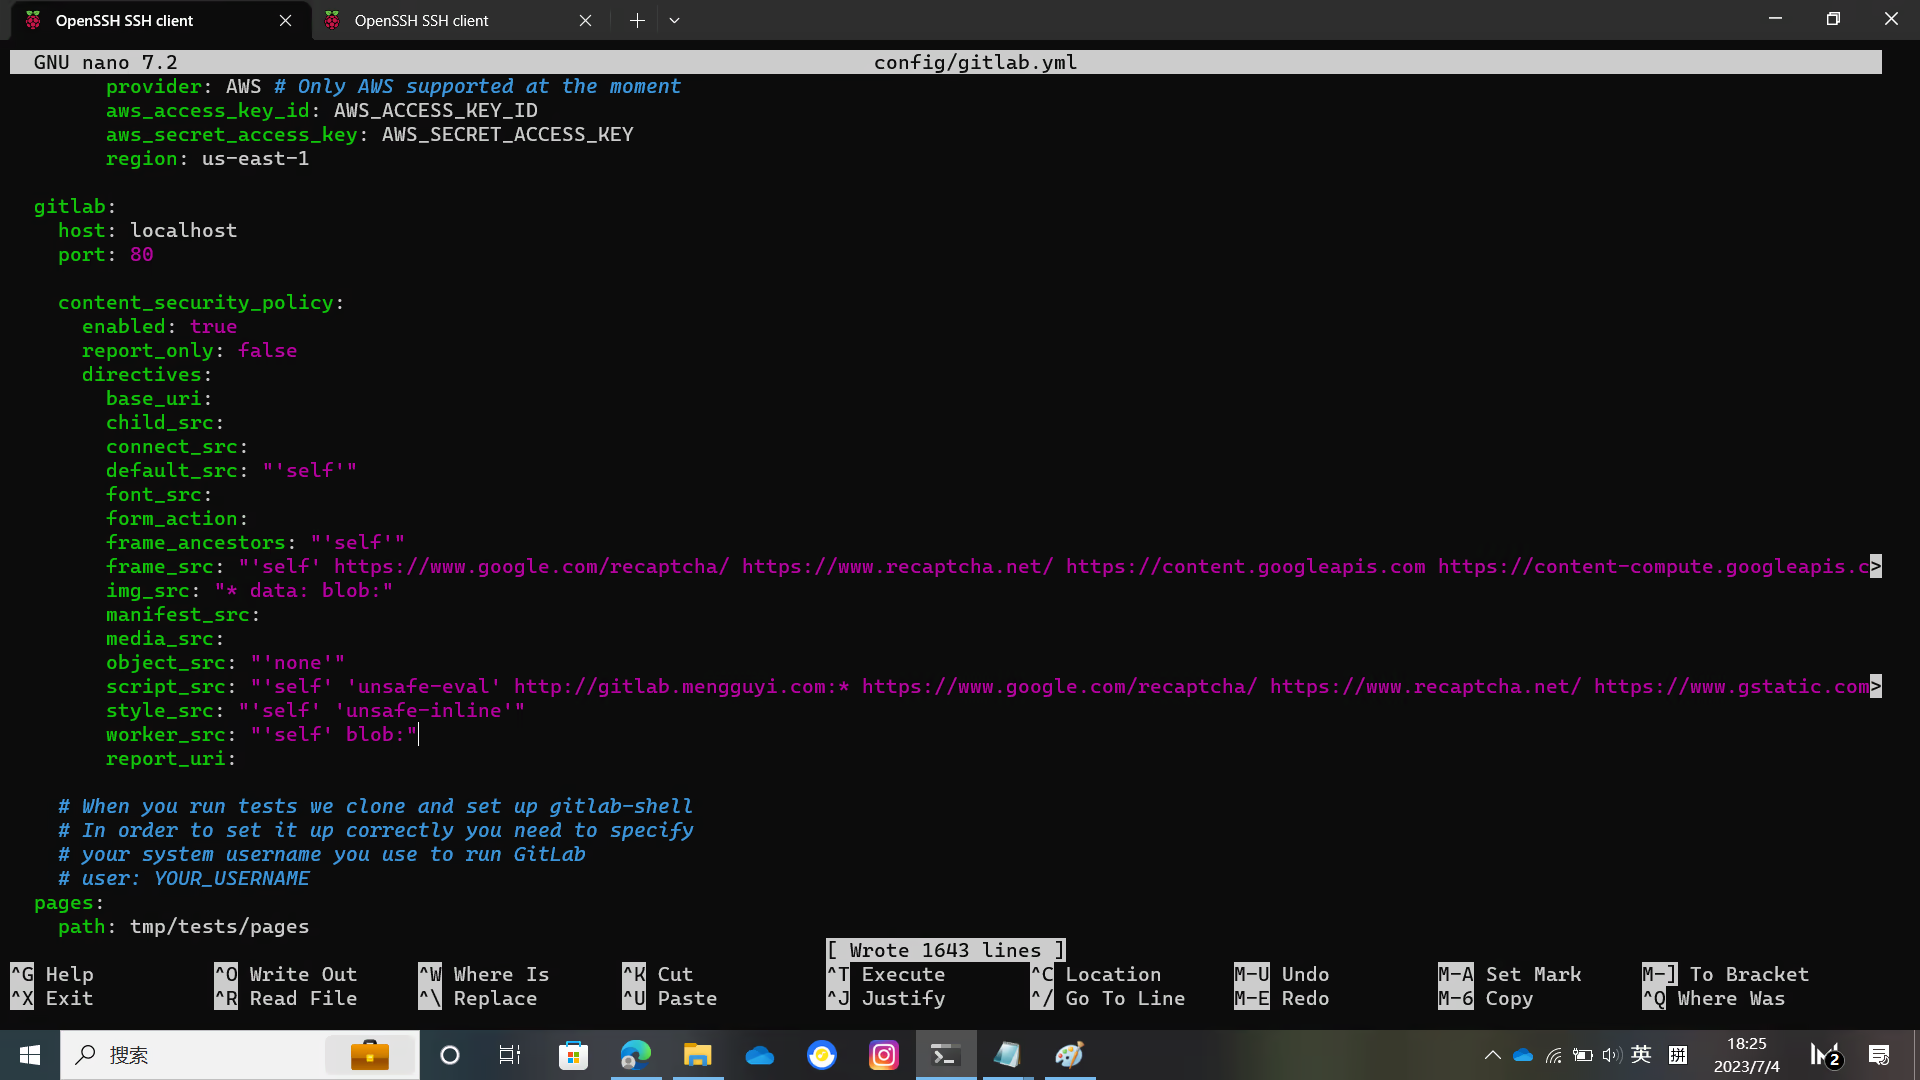
You need to modify the host port https in config/gitlab.yml
Replace localhost with your domain name, and change the default git repository directory to the one you want to use
Modify the UnixSocket file location and the gitlab_shell directory location as shown in the figure.
And the bin_path of git
The relevant pictures are below.
cd /opt/gitlab/gitlab
sudo -u git -H cp config/gitlab.yml.example config/gitlab.yml
sudo -u git -H editor config/gitlab.yml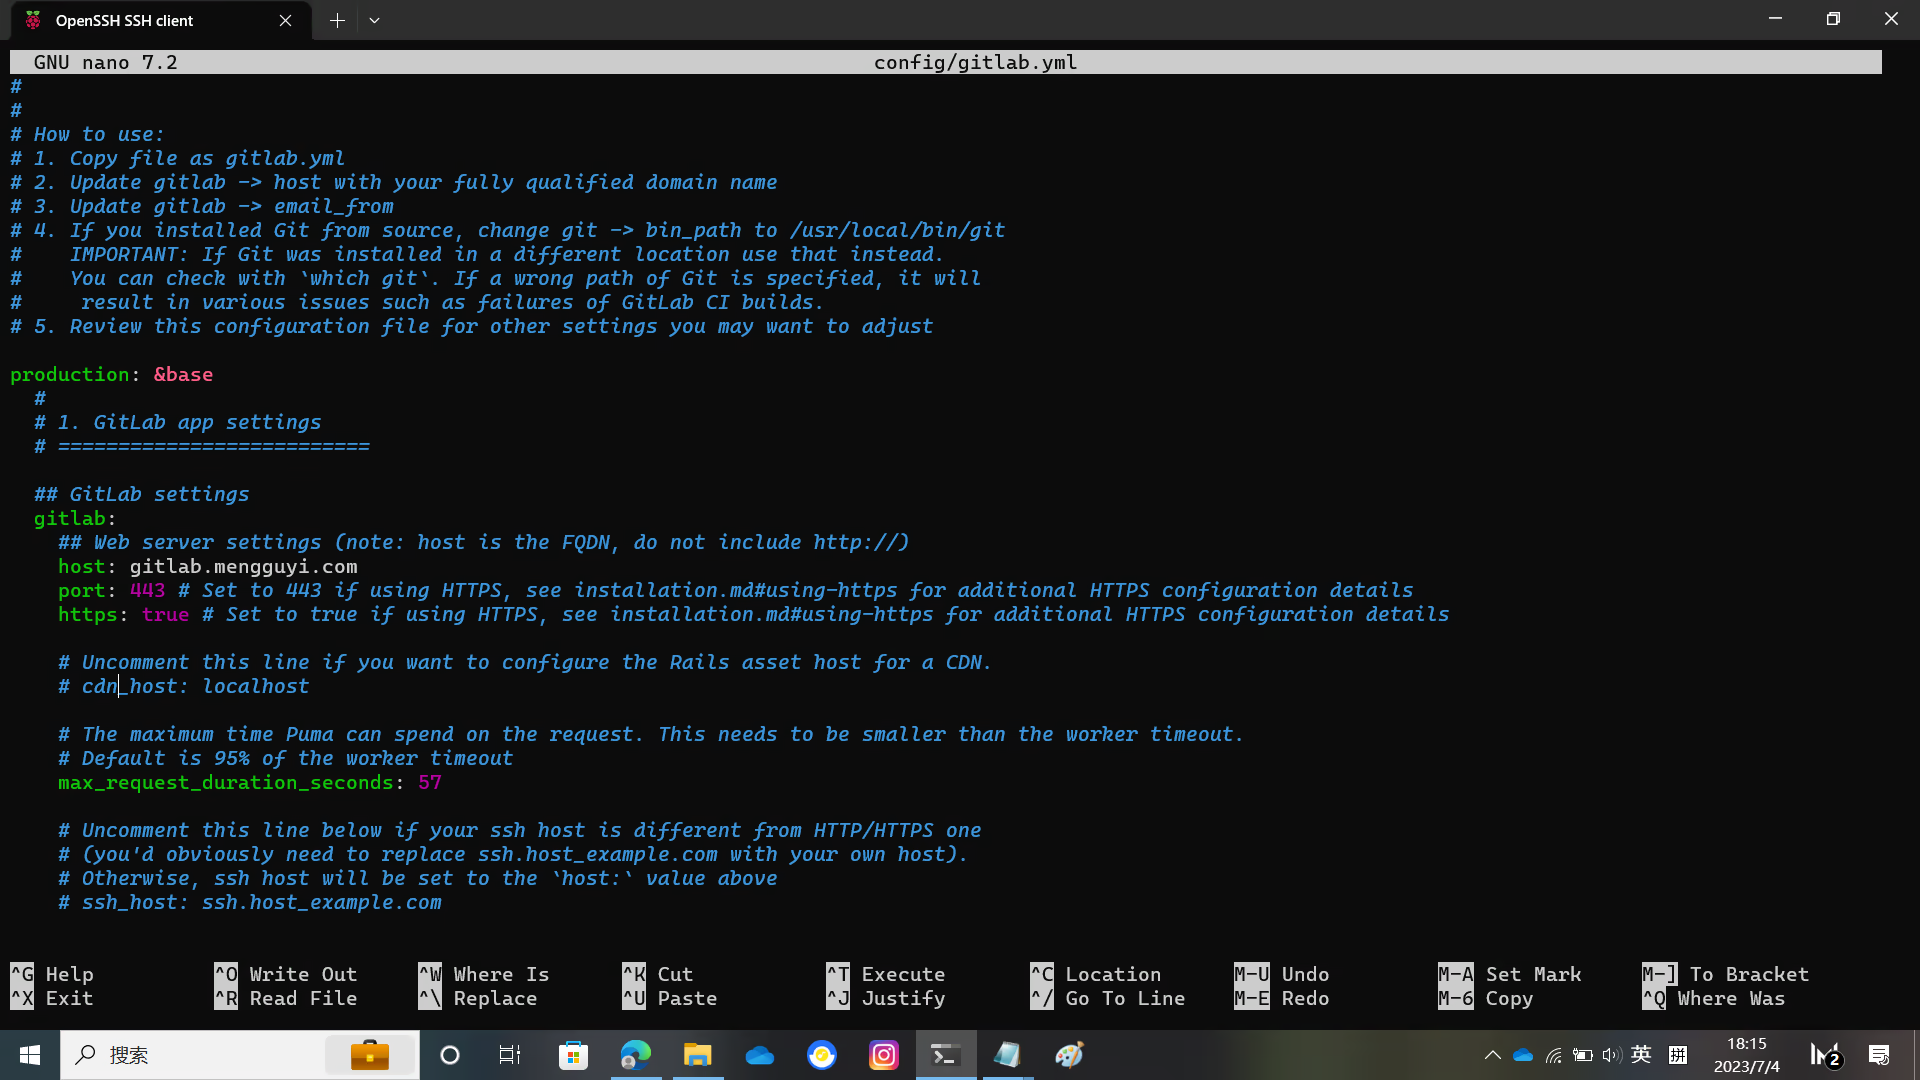
Configure GitLab
sudo -u git -H cp config/secrets.yml.example config/secrets.yml
sudo -u git -H chmod 0600 config/secrets.yml
chown -R git log/
chown -R git tmp/
chmod -R u+rwX,go-w log/
chmod -R u+rwX tmp/
chmod -R u+rwX tmp/pids/
chmod -R u+rwX tmp/sockets/
sudo -u git -H mkdir -p public/uploads/
chmod 0700 public/uploads
chmod -R u+rwX builds/
chmod -R u+rwX shared/artifacts/
chmod -R ug+rwX shared/pages/
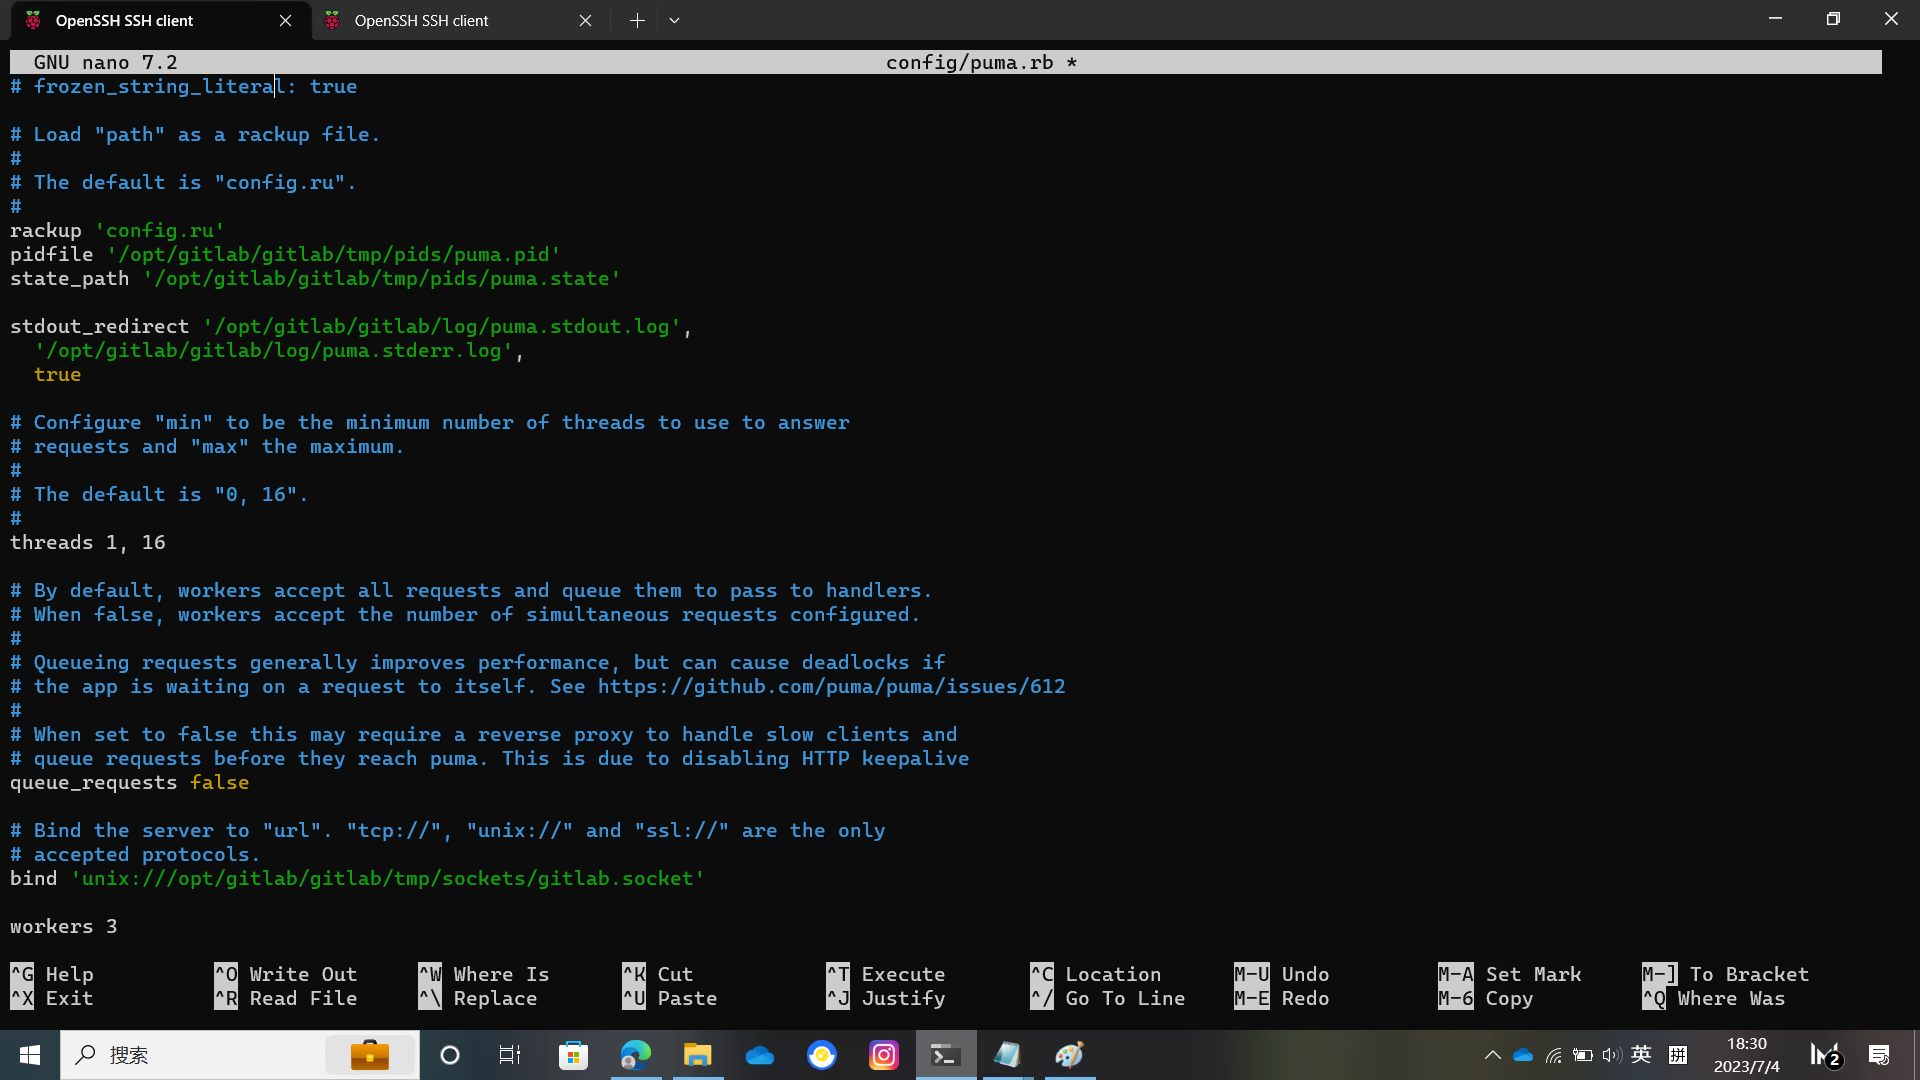
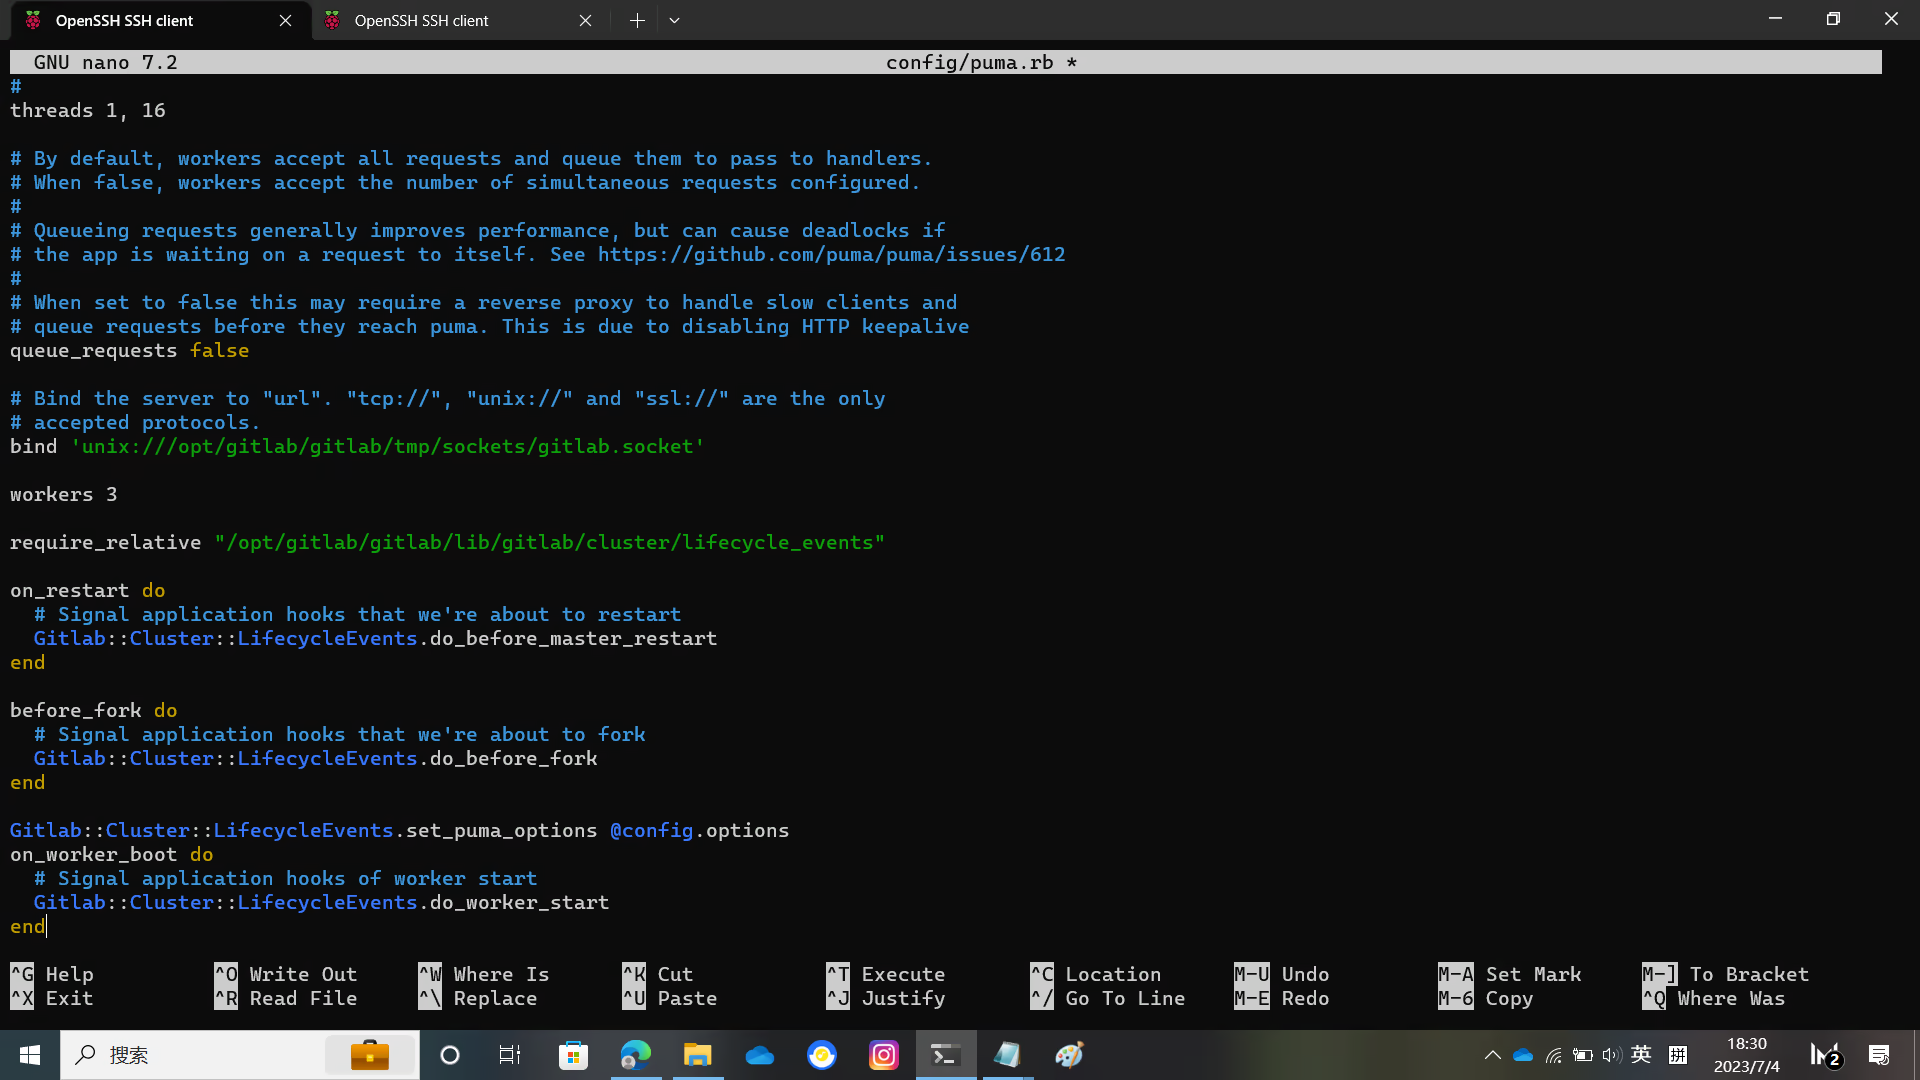
sudo -u git -H cp config/puma.rb.example config/puma.rbConfigure puma
sudo -u git -H editor config/puma.rb
sudo -u git -H cp config/resque.yml.example config/resque.yml
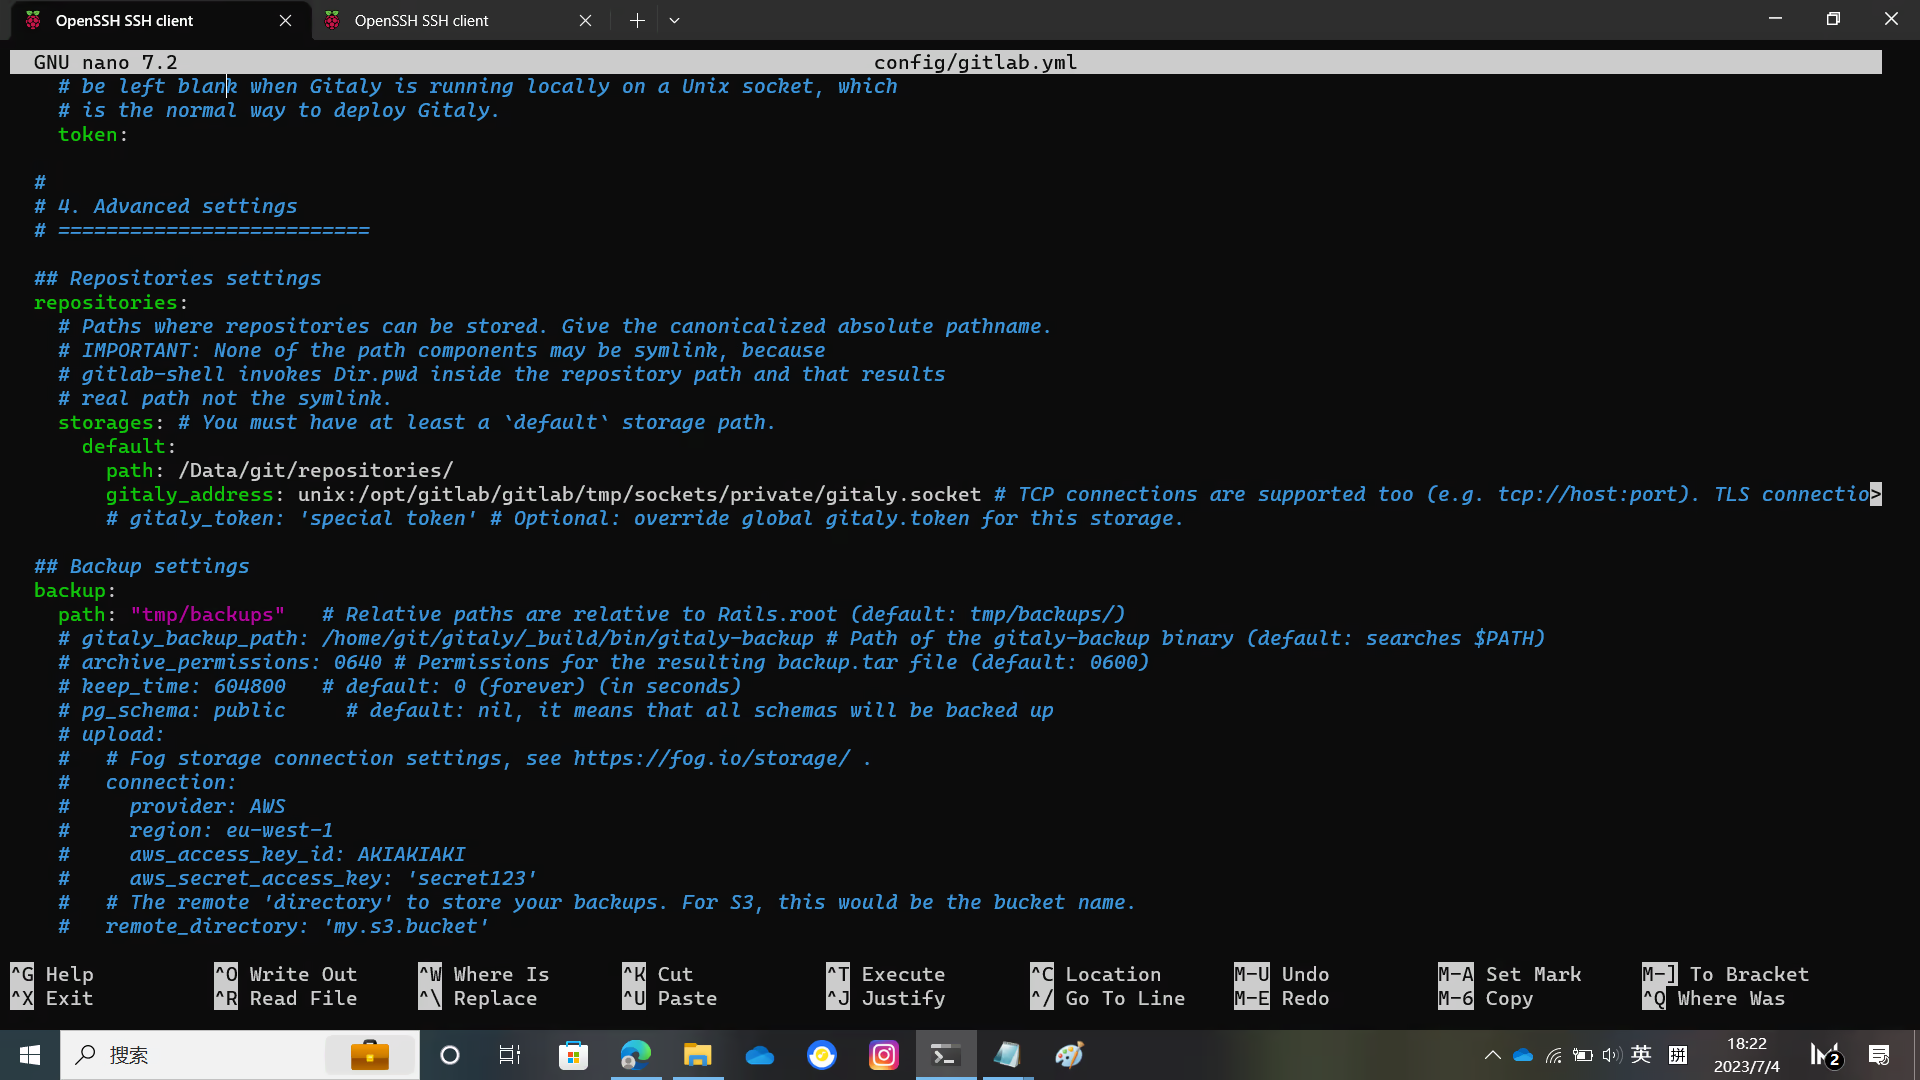
sudo -u git -H cp config/cable.yml.example config/cable.ymlYou need to modify some file directory locations in the configuration file
For details, please see the figure below
Configure Redis
Generally speaking, this does not need to be modified. If you are using the default Debian / Ubuntu configuration file
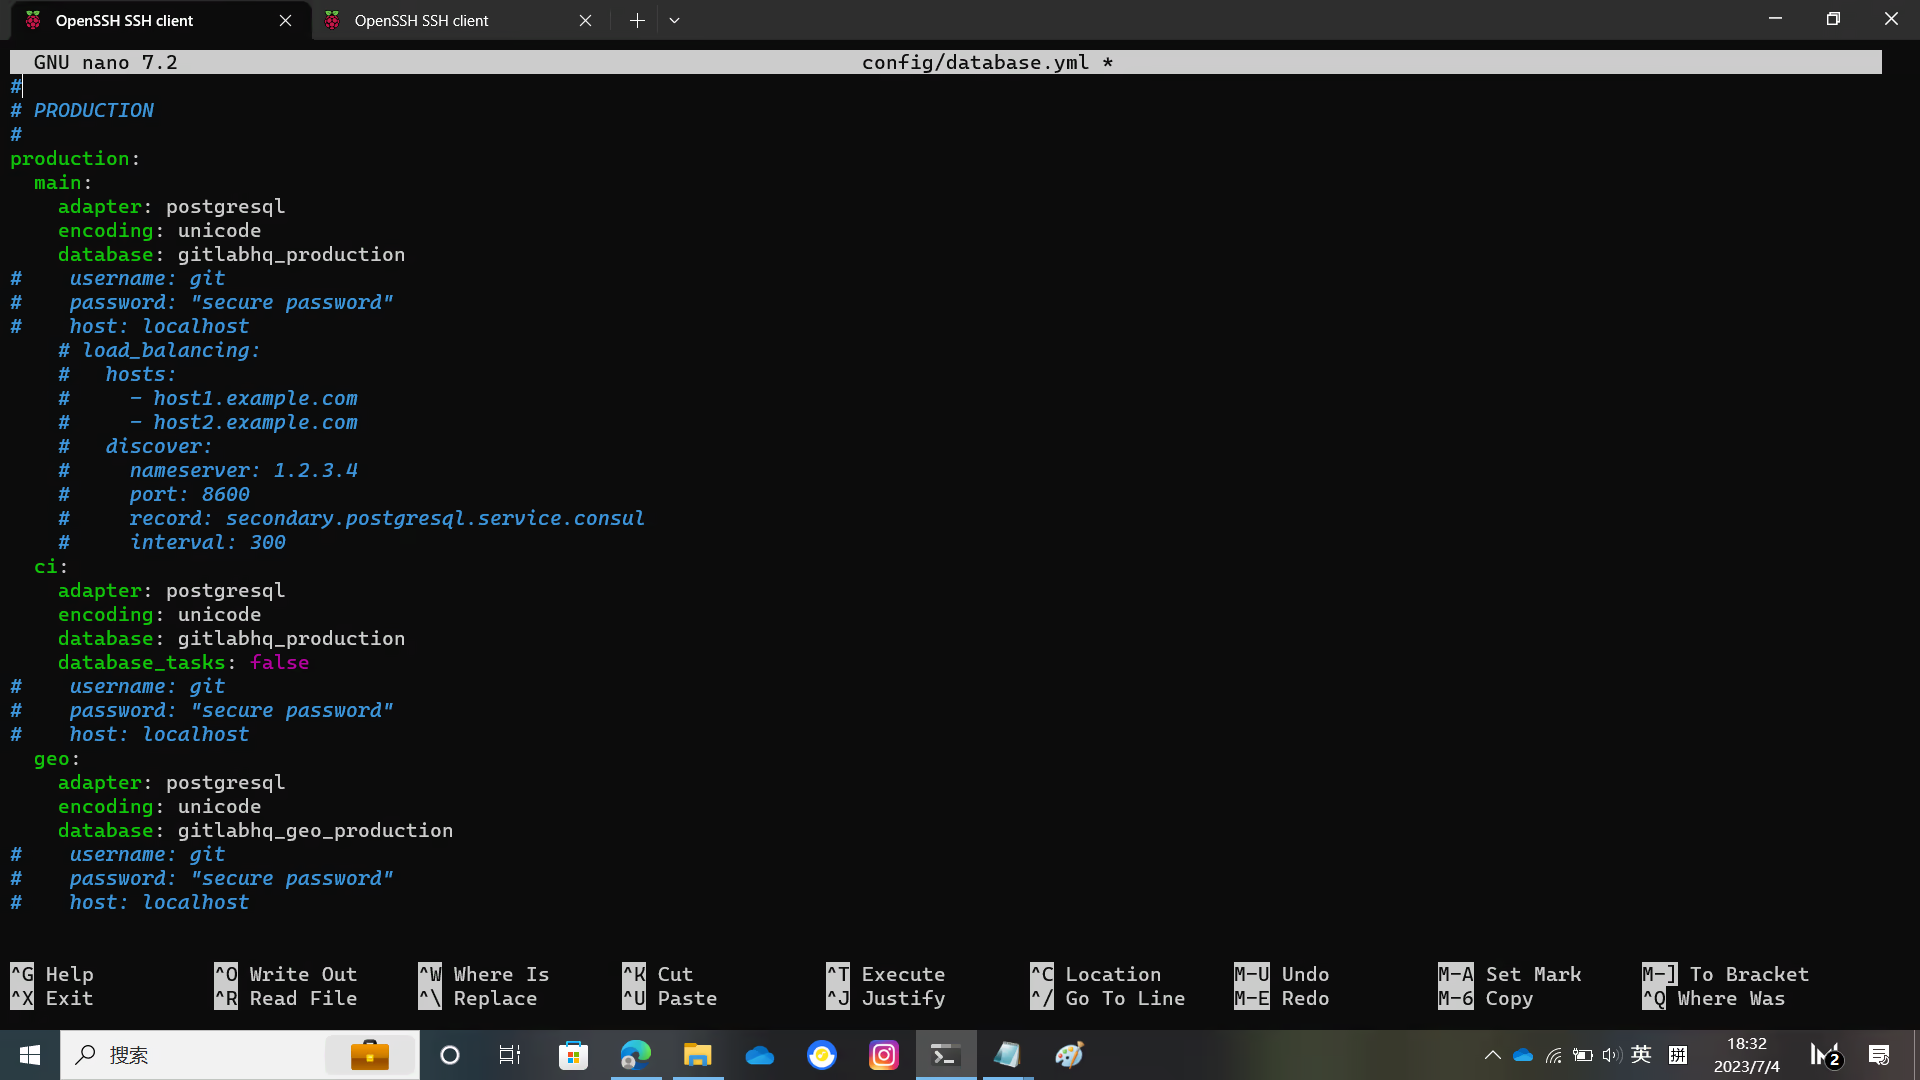
sudo -u git -H editor config/resque.yml config/cable.ymlModify the database configuration file
Remove the host username password lines from config/database.yml
sudo -u git cp config/database.yml.postgresql config/database.yml
sudo -u git -H editor config/database.yml
After removing it, it probably looks like this:
production:
  main:
    adapter: postgresql
    encoding: unicode
    database: gitlabhq_production
  ci:
    adapter: postgresql
    encoding: unicode
    database: gitlabhq_production
    database_tasks: false
  geo:
    adapter: postgresql
    encoding: unicode
    database: gitlabhq_geo_production
There are also pictures here
Install bundler and use bundler to install dependencies
sudo -u git -H editor config/database.yml
sudo -u git -H chmod o-rwx config/database.yml
gem install bundler
sudo -u git -H bundle config set --local deployment 'true'
sudo -u git -H bundle config set --local without 'development test mysql aws kerberos'
sudo -u git -H bundle config path /opt/gitlab/gitlab/vendor/bundle
sudo -u git -H bundle install
Install GitLab Shell
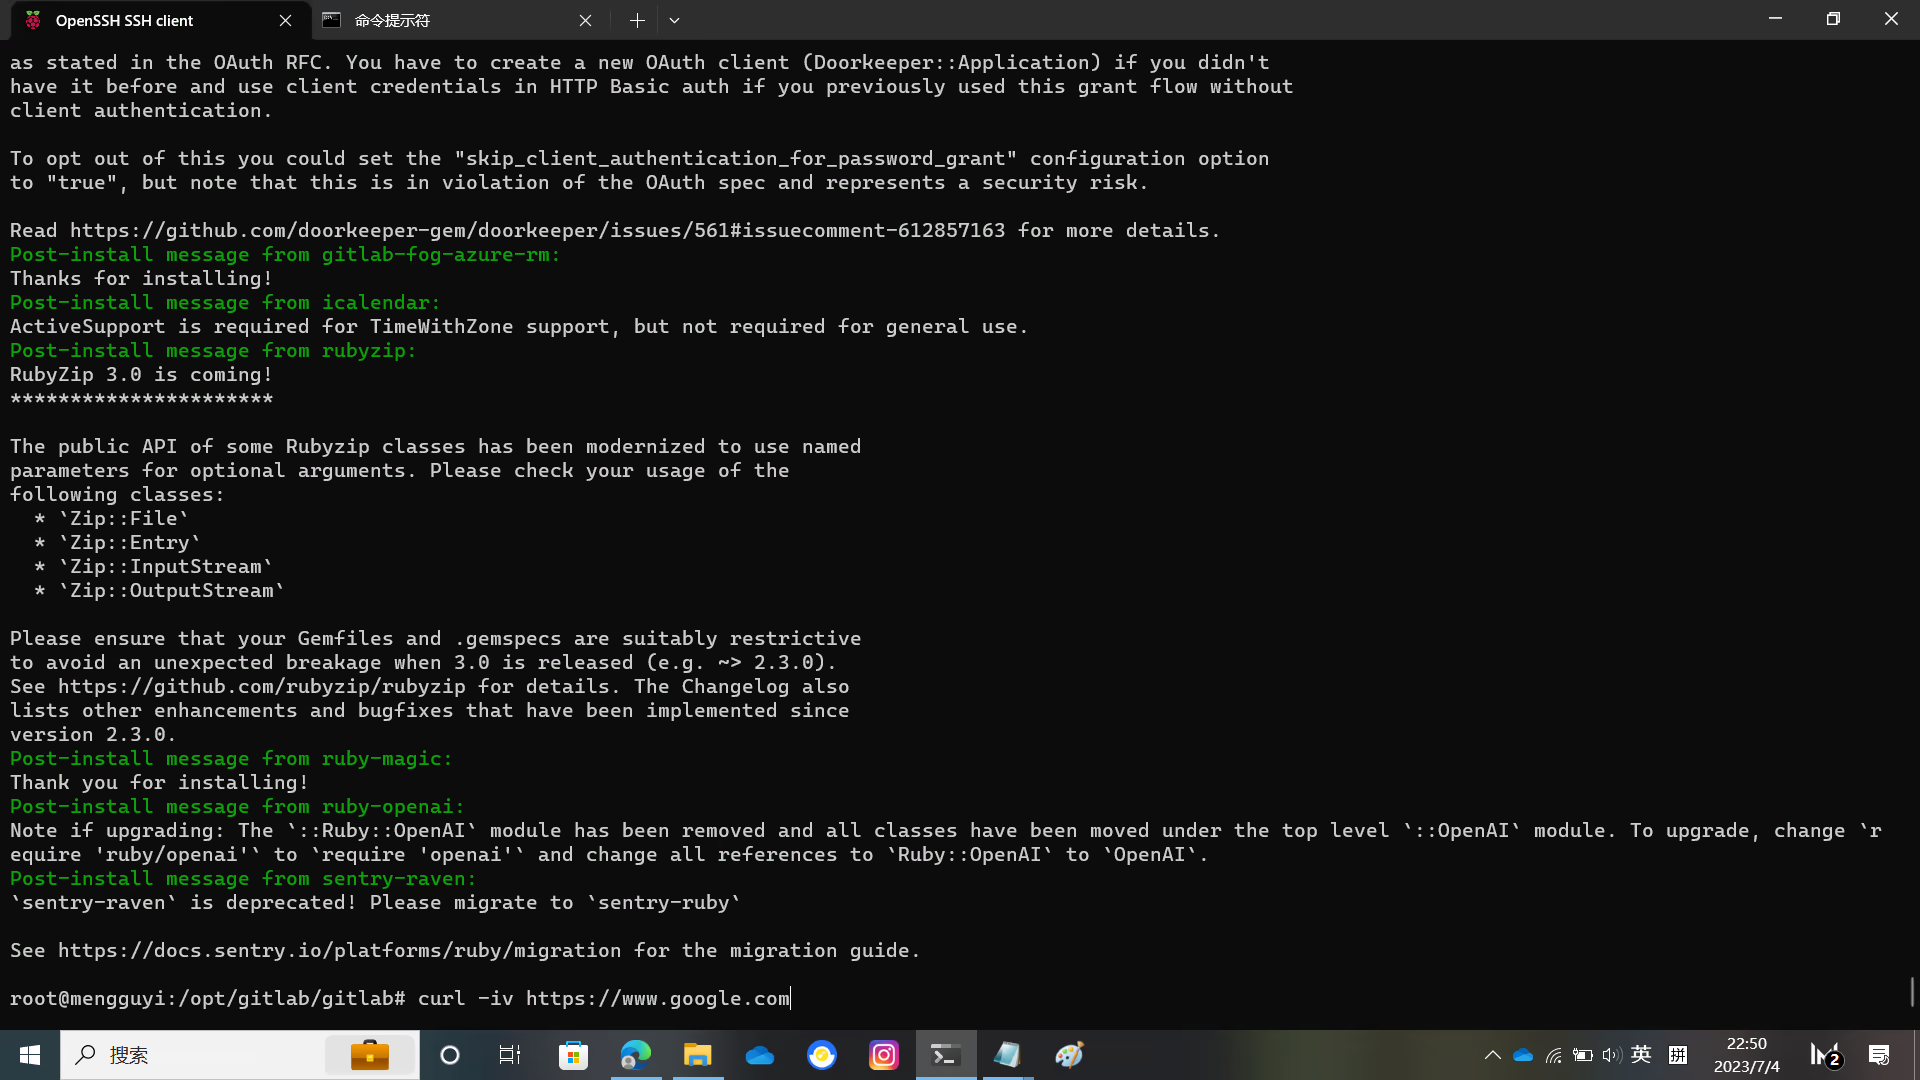
Warning
This step requires a network that can access Google
Otherwise golang cannot complete the download
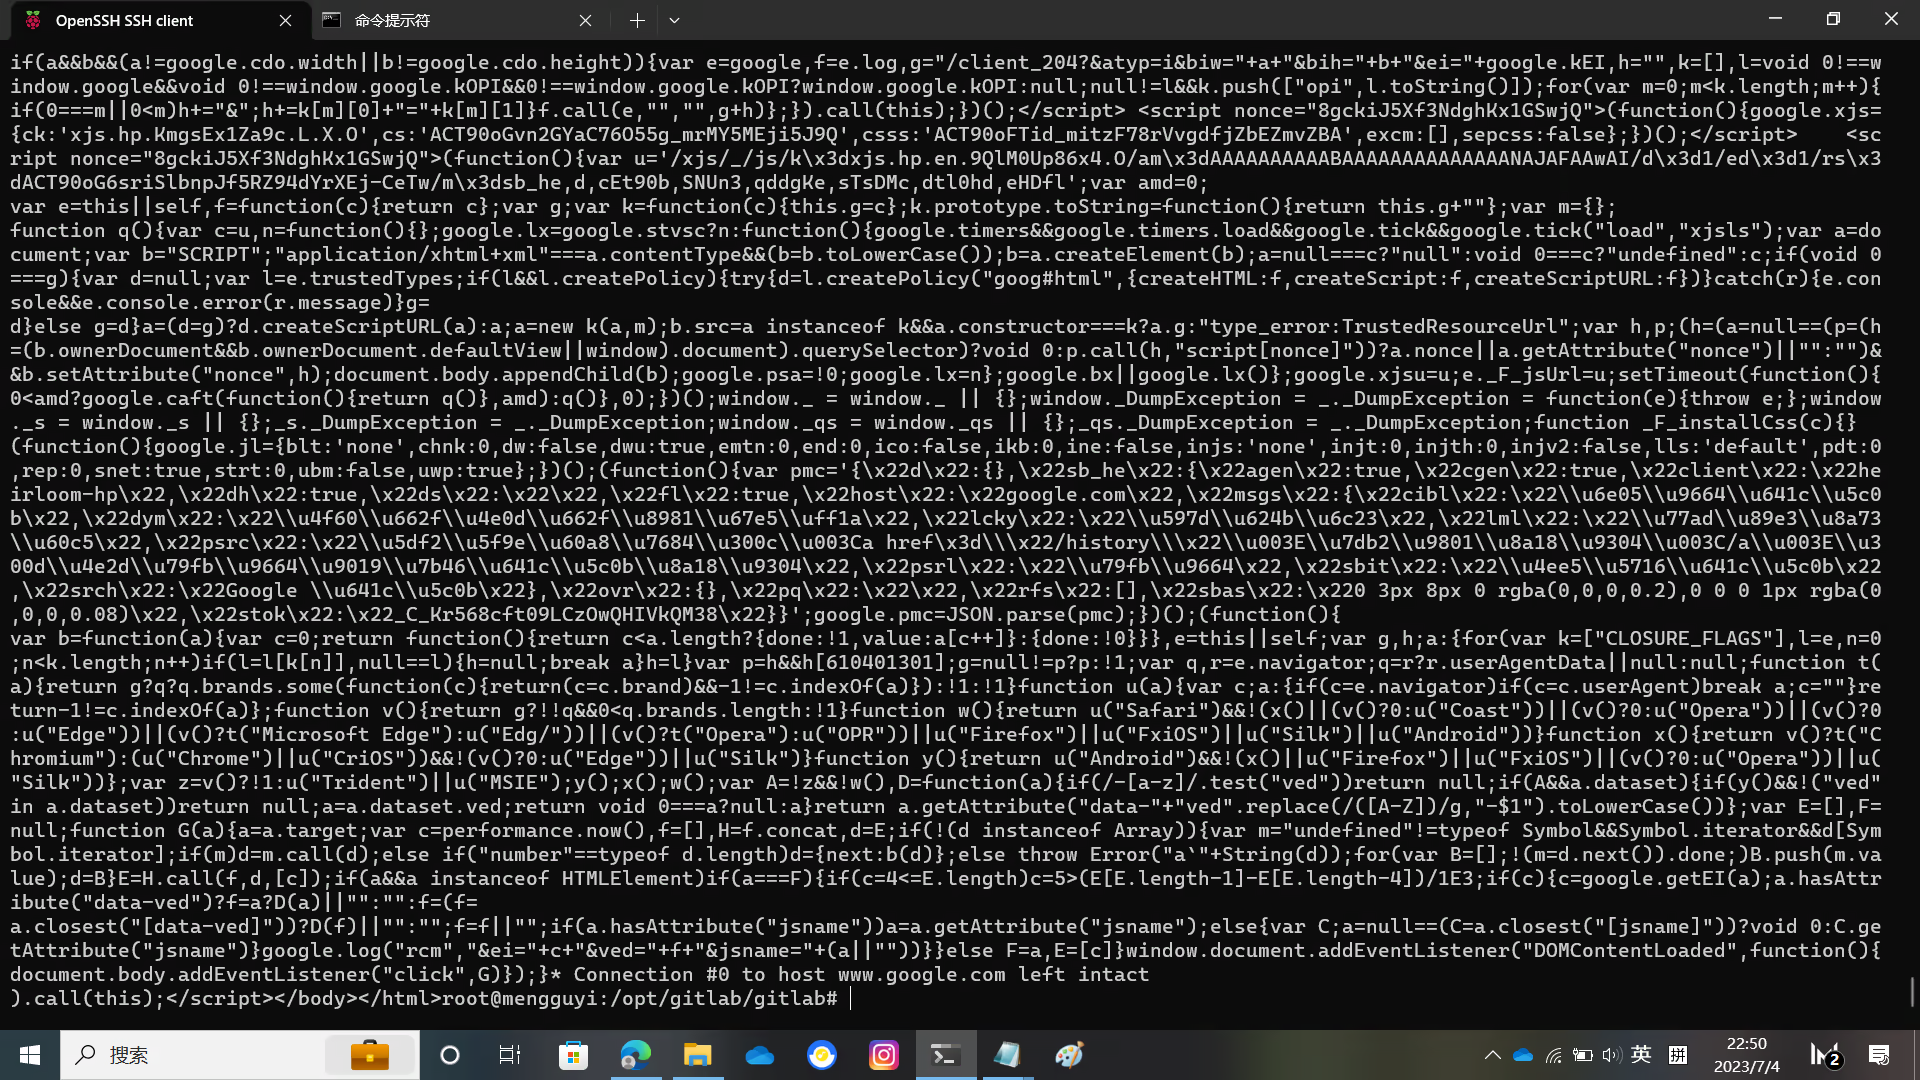
Use curl to check the network
curl -iv https://www.google.comIf you see output similar to the picture, it means the network is smooth and you can proceed with this step.
Install GitLab Shell
Successful example as shown in the picture
sudo -u git -H bundle exec rake gitlab:shell:install RAILS_ENV=production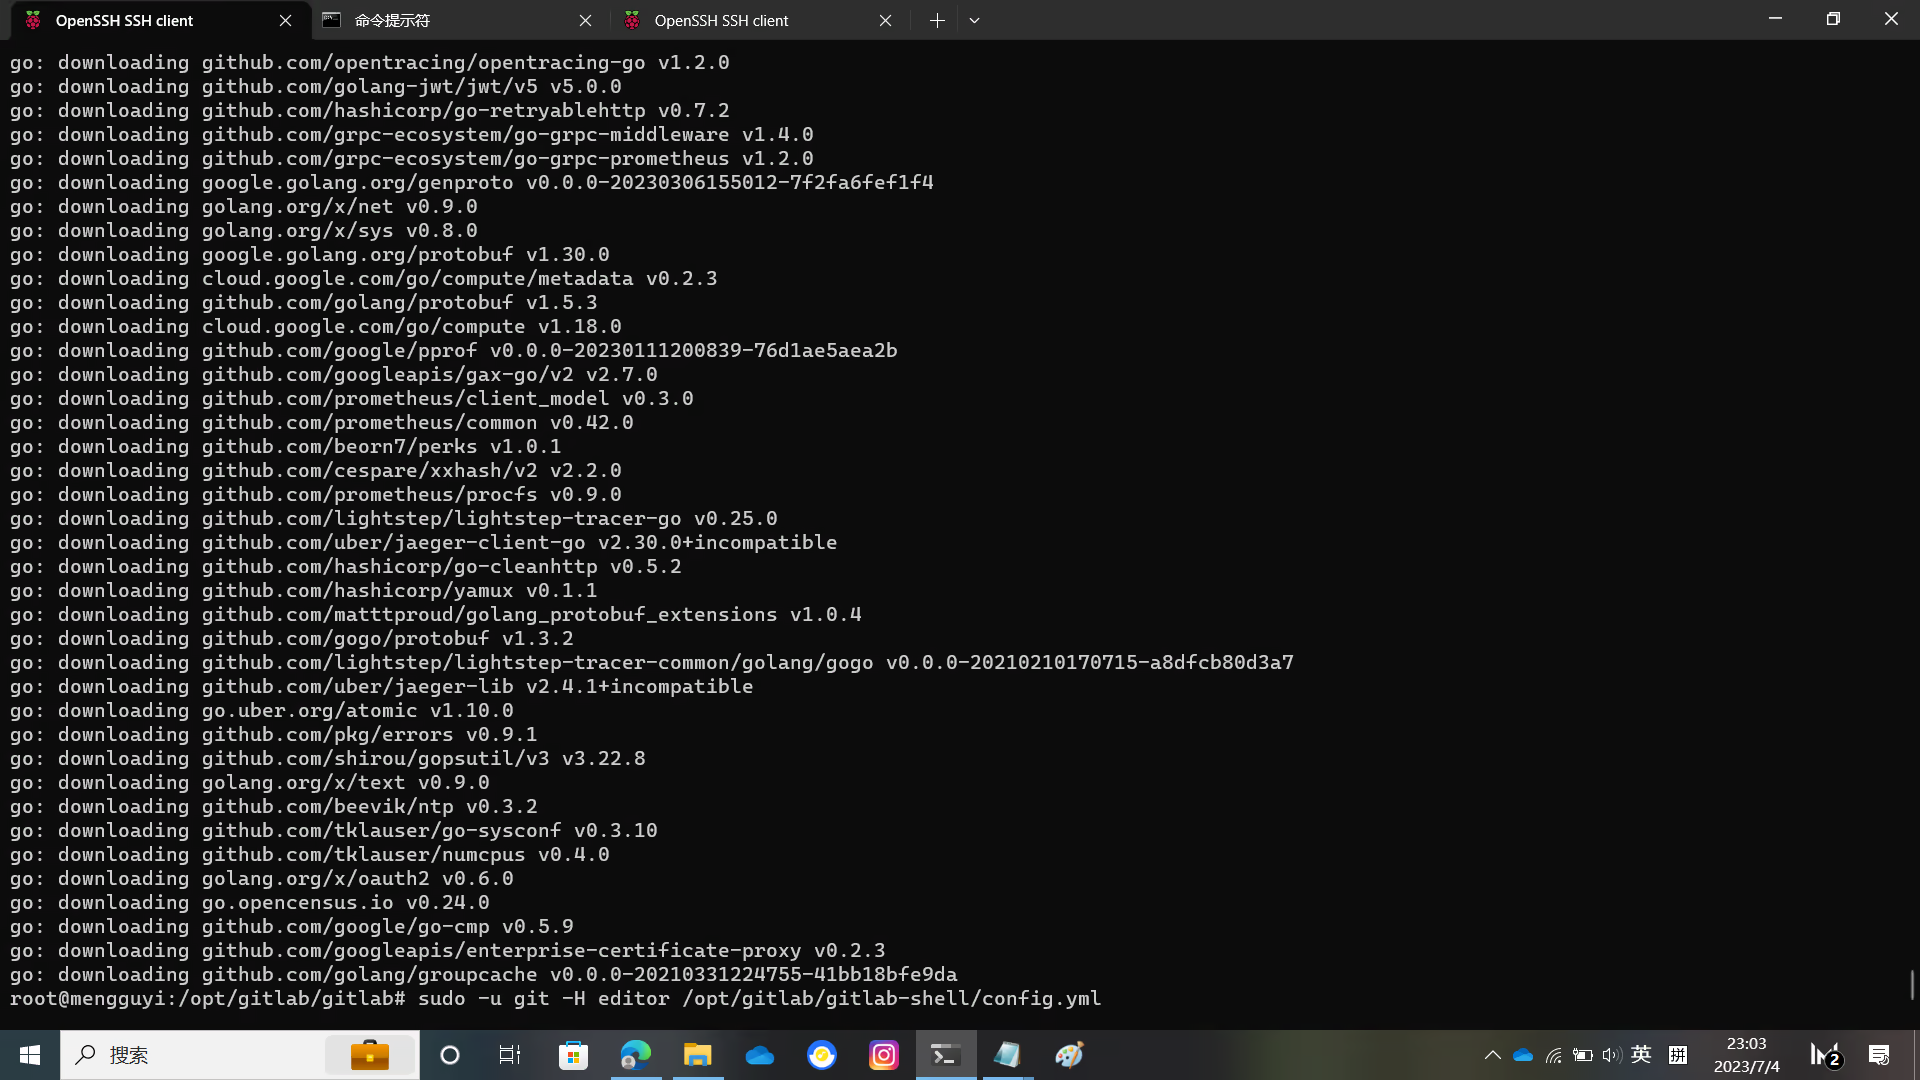
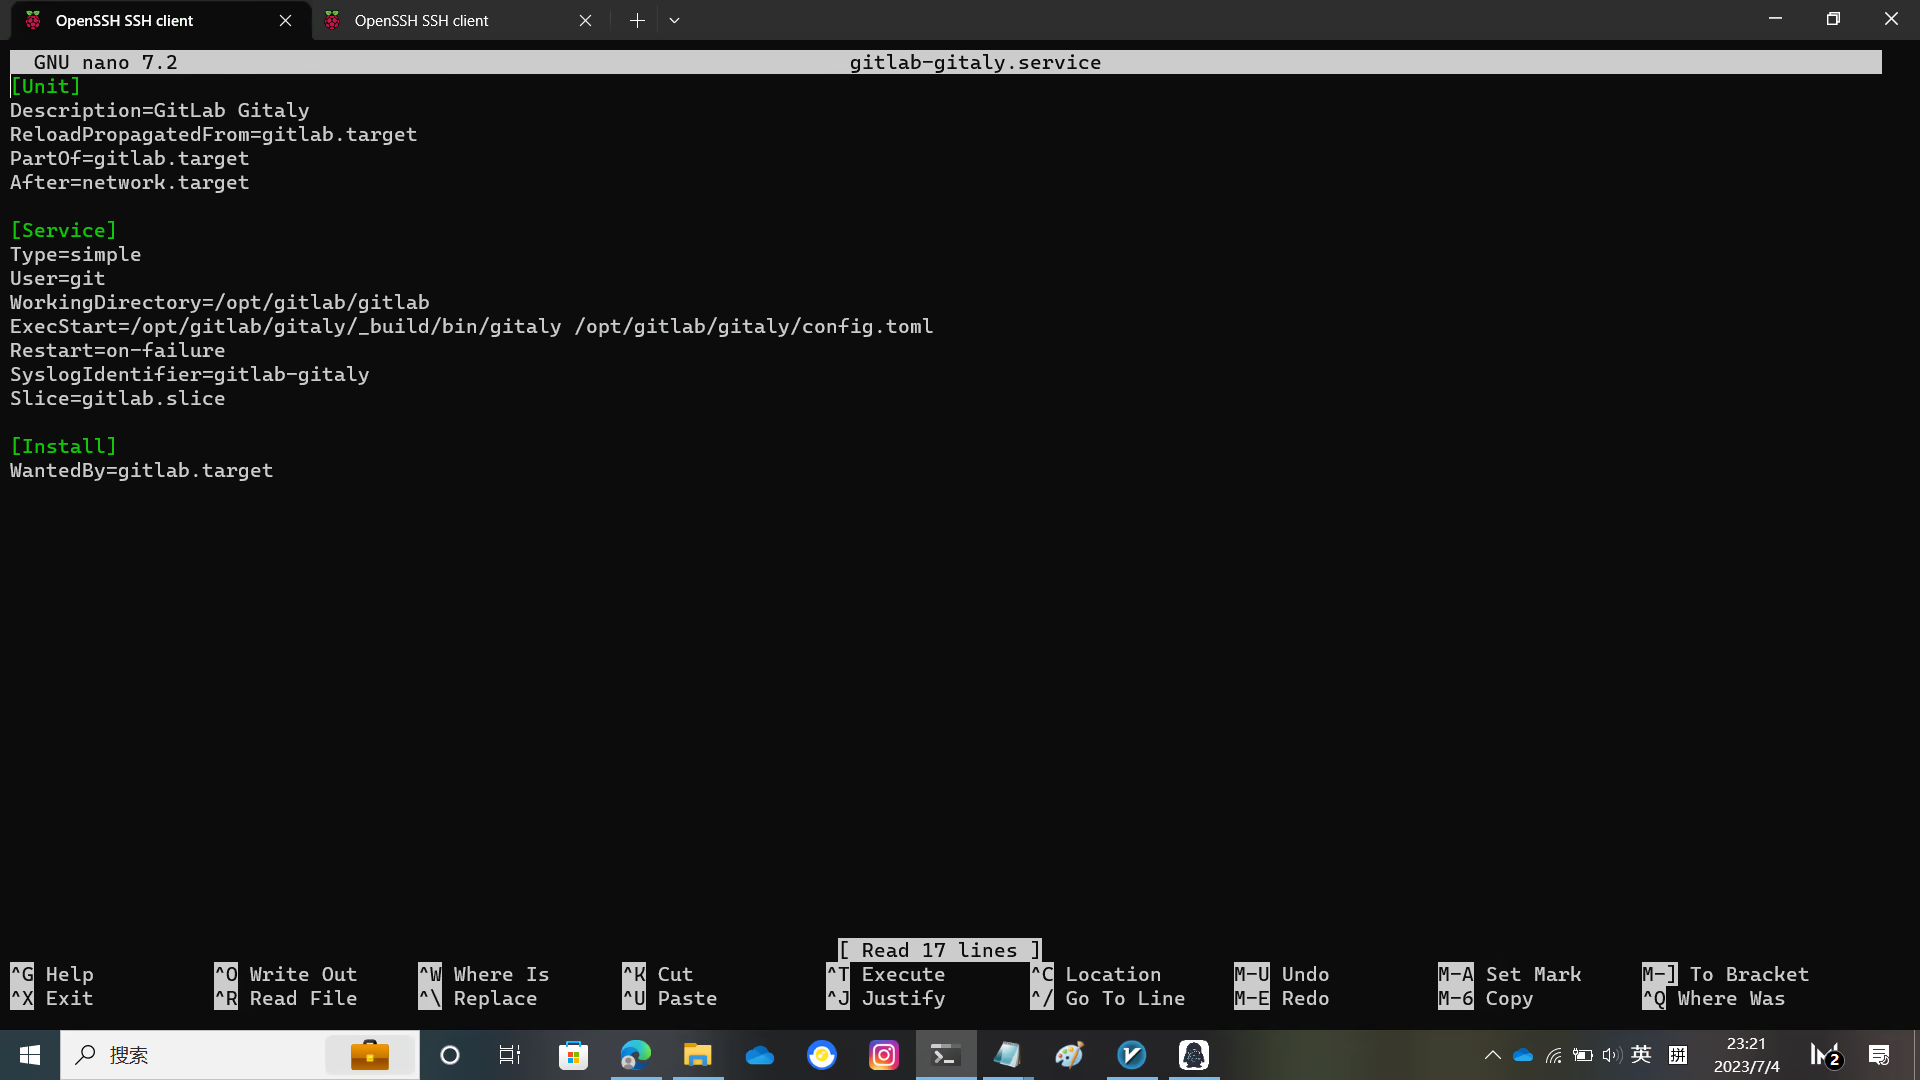
Edit the GitLab Shell configuration file
Modify the gitlab_url inside to your domain name
sudo -u git -H editor /opt/gitlab/gitlab-shell/config.ymlInstall GitLab Enterprise Edition Features
sudo -u git -H bundle exec rake "gitlab:workhorse:install[/opt/gitlab/gitlab-workhorse]" RAILS_ENV=production
sudo -u git -H bundle exec rake "gitlab:indexer:install[/opt/gitlab/gitlab-elasticsearch-indexer]" RAILS_ENV=production
Install GitLab Pages
cd /opt/gitlab
sudo -u git -H git clone https://gitlab.com/gitlab-org/gitlab-pages.git
cd gitlab-pages
sudo -u git -H make
Install Gitaly
cd /opt/gitlab/gitlab
sudo -u git -H bundle exec rake "gitlab:gitaly:install[/opt/gitlab/gitaly,/opt/gitlab/repositories]" RAILS_ENV=production
chmod 0700 /opt/gitlab/gitlab/tmp/sockets/private
chown git /opt/gitlab/gitlab/tmp/sockets/private
Install the service
cd /opt/gitlab/gitlab
mkdir -p /usr/local/lib/systemd/system
cp lib/support/systemd/* /usr/local/lib/systemd/system/
You need to make some adjustments to the configuration file
Add the following two lines to the [Unit] section of the following two filesWants=redis-server.service postgresql.serviceAfter=redis-server.service postgresql.service
nano /usr/local/lib/systemd/system/gitlab-puma.service
nano /usr/local/lib/systemd/system/gitlab-sidekiq.service
You also need to edit all the servise files in the /usr/local/lib/systemd/system/ directory and fix the wrong directories.
Then execute the following
systemctl daemon-reloadEdit the Gitaly configuration file
Change the path = "/opt/gitlab/repositories" to path = "/Data/git/repositories"
nano /opt/gitlab/gitaly/config.tomlFinally execute it
systemctl enable gitlab.targetSet up Logrotate
cp lib/support/logrotate/gitlab /etc/logrotate.d/gitlabStart Gitaly
systemctl start gitlab-gitaly.serviceInitialize Database and Activate Advanced Features
cd /opt/gitlab/gitlab
sudo -u git -H bundle exec rake gitlab:setup RAILS_ENV=production
Check Application Status
sudo -u git -H bundle exec rake gitlab:env:info RAILS_ENV=productionCompile Assets
sudo -u git -H yarn install --production --pure-lockfile
sudo -u git -H bundle exec rake gitlab:assets:compile RAILS_ENV=production NODE_ENV=production
If rake fails with JavaScript heap out of memory error, try to run it with NODE_OPTIONS set as follows.
sudo -u git -H bundle exec rake gitlab:assets:compile RAILS_ENV=production NODE_ENV=production NODE_OPTIONS="--max_old_space_size=4096"GitLab Start!
systemctl start gitlab.targetNginx configuration
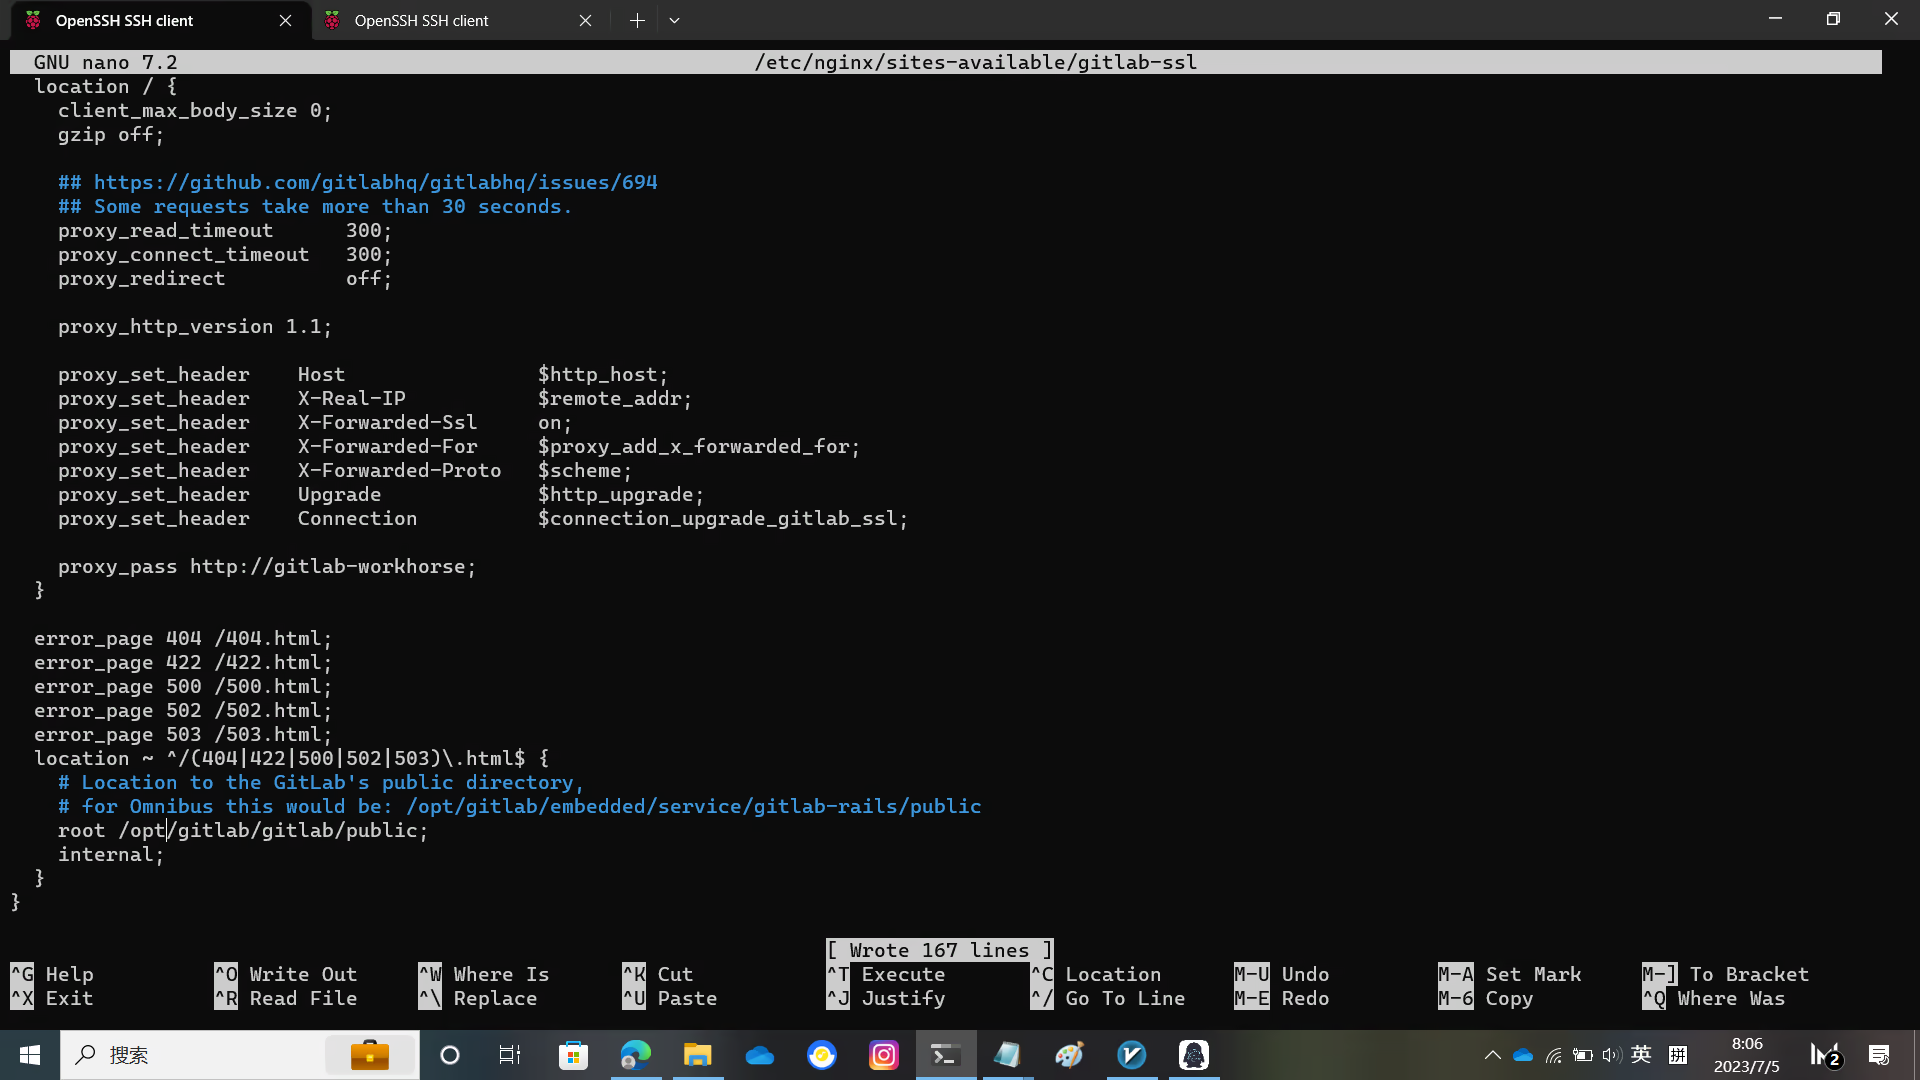
Edit the gitlab-ssl file, edit the unixsocket path, replace YOUR_SERVER_FQDN with your domain name, and remove default_server. Configure the certificate location
Note that the user running nginx must be able to access GitLab's unixsocket, otherwise it will 403.
cp lib/support/nginx/gitlab-ssl /etc/nginx/sites-available/gitlab-ssl
ln -s /etc/nginx/sites-available/gitlab-ssl /etc/nginx/sites-enabled/gitlab-ssl
nano /etc/nginx/sites-available/gitlab-ssl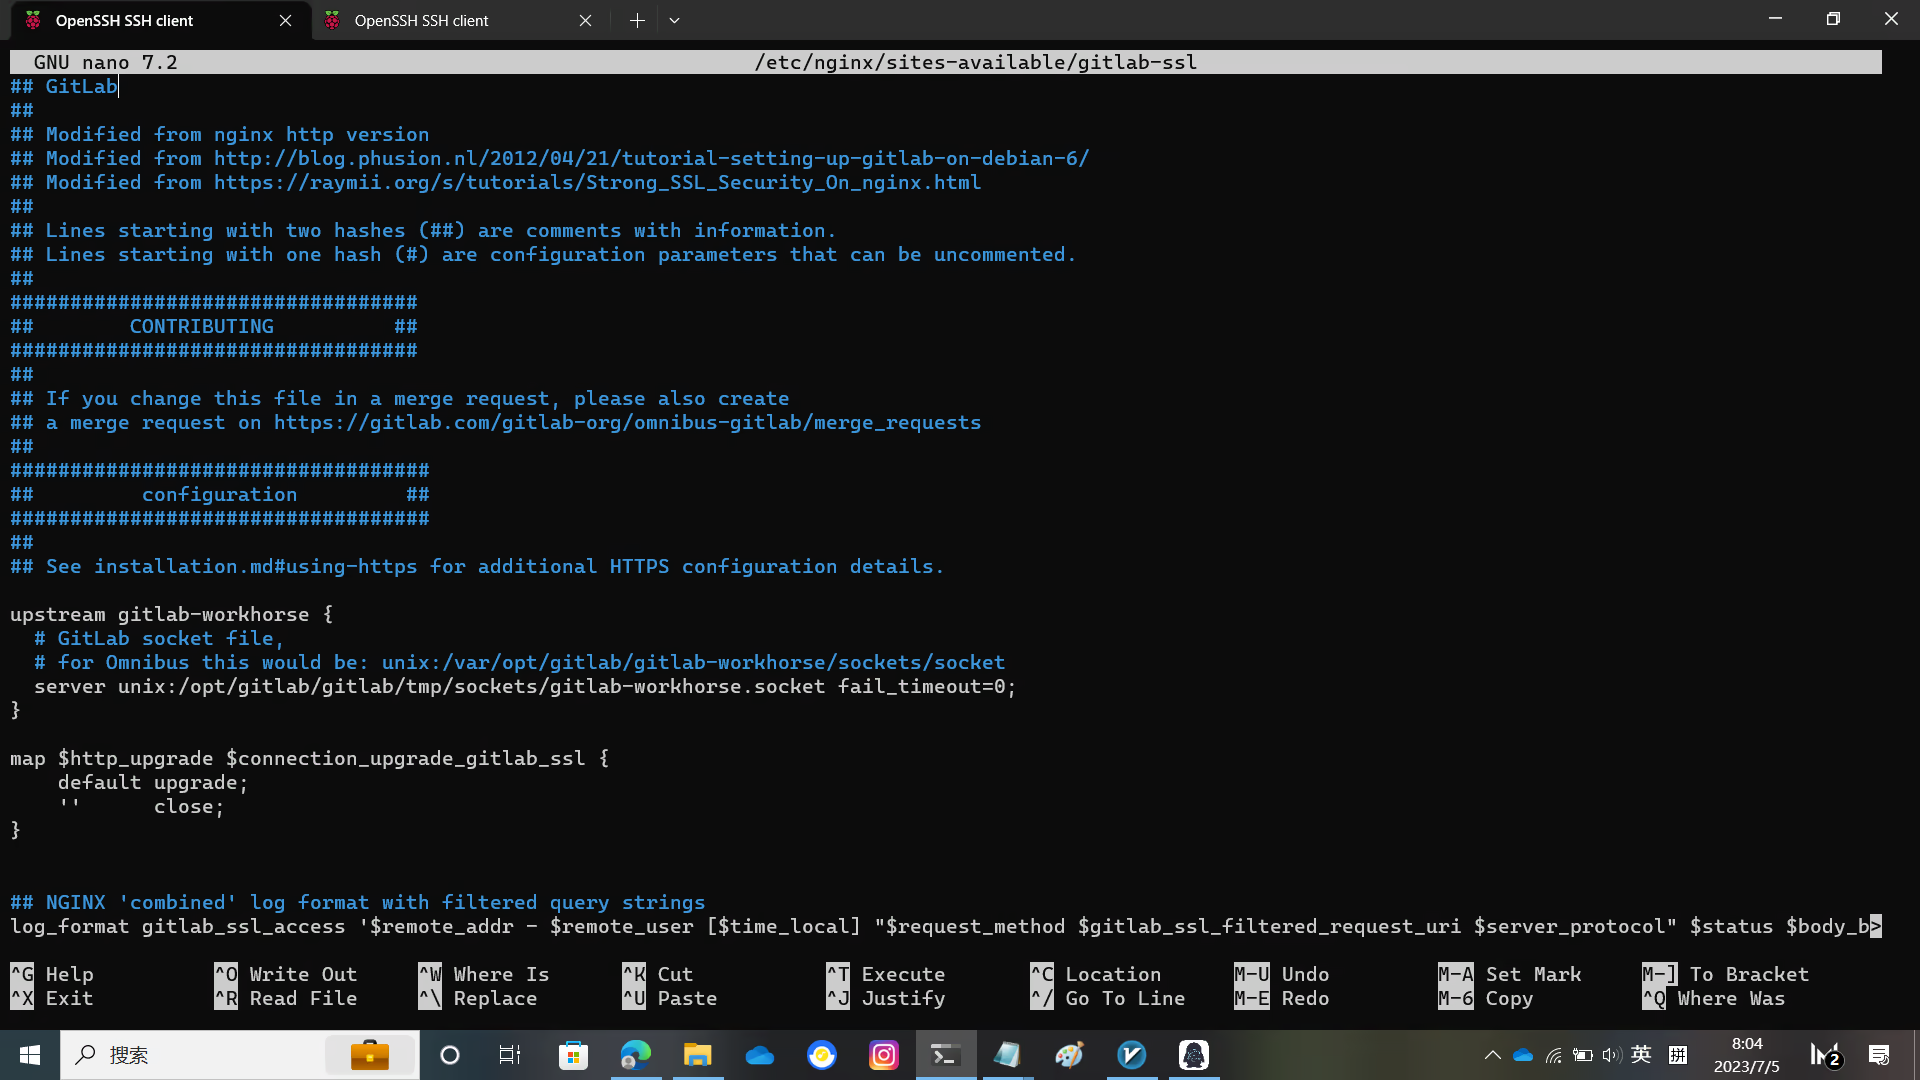

restart nginx
systemctl restart nginx.serviceDouble-check Application Status
sudo -u git -H bundle exec rake gitlab:check RAILS_ENV=productionInitial login
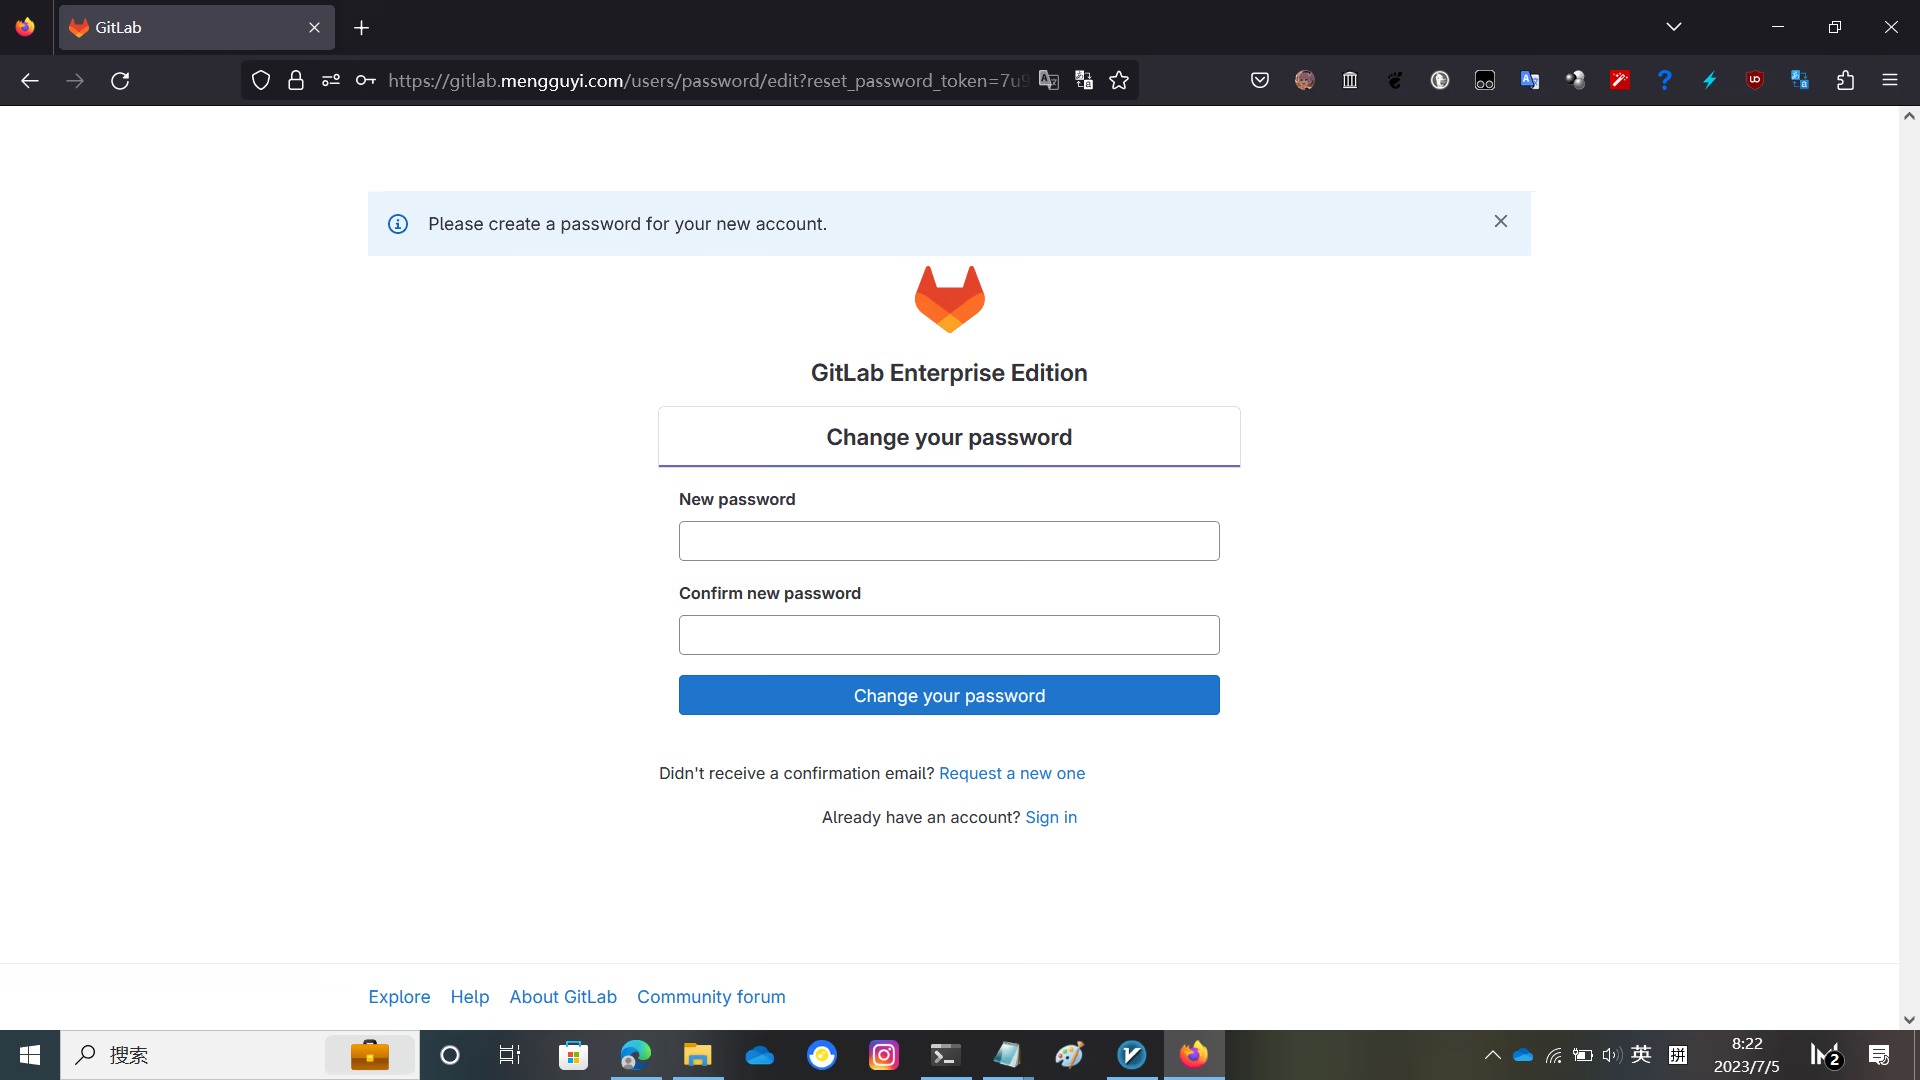
Visit the domain name you set before, and GitLab will ask you to set a root password
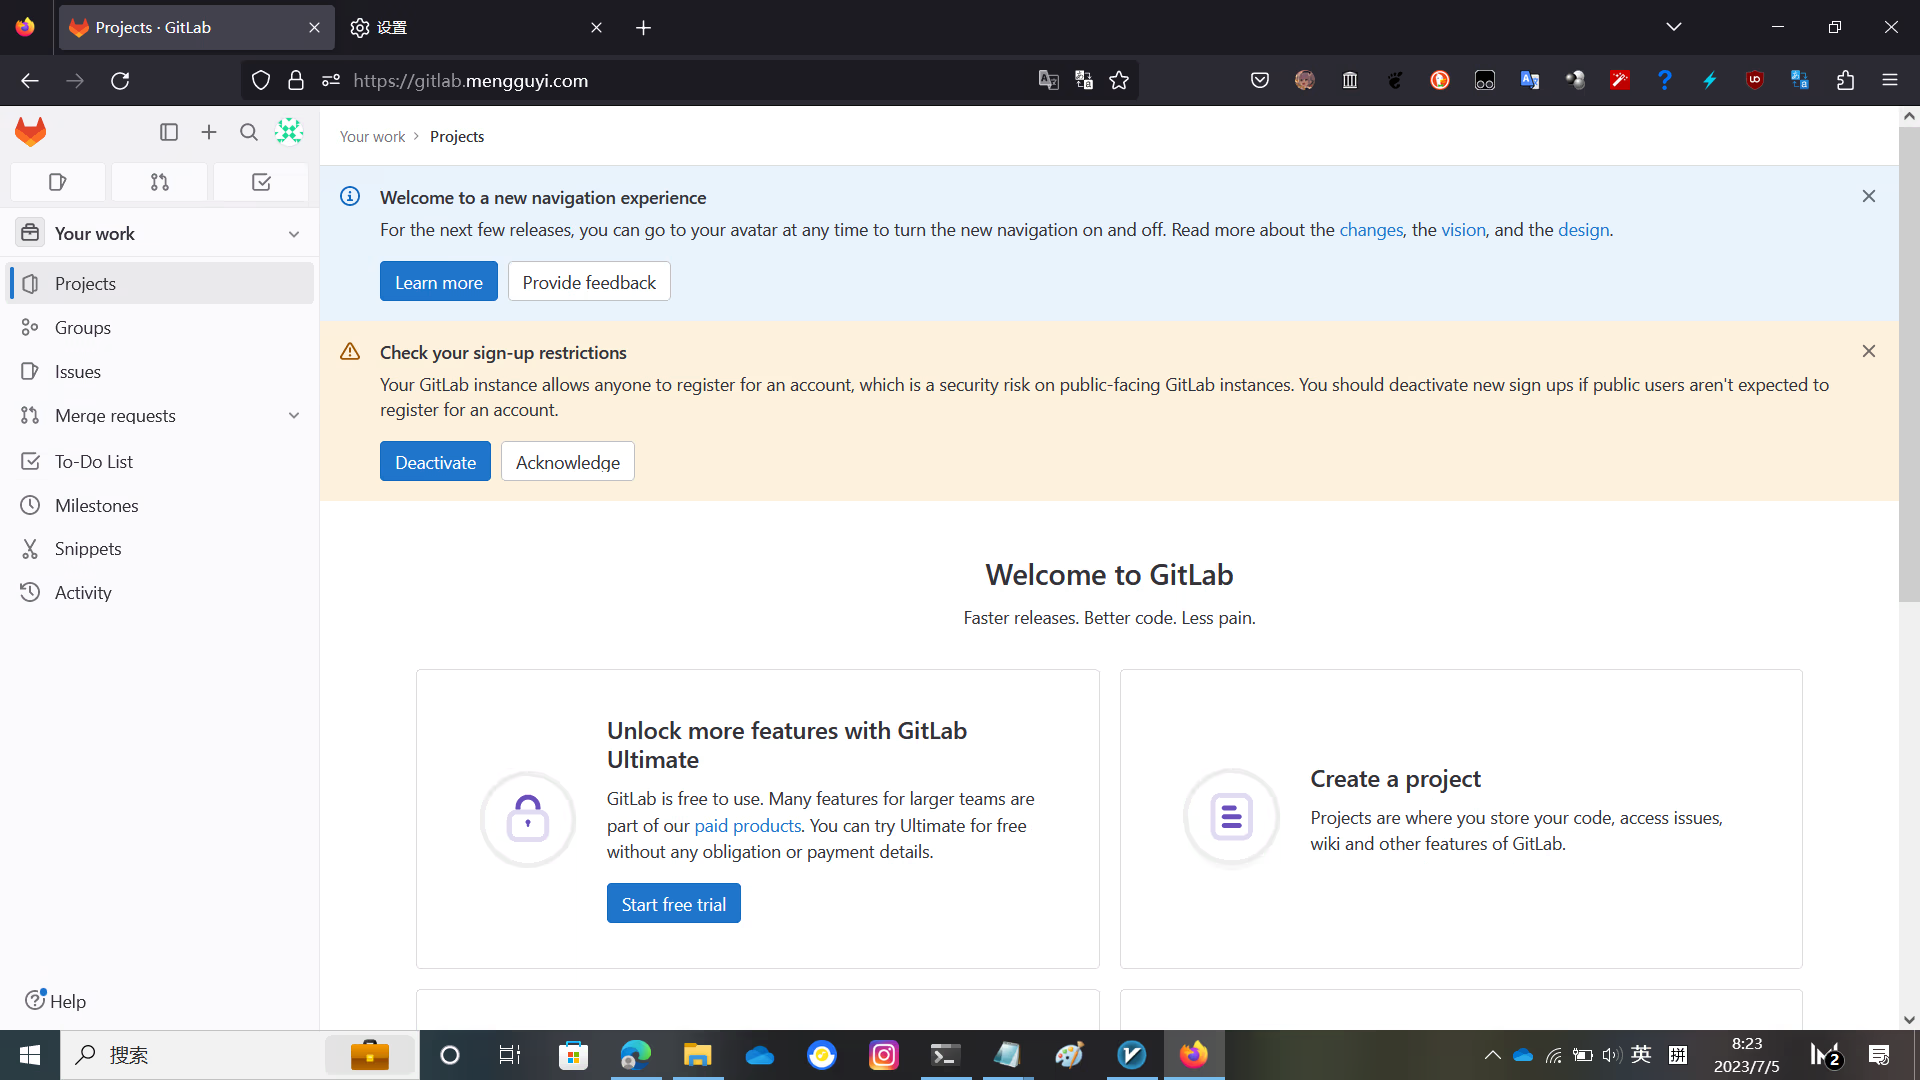
After setting the password and logging in, you will see the GitLab interface
At this time, GitLab is not activated yet, and the language is English
Activate GitLab
Write the following script into license.rb and make appropriate modifications, such as the username and so on.
require "openssl"
require "gitlab/license"
key_pair = OpenSSL::PKey::RSA.generate(2048)
File.open("license_key", "w") { |f| f.write(key_pair.to_pem) }
public_key = key_pair.public_key
File.open("license_key.pub", "w") { |f| f.write(public_key.to_pem) }
private_key = OpenSSL::PKey::RSA.new File.read("license_key")
Gitlab::License.encryption_key = private_key
license = Gitlab::License.new
license.licensee = {
"Name" => "none",
"Company" => "none",
"Email" => "[email protected]",
}
license.starts_at = Date.new(2021, 1, 1) # 开始时间
license.expires_at = Date.new(2050, 1, 1) # 结束时间
license.notify_admins_at = Date.new(2049, 12, 1)
license.notify_users_at = Date.new(2049, 12, 1)
license.block_changes_at = Date.new(2050, 1, 1)
license.restrictions = {
active_user_count: 10000,
}
puts "License:"
puts license
data = license.export
puts "Exported license:"
puts data
File.open("GitLabBV.gitlab-license", "w") { |f| f.write(data) }
public_key = OpenSSL::PKey::RSA.new File.read("license_key.pub")
Gitlab::License.encryption_key = public_key
data = File.read("GitLabBV.gitlab-license")
$license = Gitlab::License.import(data)
puts "Imported license:"
puts $license
unless $license
raise "The license is invalid."
end
if $license.restricted?(:active_user_count)
active_user_count = 10000
if active_user_count > $license.restrictions[:active_user_count]
    raise "The active user count exceeds the allowed amount!"
end
end
if $license.notify_admins?
puts "The license is due to expire on #{$license.expires_at}."
end
if $license.notify_users?
puts "The license is due to expire on #{$license.expires_at}."
end
module Gitlab
class GitAccess
    def check(cmd, changes = nil)
    if $license.block_changes?
        return build_status_object(false, "License expired")
    end
    end
end
end
puts "This instance of GitLab Enterprise Edition is licensed to:"
$license.licensee.each do |key, value|
puts "#{key}: #{value}"
end
if $license.expired?
puts "The license expired on #{$license.expires_at}"
elsif $license.will_expire?
puts "The license will expire on #{$license.expires_at}"
else
puts "The license will never expire."
end
写入 license.rb
gem install gitlab-license
mkdir gitlab-license
cd gitlab-license
nano license.rb
ruby license.rb
Backup the original license
Then overwrite the new license
cp /opt/gitlab/gitlab/.license_encryption_key.pub /opt/gitlab/gitlab/.license_encryption_key.pub.bak
cp /opt/gitlab/gitlab/gitlab-license/license_key.pub /opt/gitlab/gitlab/.license_encryption_key.pub
Modify the activation script
Change line 247 to restricted_attr(:plan).presence || ULTIMATE_PLAN
nano /opt/gitlab/gitlab/ee/app/models/license.rbRestart GitLab
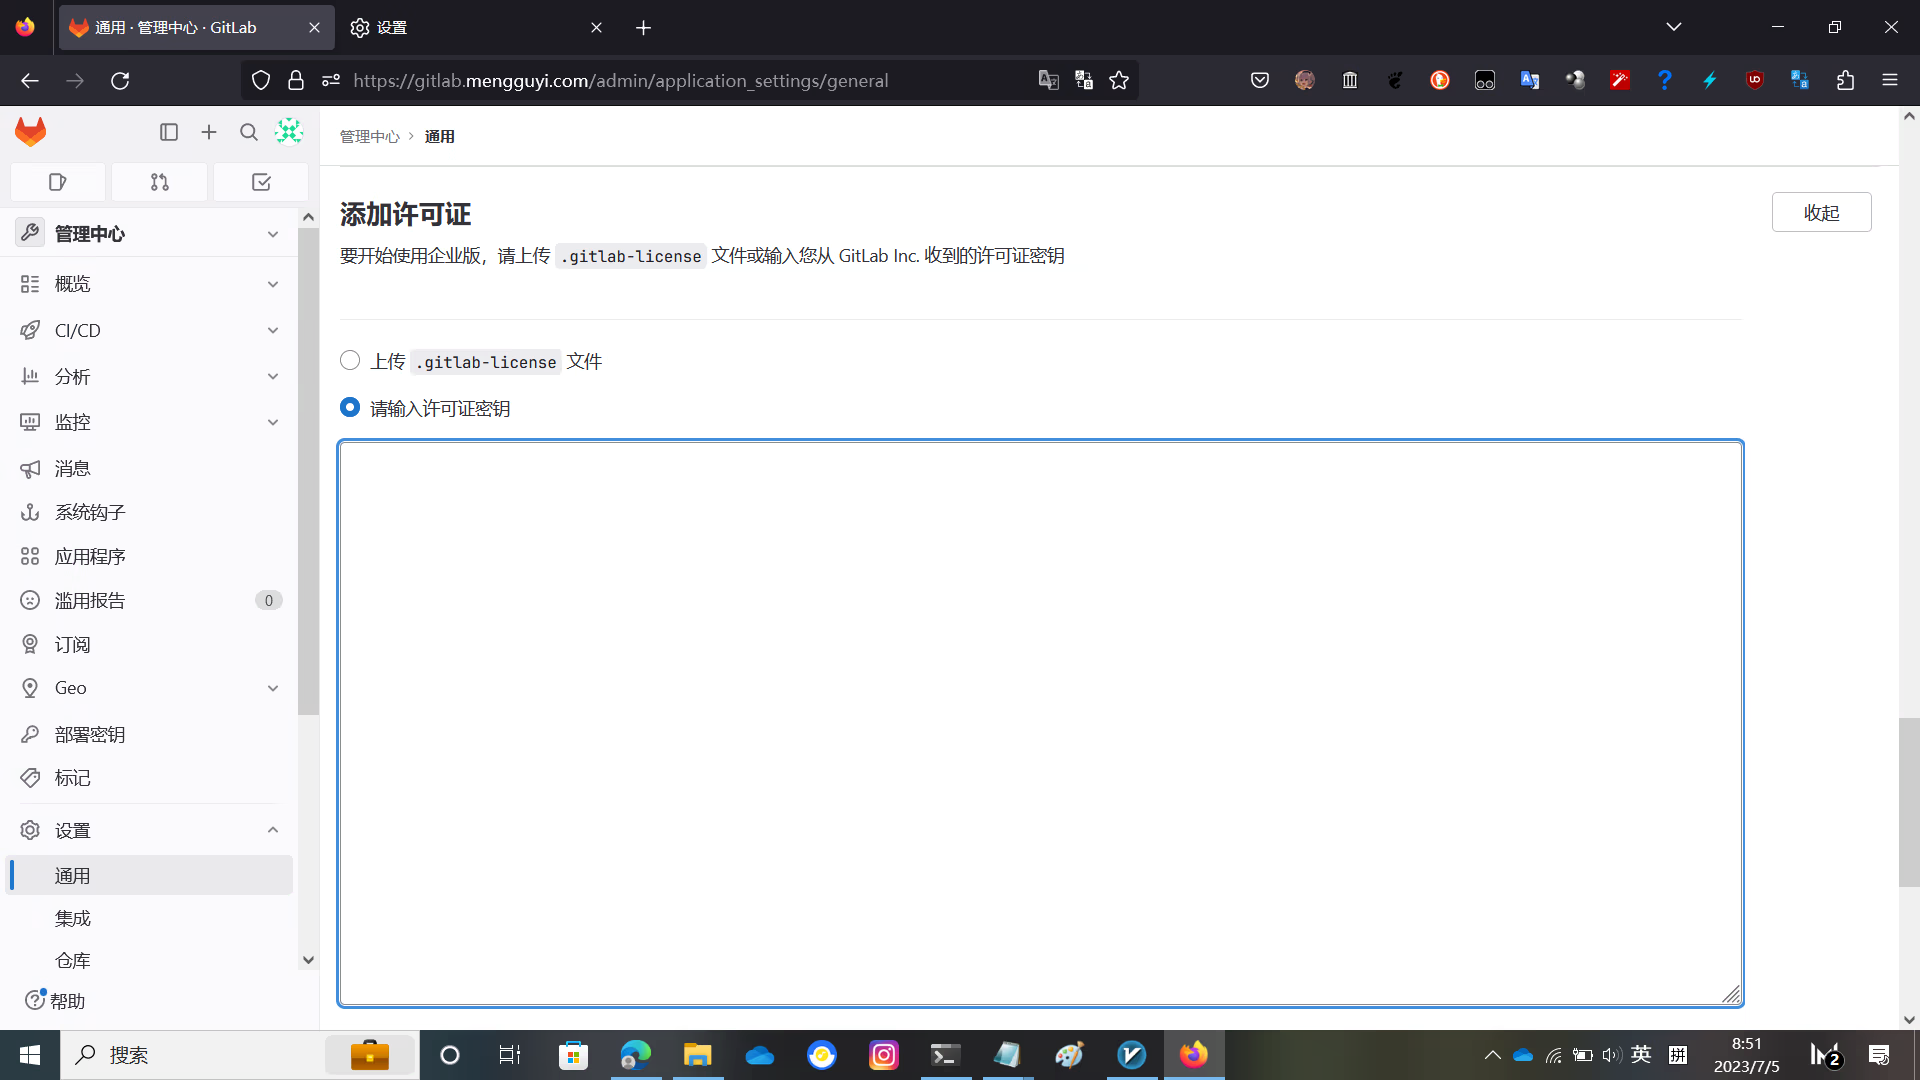
systemctl restart gitlab.targetVisit https://yourGitLabdomain/admin/application_settings/general and click Add License, then click Enter license key
Paste the content of /opt/gitlab/gitlab/gitlab-license/GitLabBV.gitlab-license and check Terms of service and click Add license
Activation successful

Enjoy!